
Tutorials
Turn A Photo Into A Pencil Sketch In Photoshop Tutorial
Hi ROYAL FANS Crew, here is a brand new tut for you all. This is an old favorite of mine. How to turn a photo into a pencil sketch in photoshop. This is actually really easy to do and it gets quite good results too. As usual, I’ll provide a few creative jump off points at the end for your own experimentation.


(You could actually use any filter, as long as it creates a difference between the 2 layers)
As you adjust the blur you will get a different result.

Here are some variations using Color Dodge, you will notice that Linear Dodge produces a softer result that Color Dodge. Try different blending Modes for different results.


Here is the result on a different image
1.
Start with a Photo that has some decent edge detail, here is one I got from Dollar Photoclub. (Img 82723615)
2
Covert the photo to grayscale (Ctrl+Shift+D / Cmd+Shift+D)3
Duplicate the layer by dragging into the new layer icon, or press Ctrl/Cmd+J4
Invert the layer Cmd/Ctrl+I5
Change to Linear Dodge blend mode and you should see a perfectly white image (Use Color Dodge for sharper edges)6
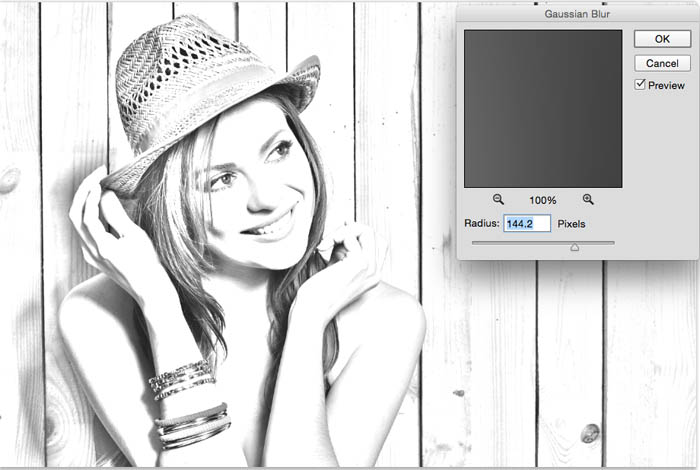
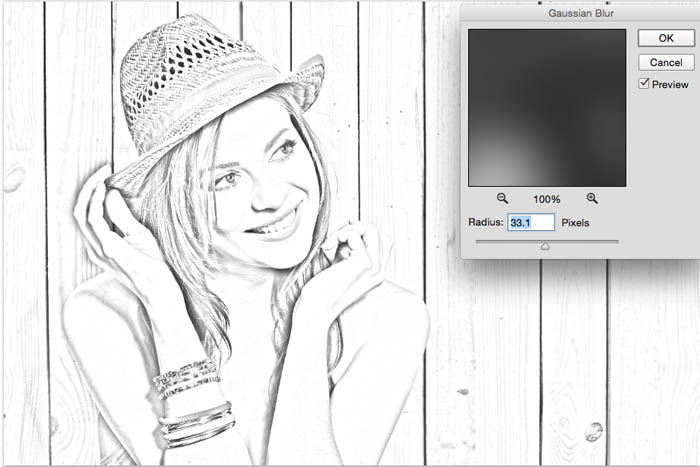
Filter>Blur>Gaussian Blur(You could actually use any filter, as long as it creates a difference between the 2 layers)
As you adjust the blur you will get a different result.

Here are some variations using Color Dodge, you will notice that Linear Dodge produces a softer result that Color Dodge. Try different blending Modes for different results.
Here is the result on a different image

0 comments: