
Tutorials
In this step-by-step tutorial, we’ll show you how to customize and apply the Lomo Effect. Follow along to learn how to do it, and then share your own edits with the hashtag #LomoEffect.

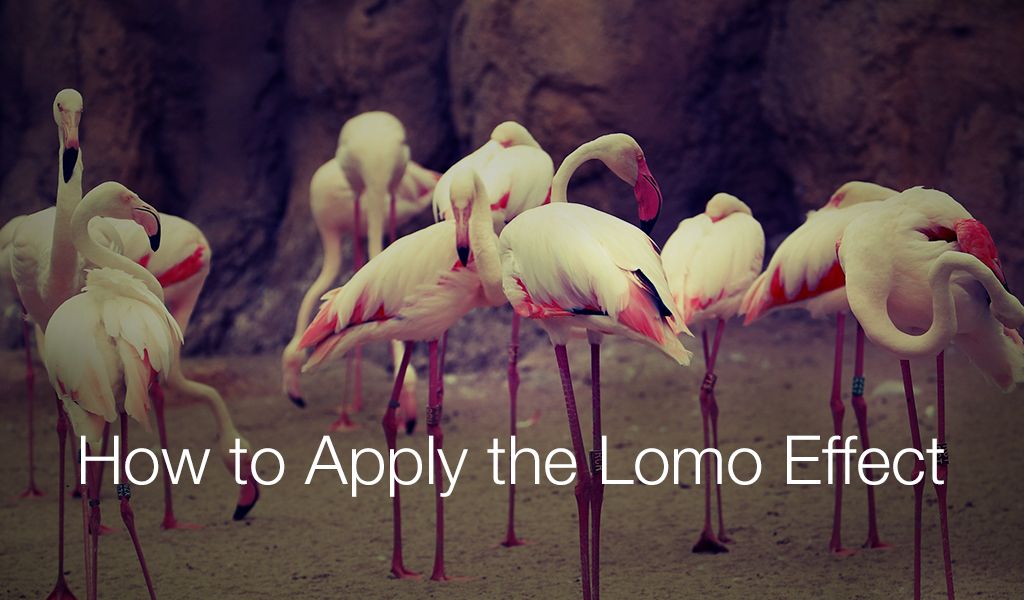
How To Apply The Lomo Effect
In this step-by-step tutorial, we’ll show you how to customize and apply the Lomo Effect. Follow along to learn how to do it, and then share your own edits with the hashtag #LomoEffect.
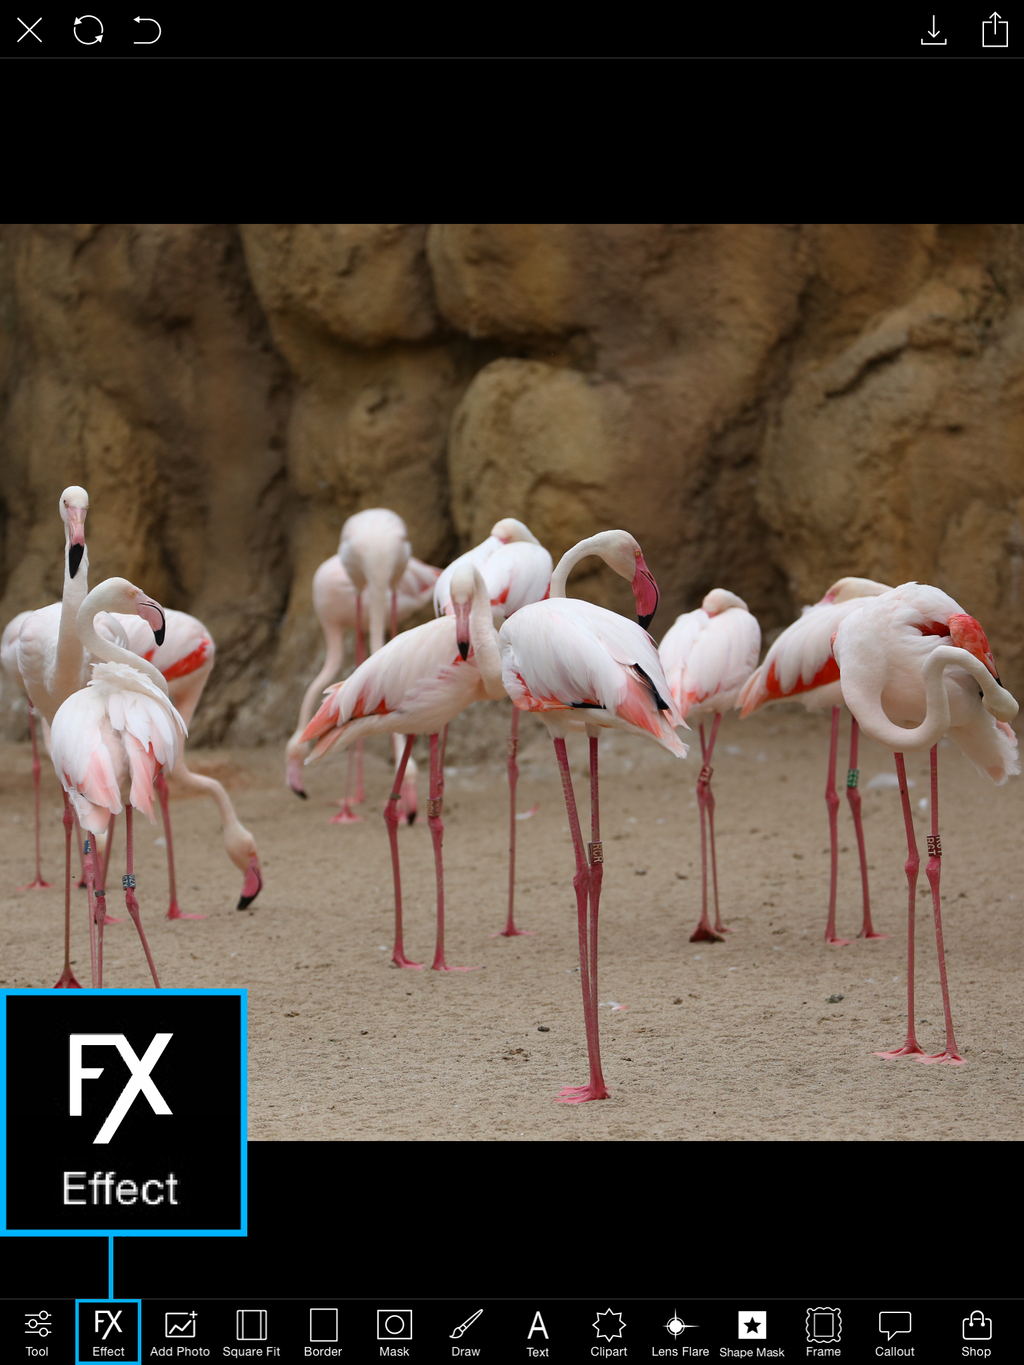
Step 1: Open Effects Menu
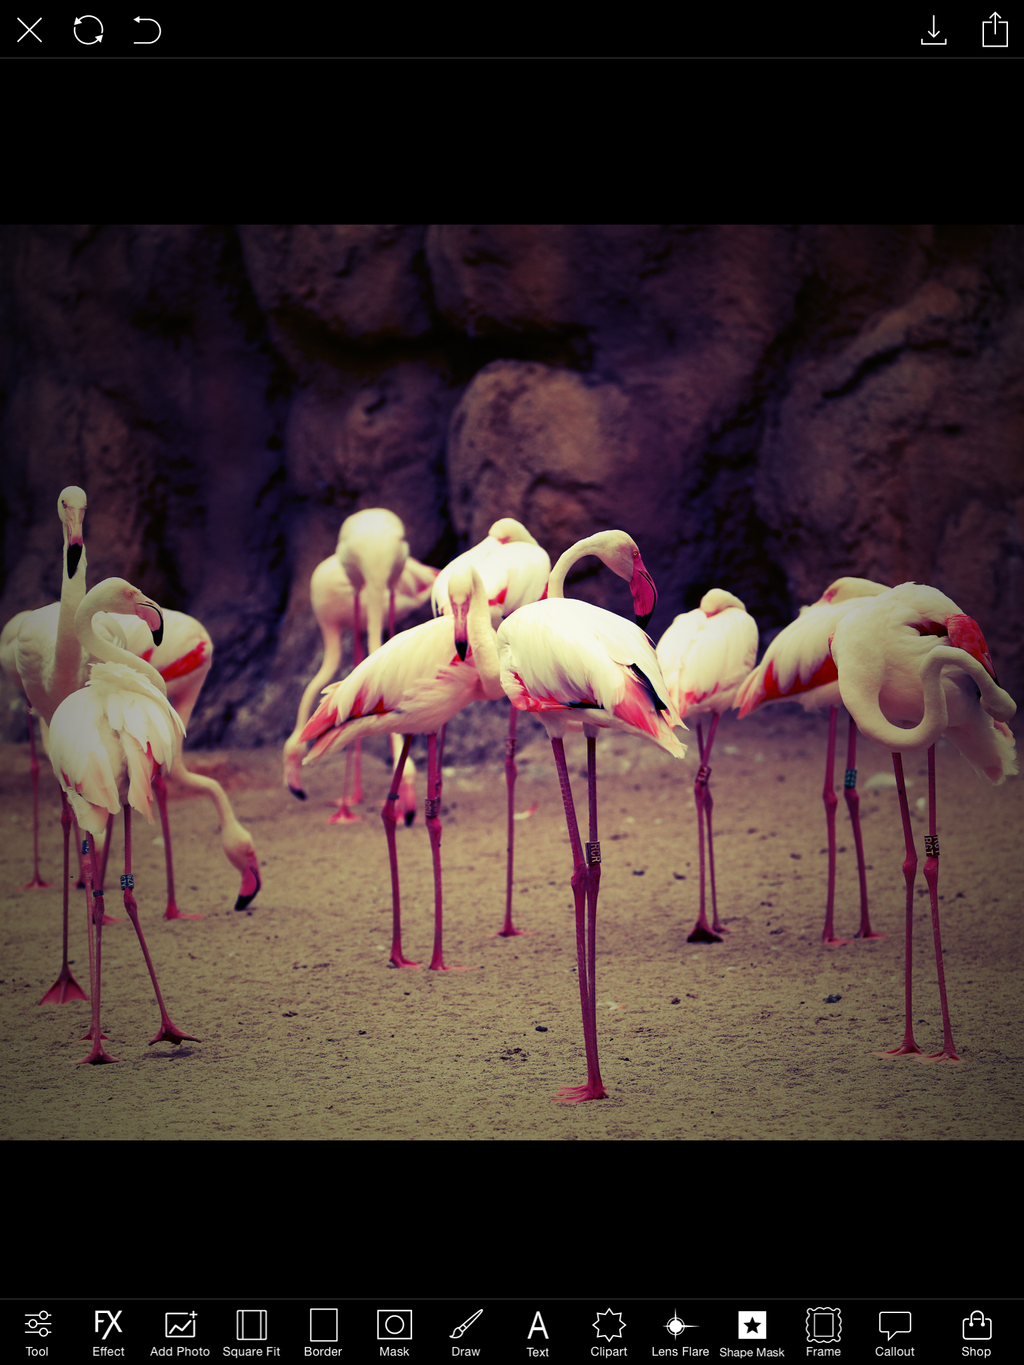
Open your image in the photo editor. Tap on Effect and select the Lomo Effect from the Fx section.
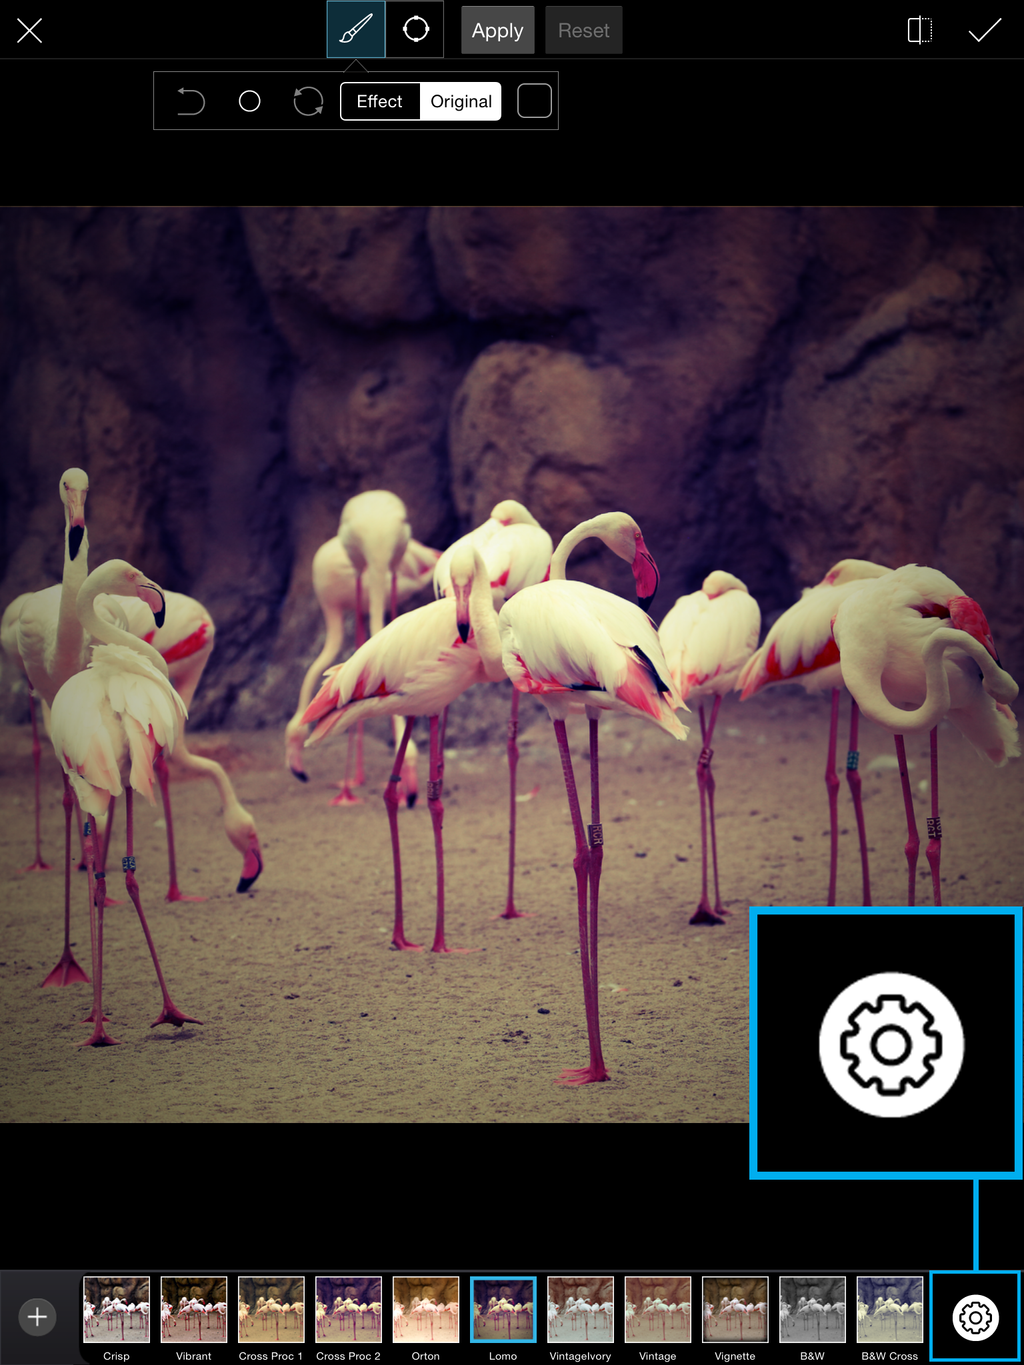
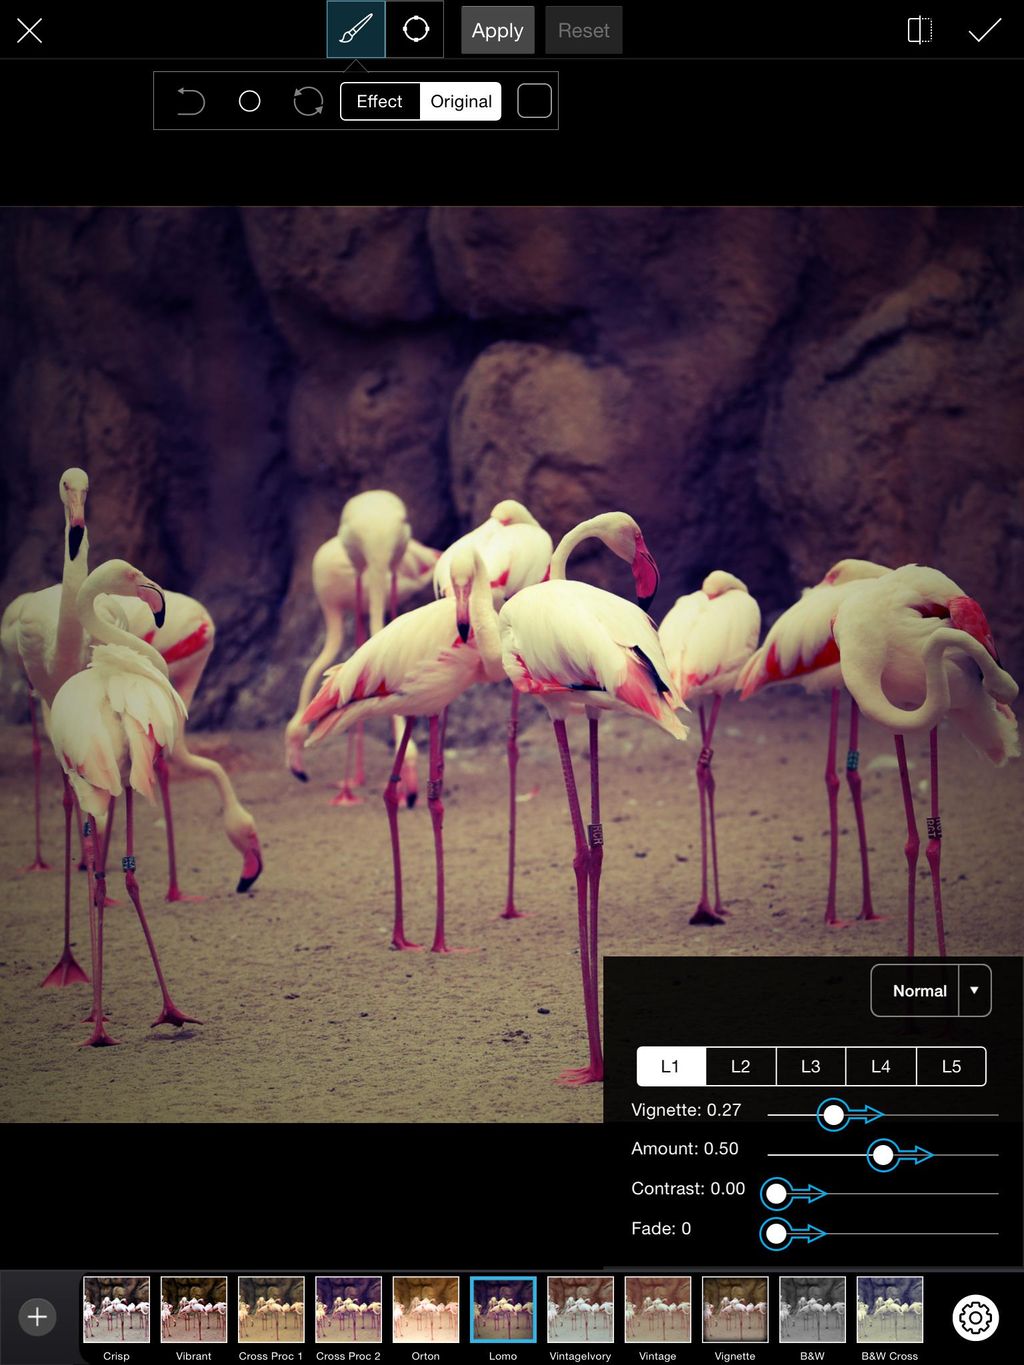
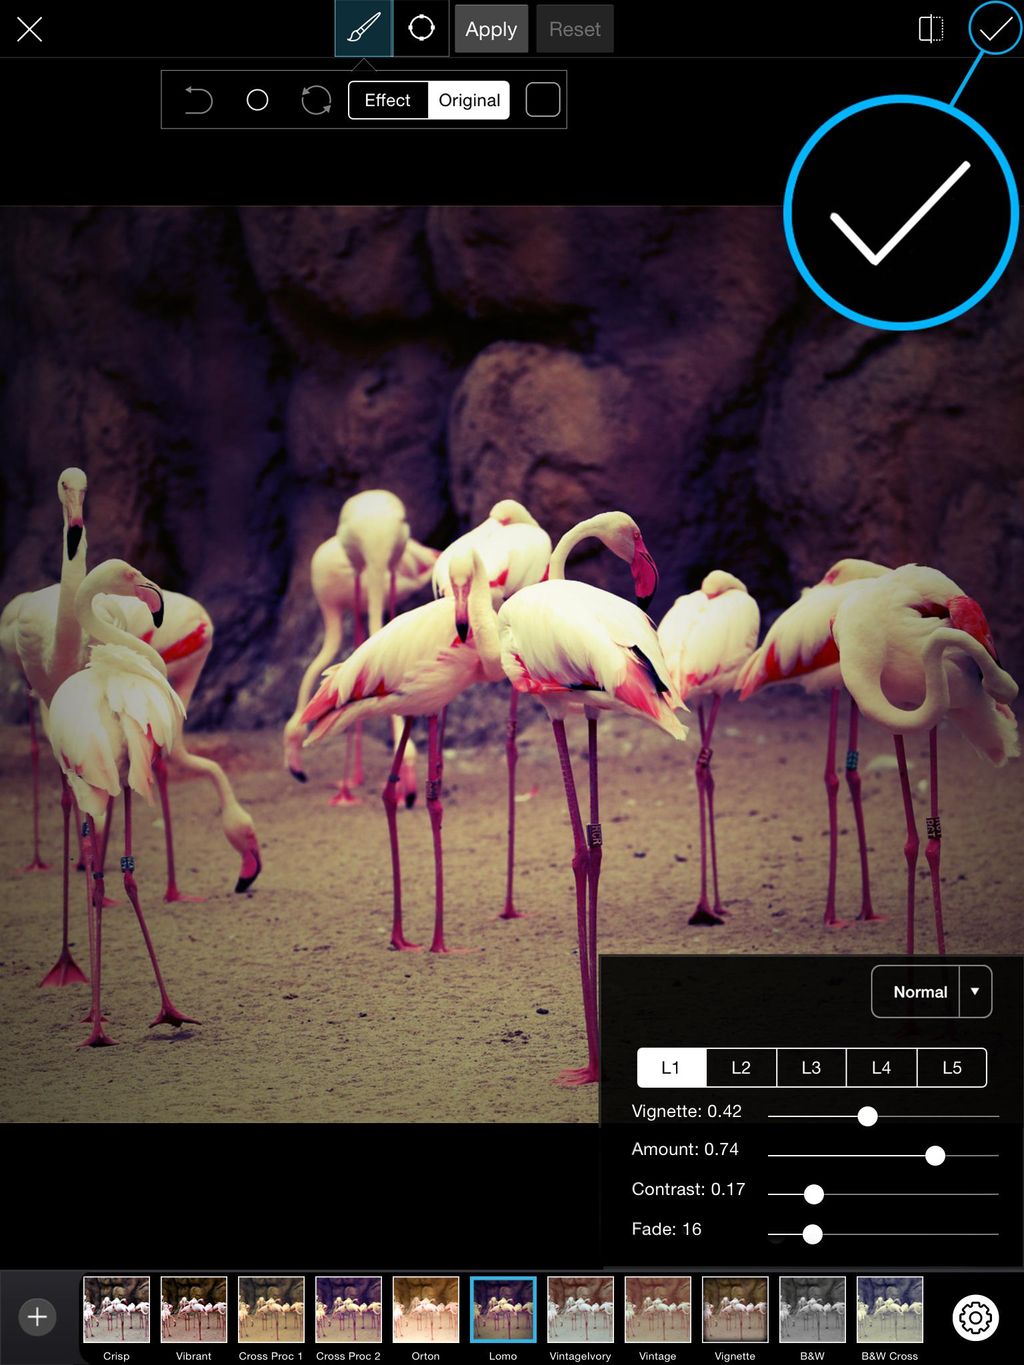
Step 2: Customize Effect
Tap on the gear icon to open the Effect settings menu. Use the sliders to customize your Effect.
Step 3: Confirm, Save, and Share!
When you’re happy with your Effect, tap on the check mark to confirm. Save your image and share it with the hashtag #LomoEffect.


0 comments: