Tutorials

In this tutorial, we’ll show you how to use PicsArt’s collage maker to create your own collage. Follow along to learn how to do it, and then start creating your own! Share your creation with the hashtag#Collage.


How To Use PicsArt’s Collage Maker

In this tutorial, we’ll show you how to use PicsArt’s collage maker to create your own collage. Follow along to learn how to do it, and then start creating your own! Share your creation with the hashtag#Collage.
Step 1: Open Collage Maker
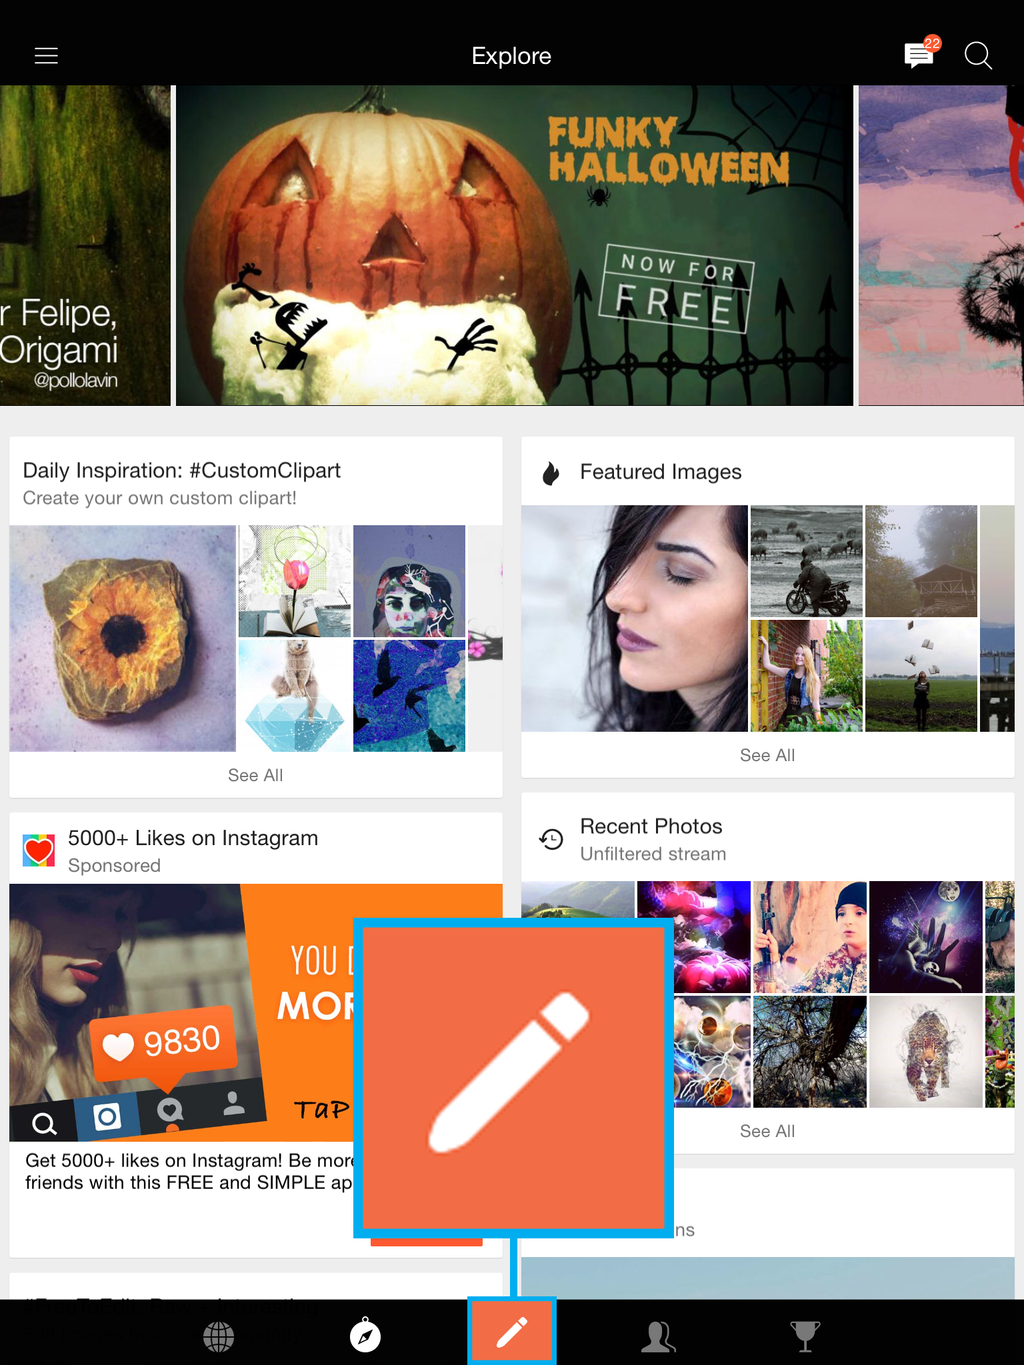
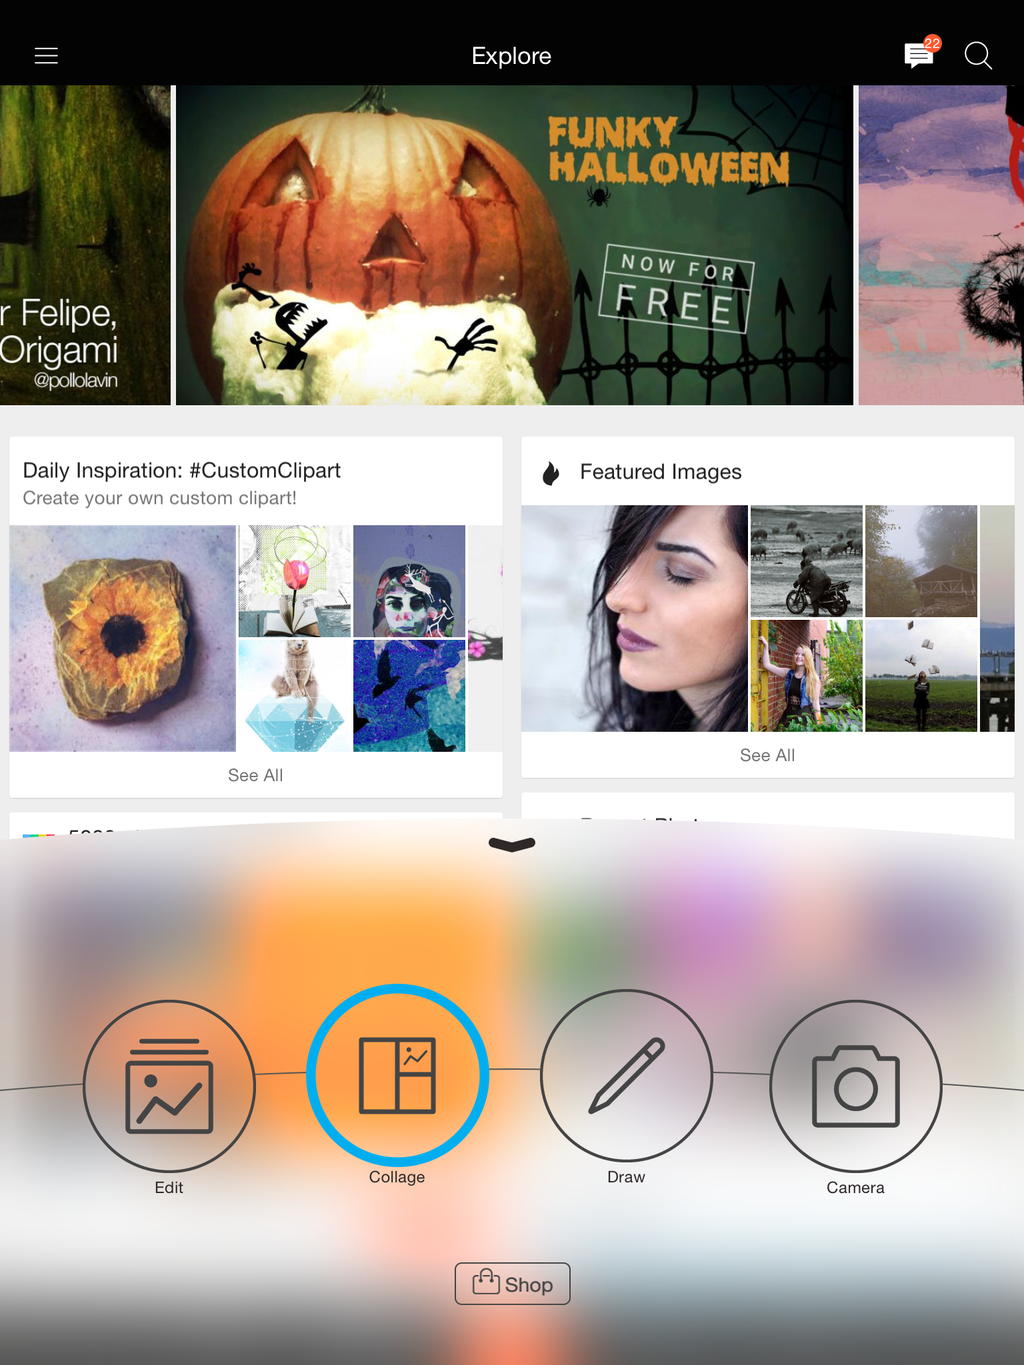
Tap on the orange pencil icon and select Collage.


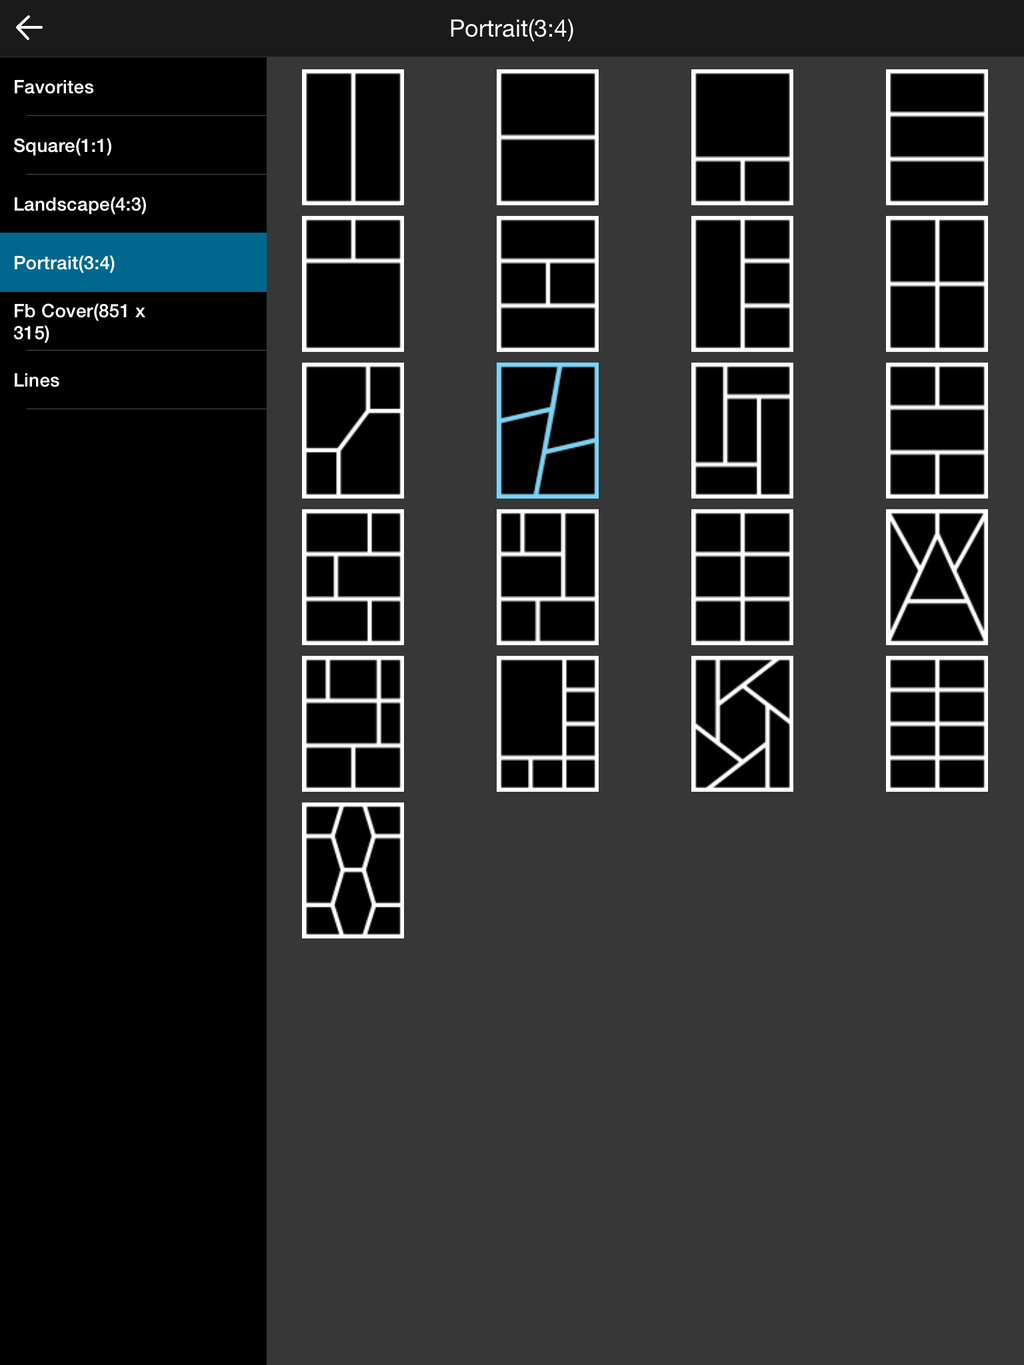
Step 2: Select Grid
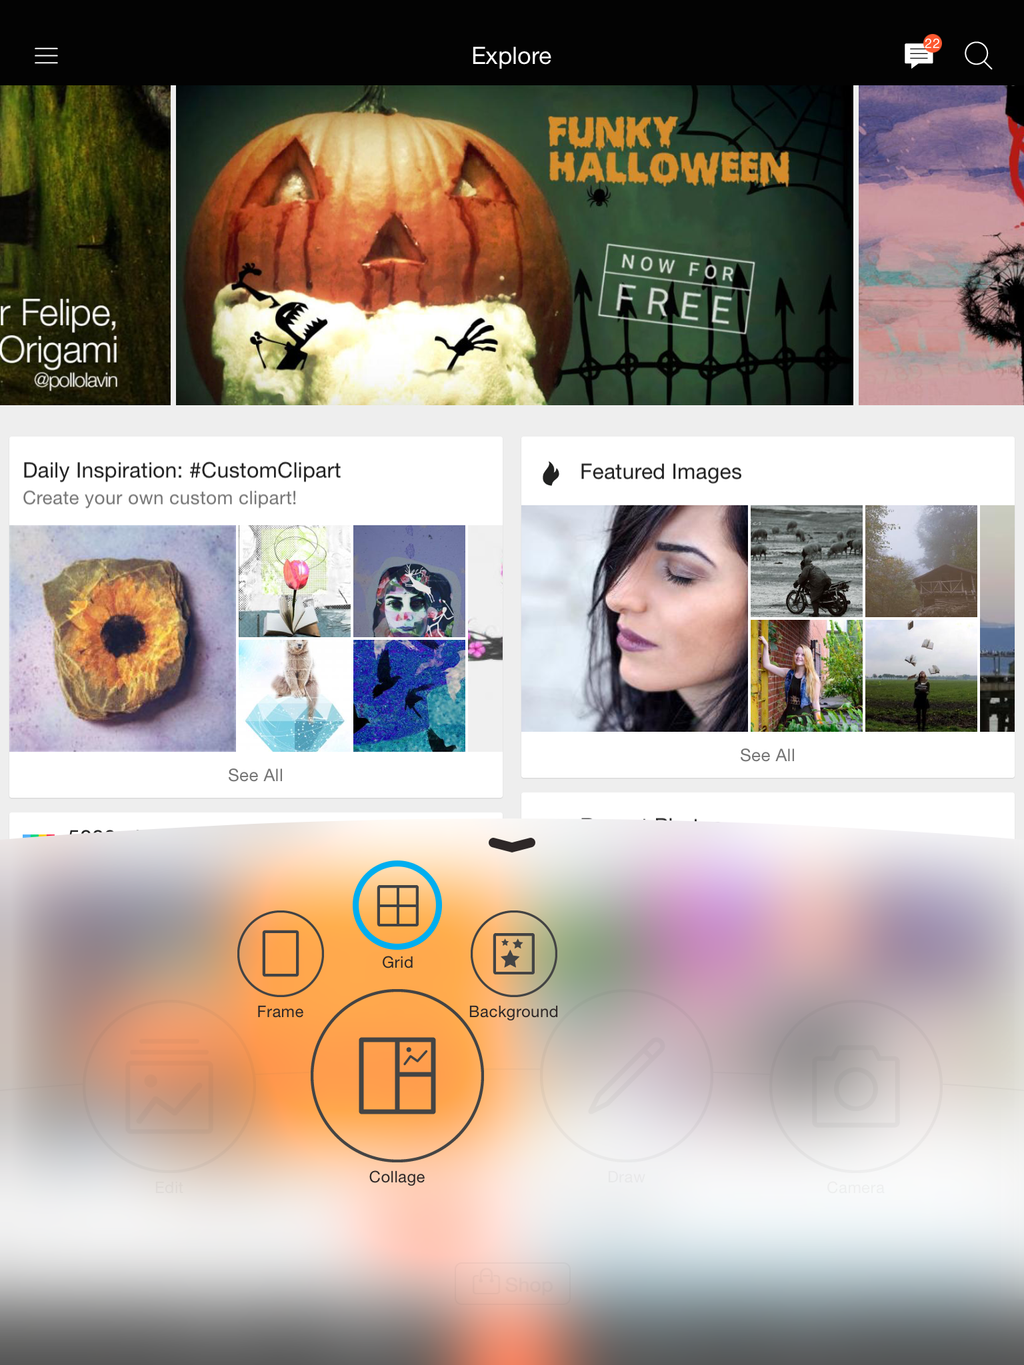
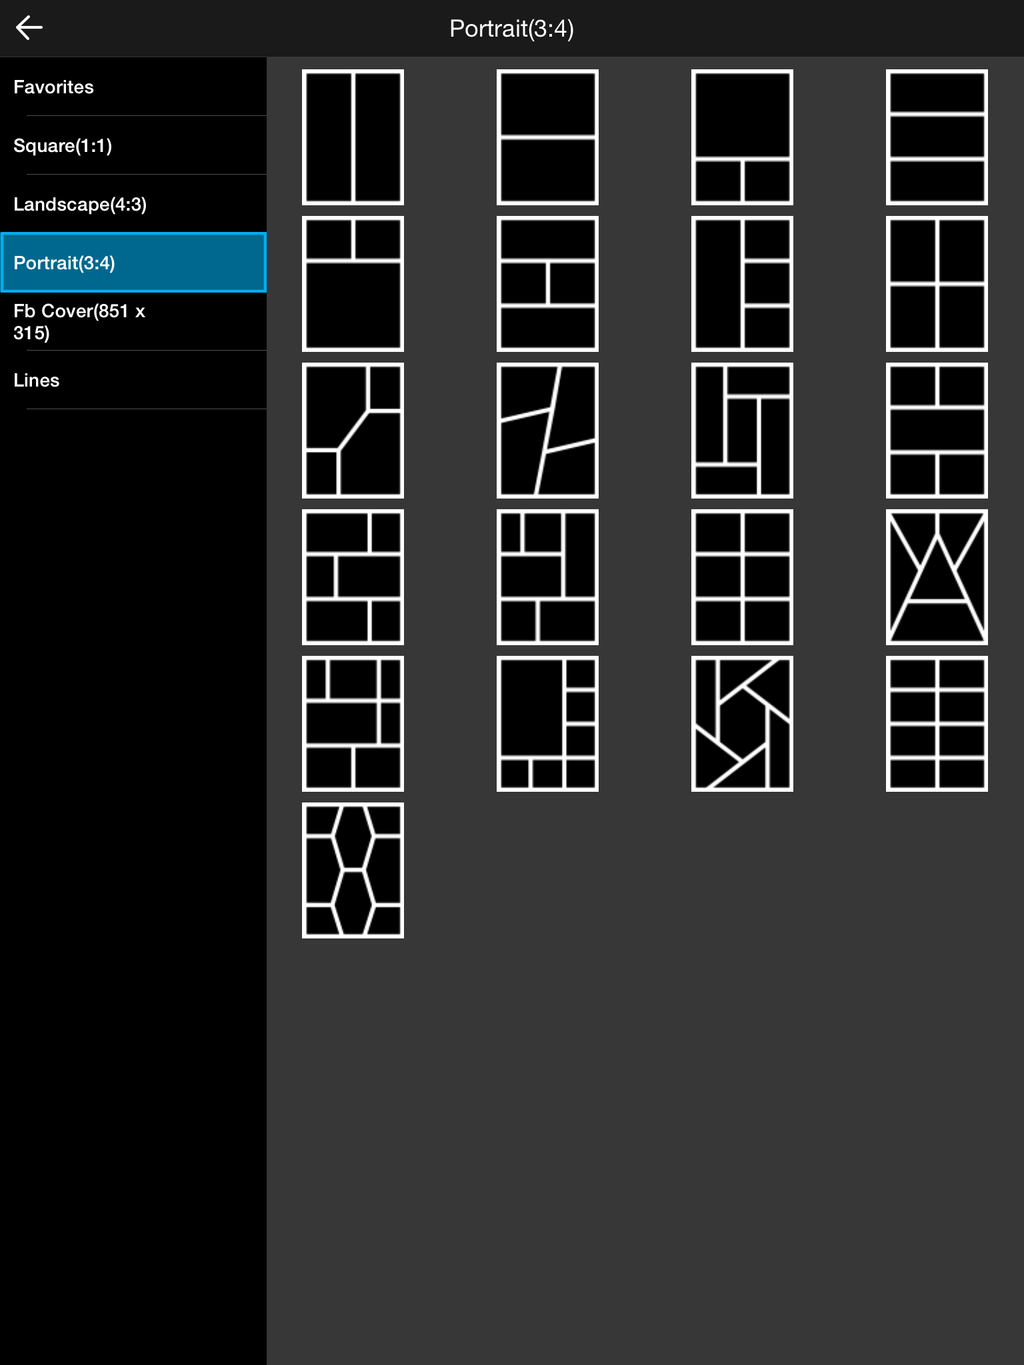
Tap on Grid and select the Portrait section.


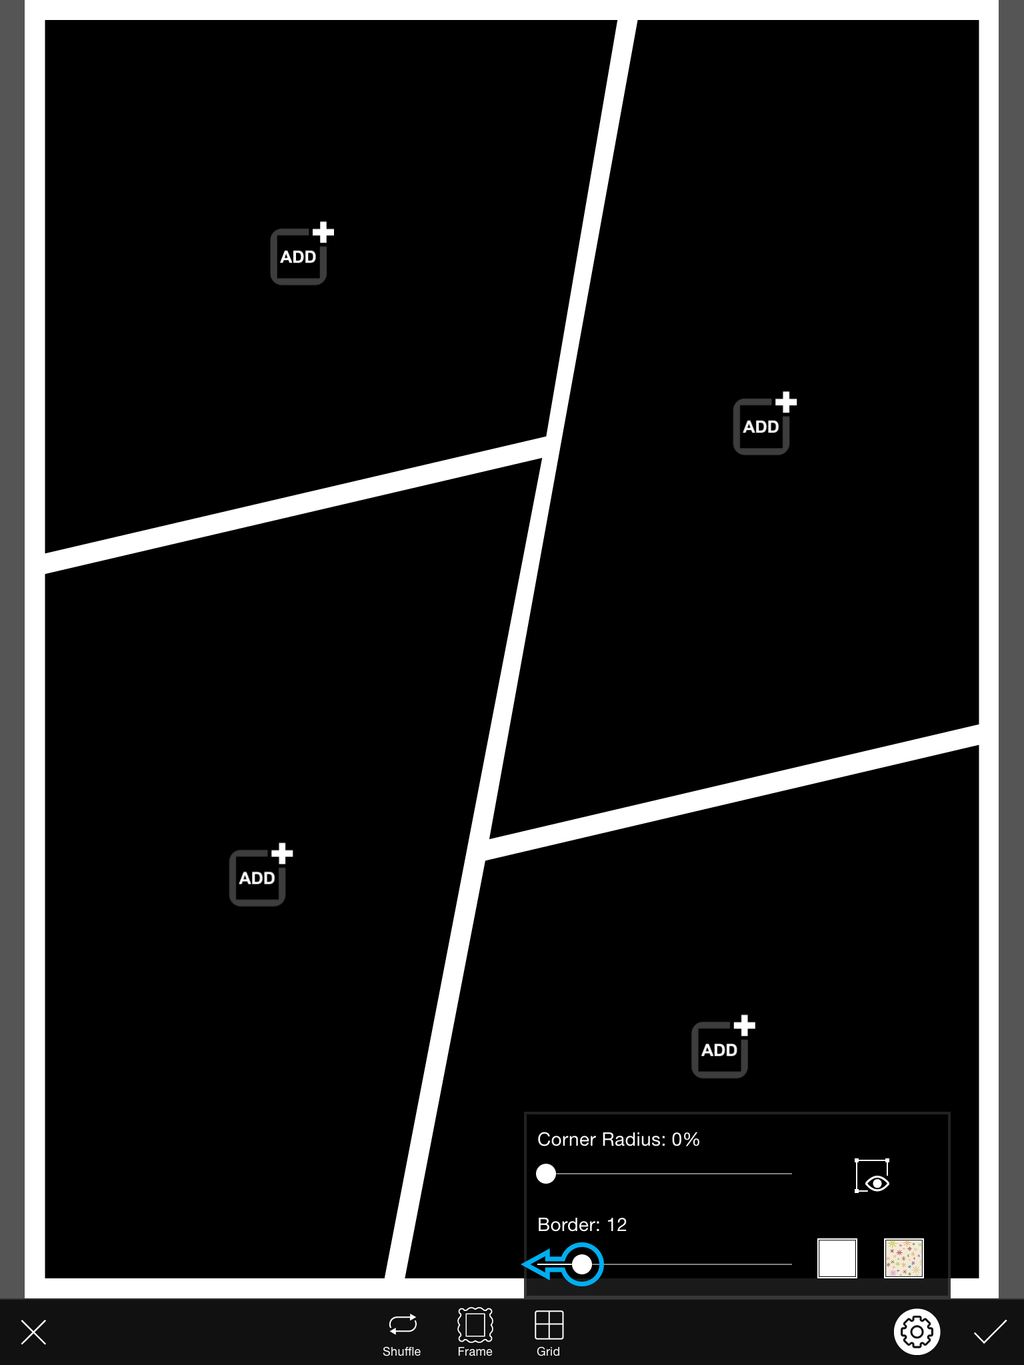
Step 3: Adjust Border
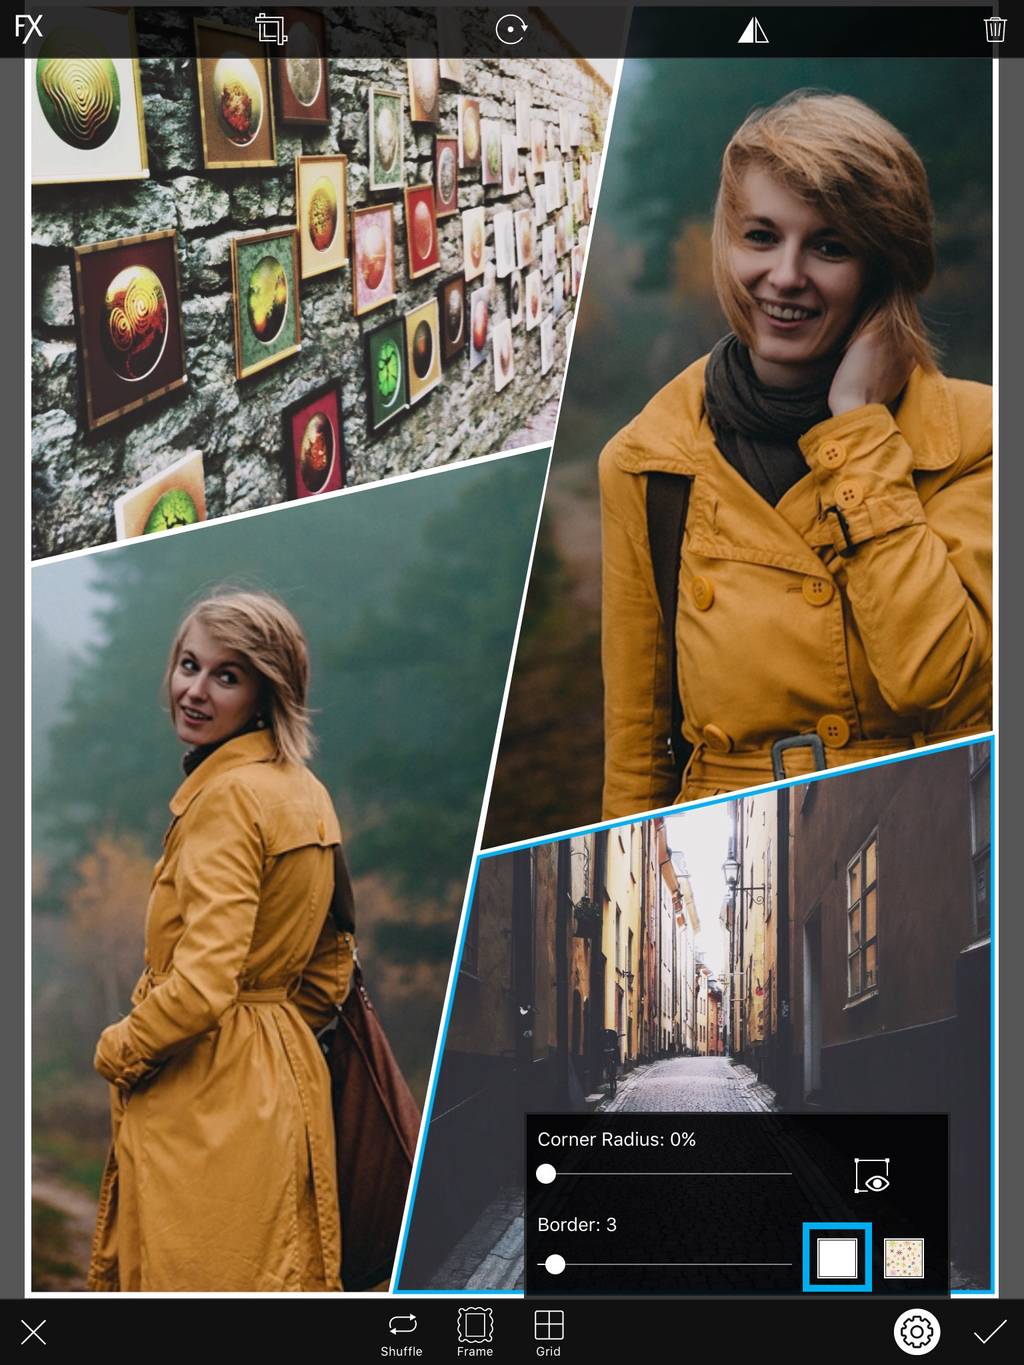
Select the collage template you would like to use. If you’re using an iOS device, the settings tab will automatically pop up. If you’re using an Android device, tap on the gear icon to open the settings tab. Use the slider to adjust the border.


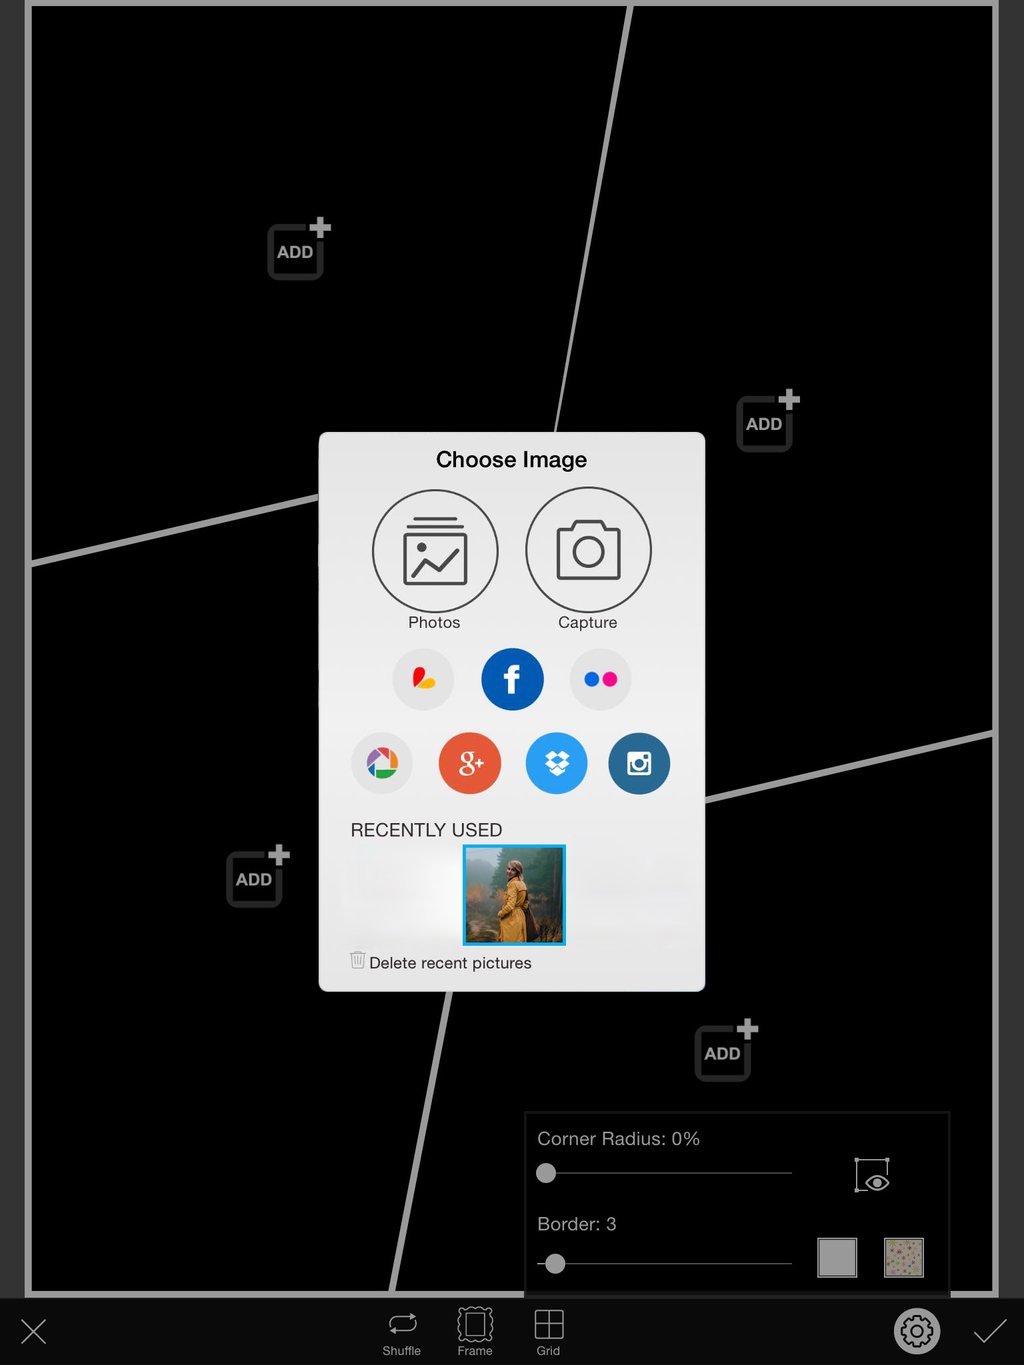
Step 4: Add Photo
Tap on the Add icon and select your first image..


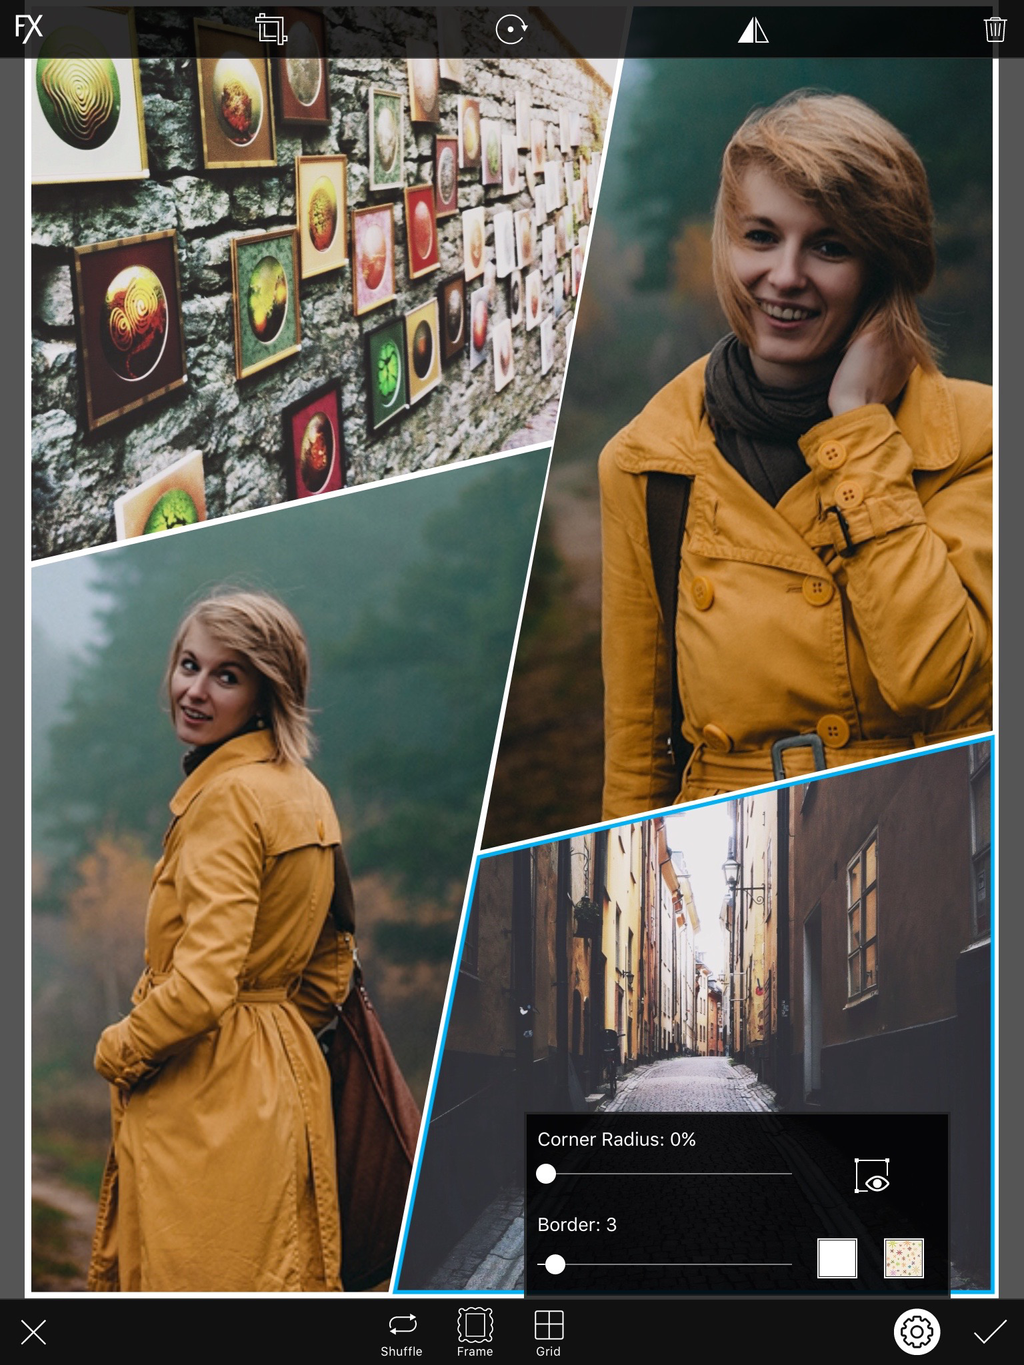
Step 5: Fill Collage
Repeat until your whole collage is filled.


Step 6: Select Border Color
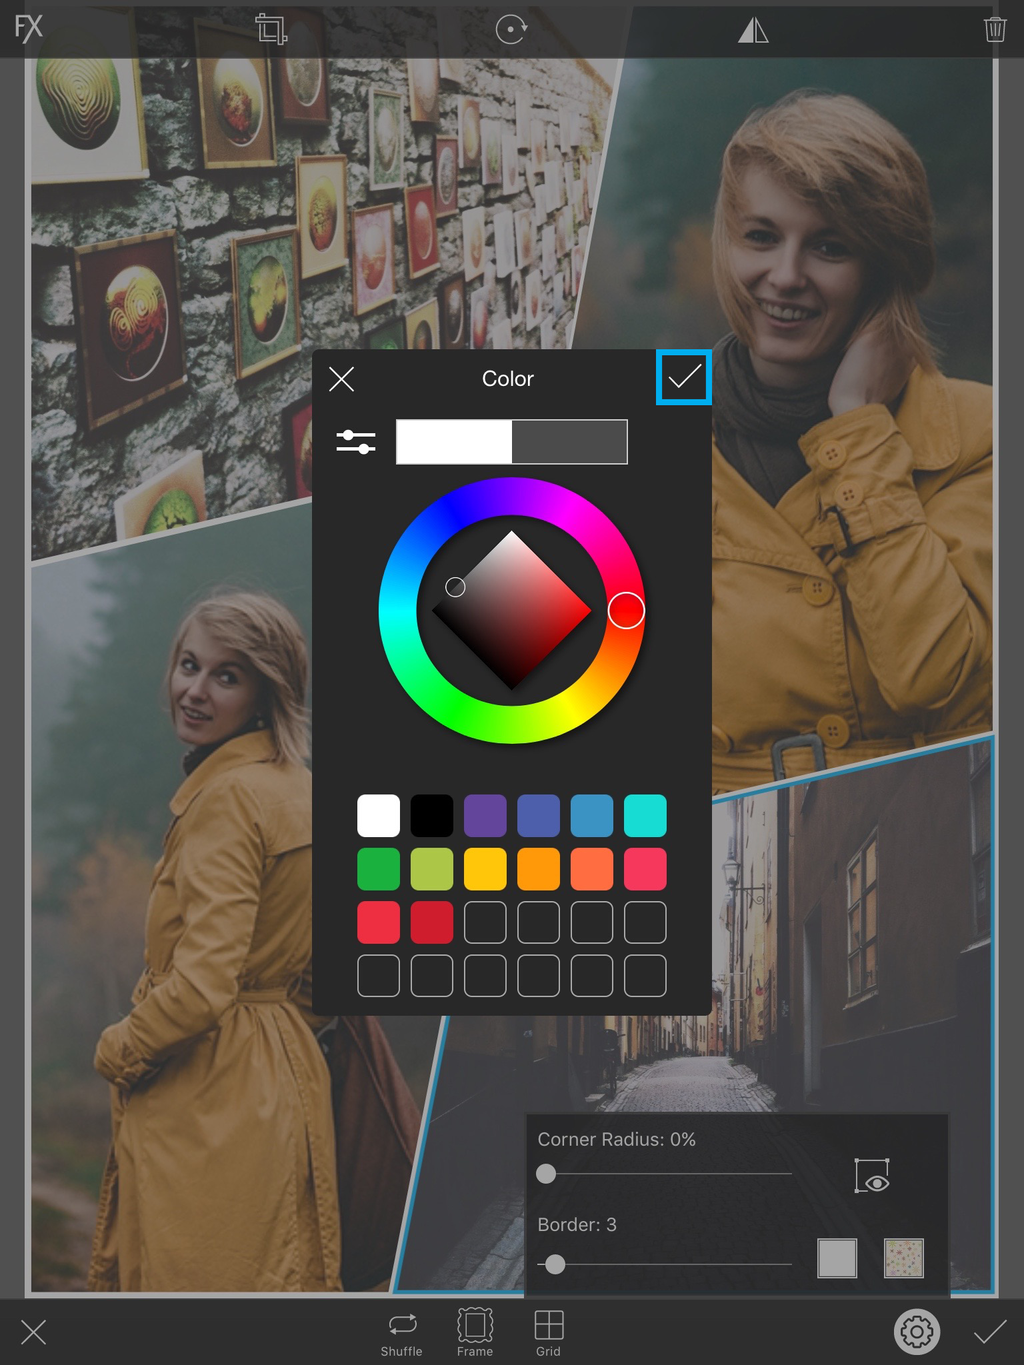
Tap on the white square to change the color of your border. Select the color you would like to use, and tap on the check mark to confirm.


Step 7: Confirm & Save
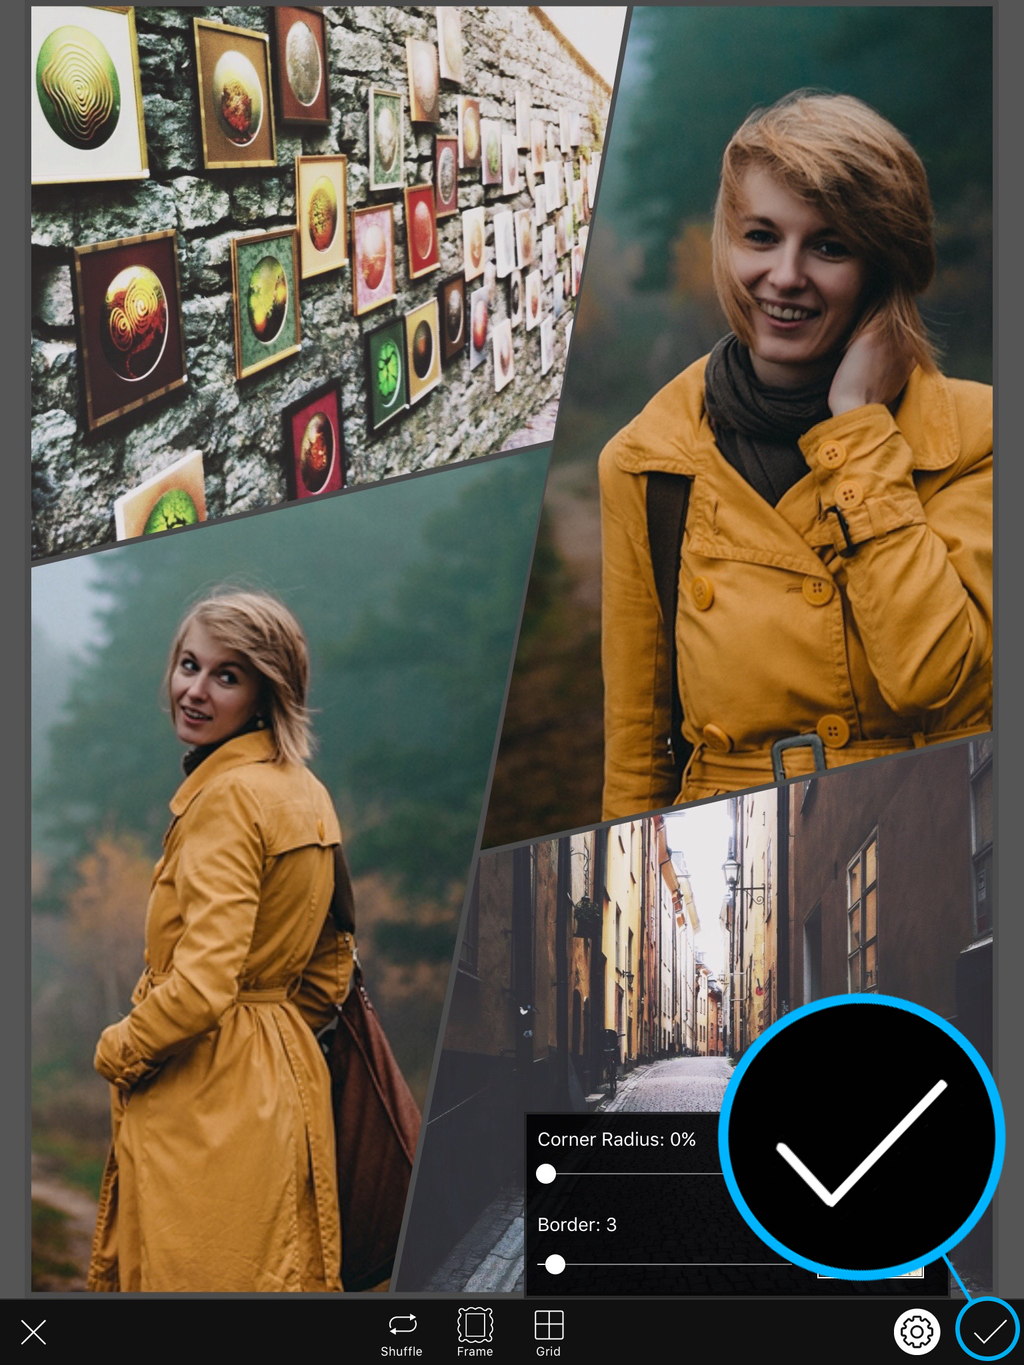
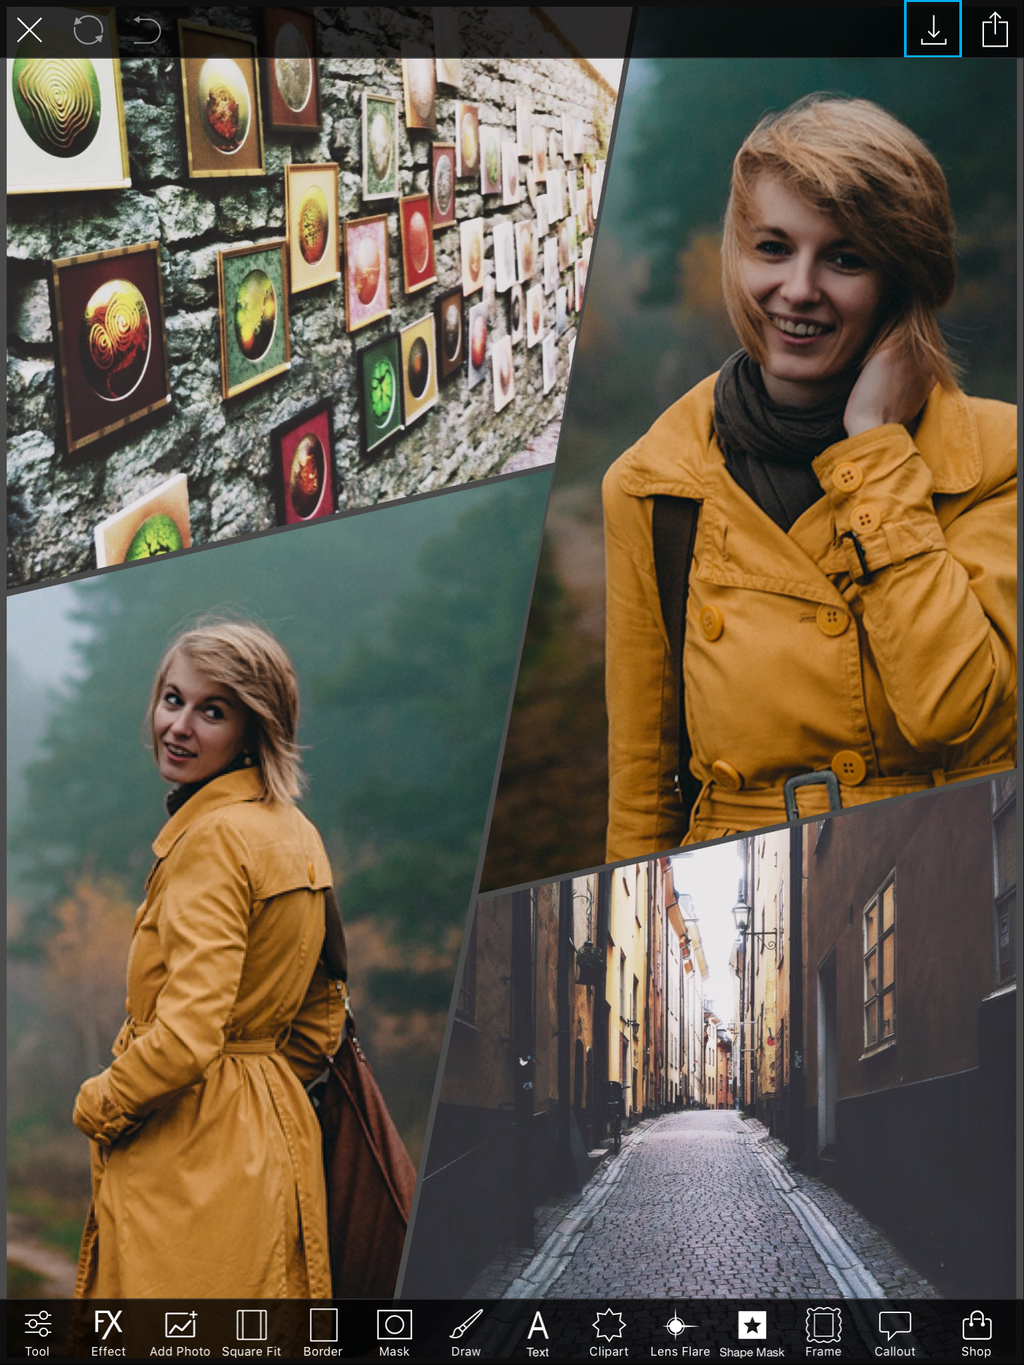
When you’re done with your collage, tap on the check mark to close the collage maker and open your image in the photo editor. Save your work and share it with the hashtag #Collage!


0 comments: