
Tutorials


Create A Starry Sky With The PicsArt Photo Editor
In this tutorial, we’ll show you how to add stars to any sky using the photo editor. Read on to learn more!
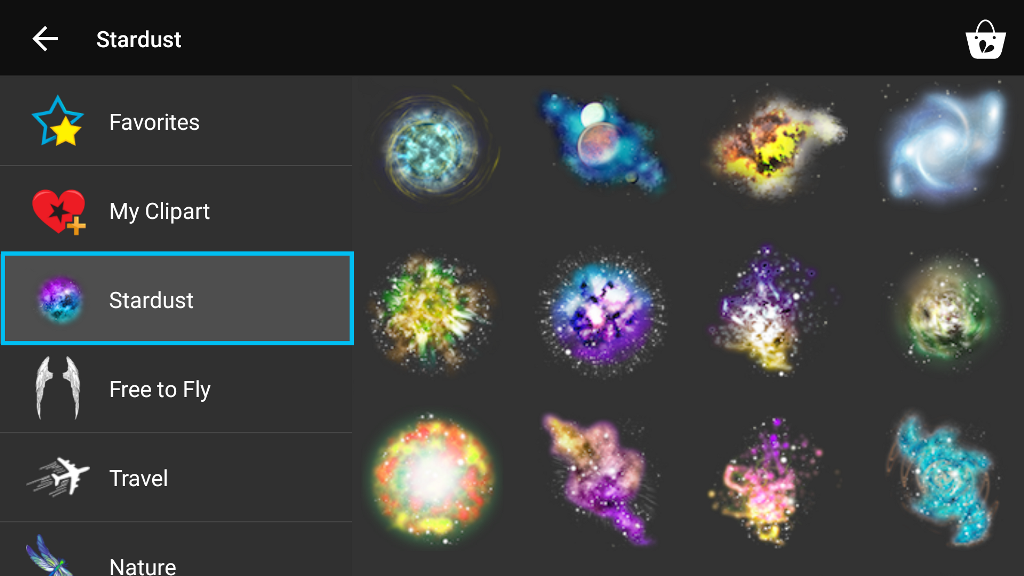
Step 1: Open Clipart Menu
Open your image in the photo editor. Tap on Clipart and select the Stardust clipart package.
Step 2: Select Image
Select the clipart image you would like to use. Enlarge and rotate the image so that it fills the sky.
Step 3: Reduce Opacity
Use the slider to reduce the opacity of the clipart image. Tap on the paintbrush icon.
Step 4: Erase
Use your finger to erase part of the clipart image. Tap on the check mark to confirm.
Step 5: Open Clipart Menu
To open the Clipart menu again, tap on the plus sign and select Clipart.
Step 6: Add Clipart Image
Repeat the same process to add additional clipart images. When you’re done, tap on the check mark to confirm. Save your work and share it!


0 comments: