
TutorialsCoffee Overlay Picart TuTorial
Coffee Overlay Picart TuTorial
02:06:00
royal pic.world
0 Comments
02:06:00 royal pic.world 0 Comments
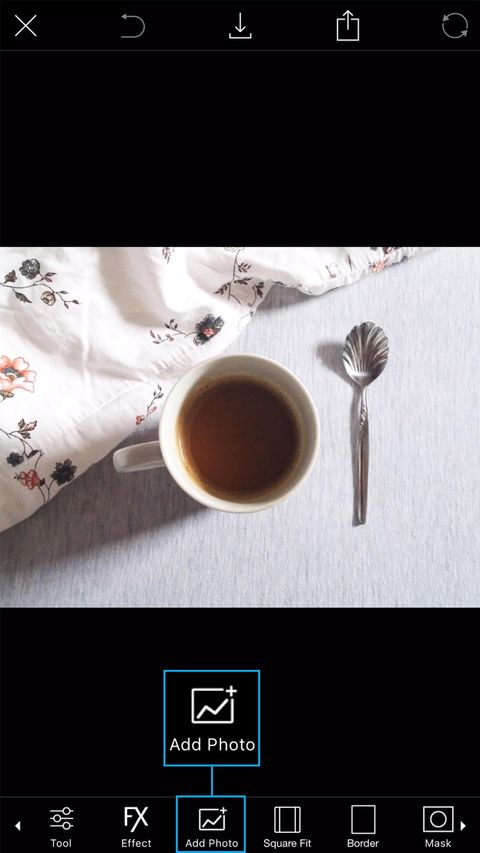
Give those flat lay photos a little extra love! In this tutorial, we show you how to overlay a scene into your coffee cup.
 | Step 1
Open a photo of a cup of coffee (or tea!) in the photo editor. You can use one of your own photos, or find one by another user by searching for #FreeToEdit and #Coffee in the app. Tap on the Add Photo icon.
|
 | Step 2
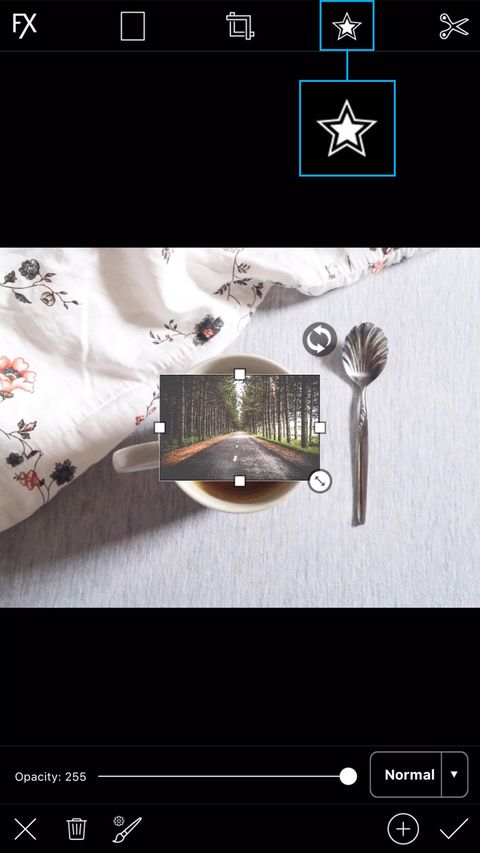
Select a photo of a road. Tap on the star icon to open the Shape Crop Tool.
|
 | Step 3
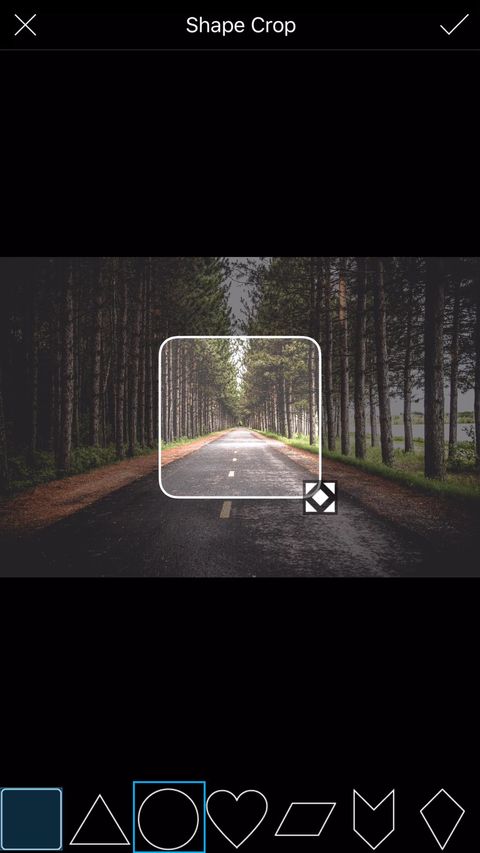
Select the circular option.
|
 | Step 4
Use the square icon in the bottom right corner of the shape to enlarge it.
|
 | Step 5
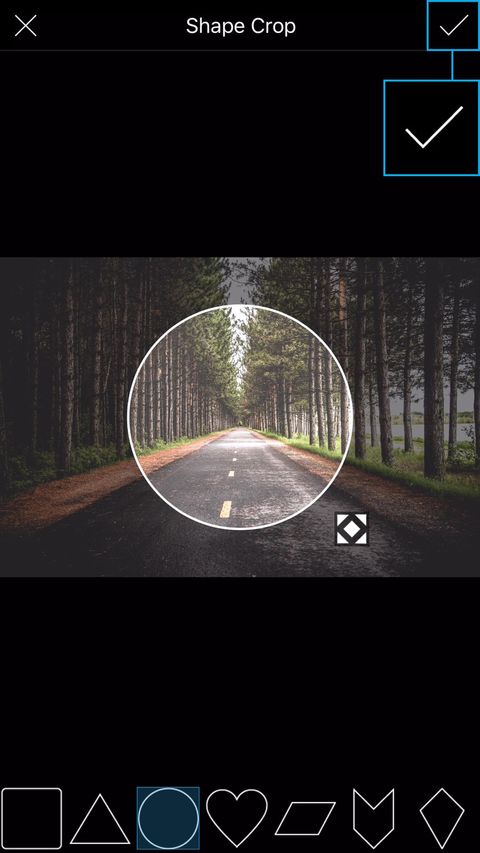
Tap on the check mark to confirm the crop.
|
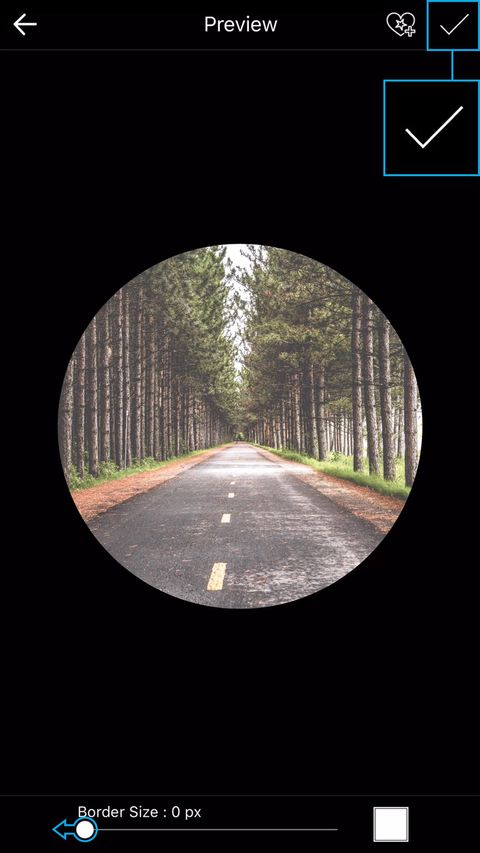 | Step 6
Use the slider at the bottom of the screen to bring the border size down to zero pixels. Tap on the check mark to confirm.
|
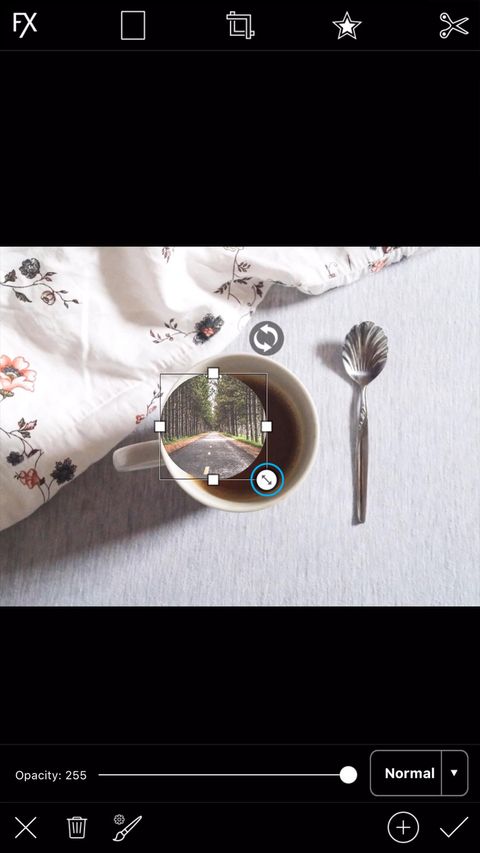 | Step 7
Use the arrows icon in the bottom right corner of the added image to enlarge it. Drag the image to place it over your coffee cup.
|
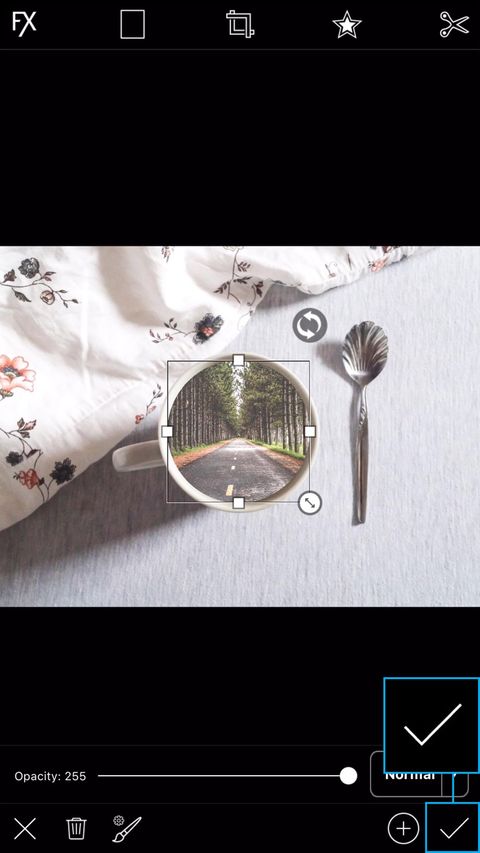 | Step 8
Tap on the check mark to confirm.
|
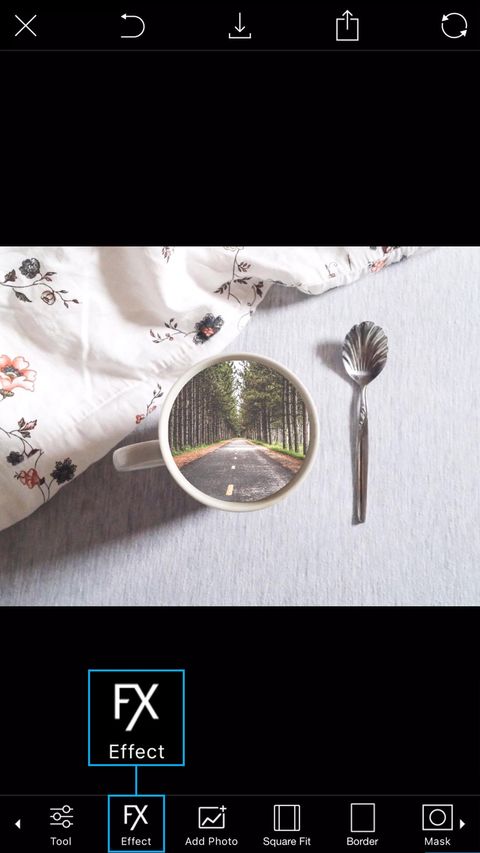 | Step 9
Tap on the Effect icon.
|
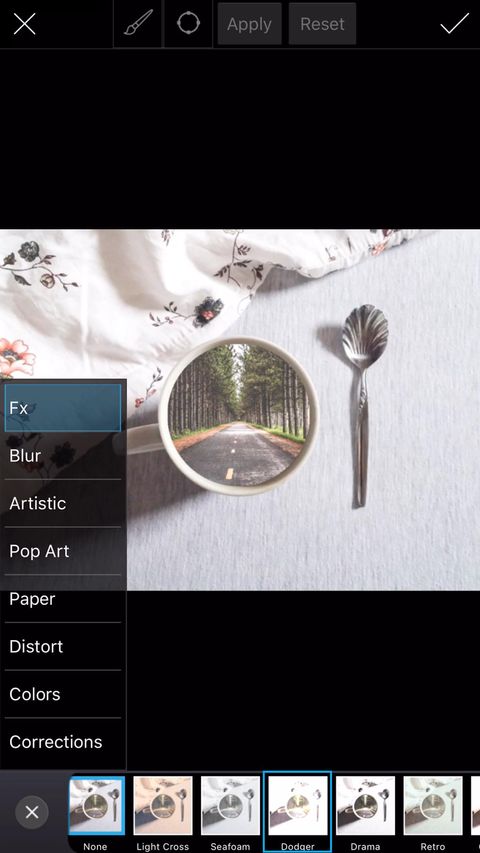 | Step 10
Select the Dodger Effect from the Fx section.
|
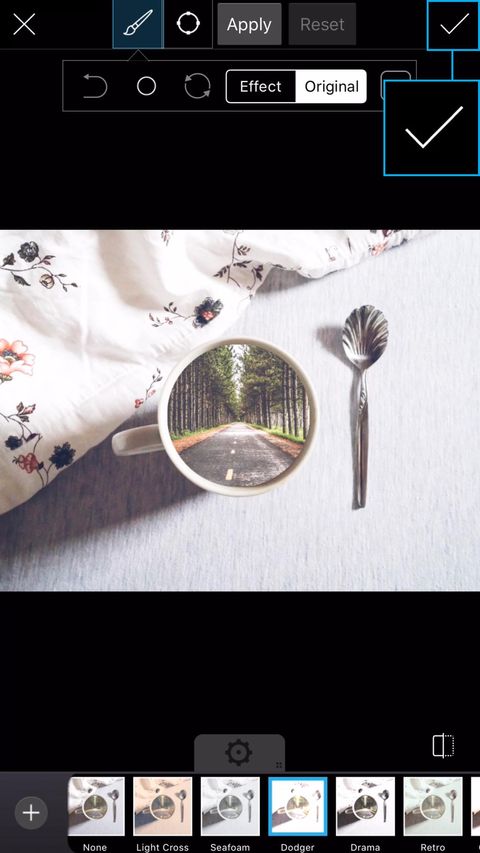 | Step 11
Tap on the check mark to confirm.
|
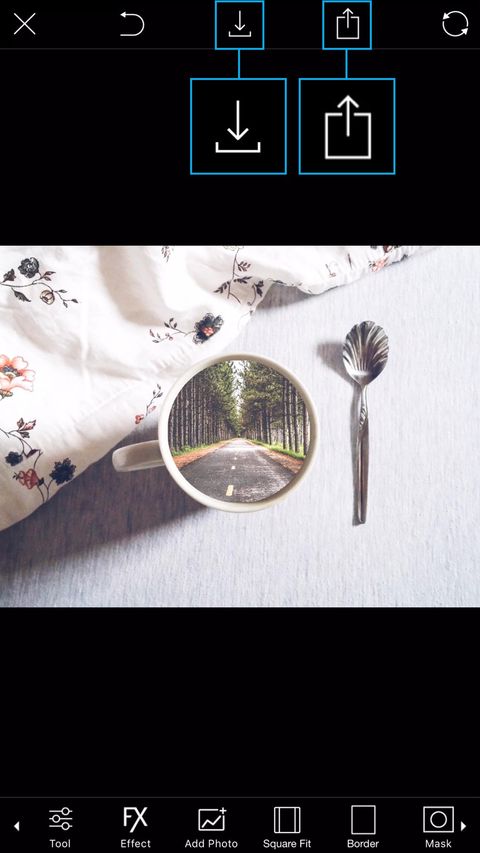 | Step 12
Tap on the Save icon to save your edit. Tap on the Share icon to share it on PicsArt with the hashtag #CoffeeOverlay!
|
Tags: Tutorials
Shannon Holmes
Lorem ipsum dolor sit amet, cotur acing elit. Ut euis eget dolor sit amet congue. Ut vira codo matis. Sed lacia luctus magna ut sodales lorem.


0 comments: