
Tutorials
How To Create A Double Exposure With PicsArt
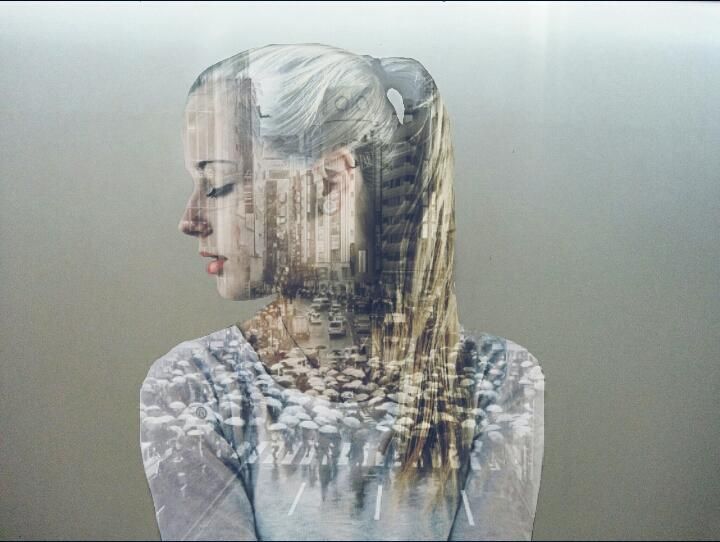
This tutorial shows you how to create an amazing double exposure using the PicsArt app. A double exposure is the skill of combining two photos into a single image.
Though it may sounds basic enough, this simple trick can create some really impressive artistic illusions, and this editing tutorial is the perfect example. Start with a simple portrait as your main photo and then integrate a scene from a busy street over it to create an awesome surreal portrait.
The final result will have your friends gushing in the comments section and asking you to spill the beans on your editing secrets. The best part is that it’s pretty simple to do; just follow the steps below.
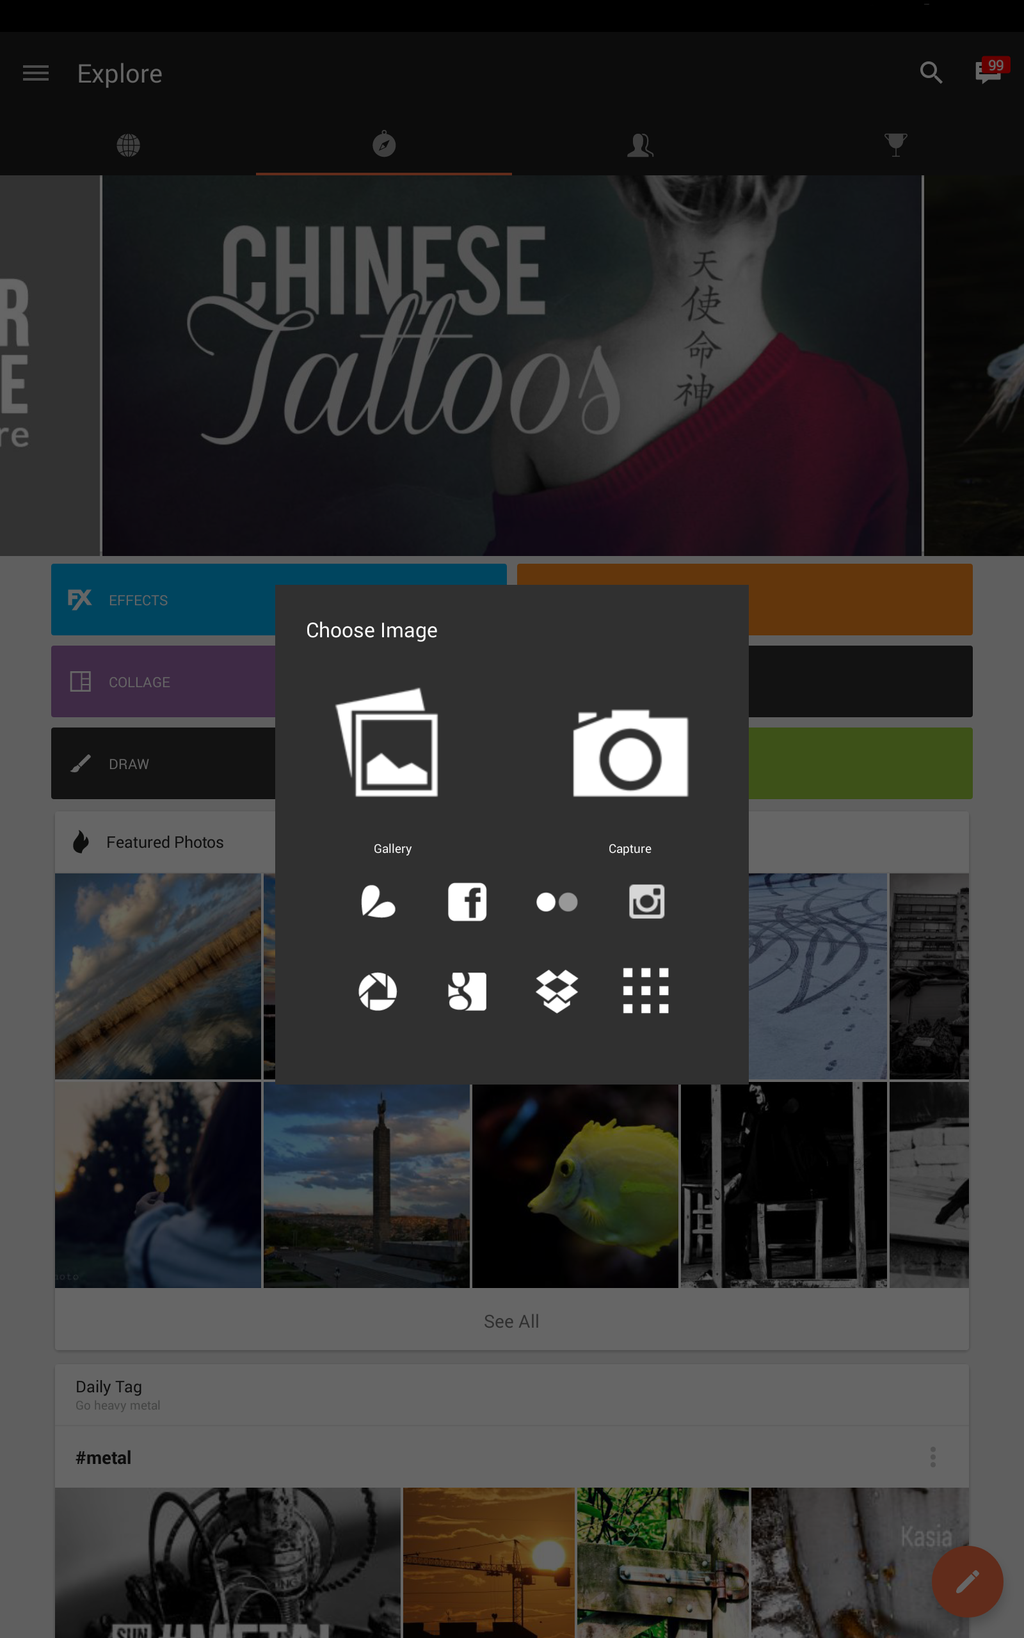
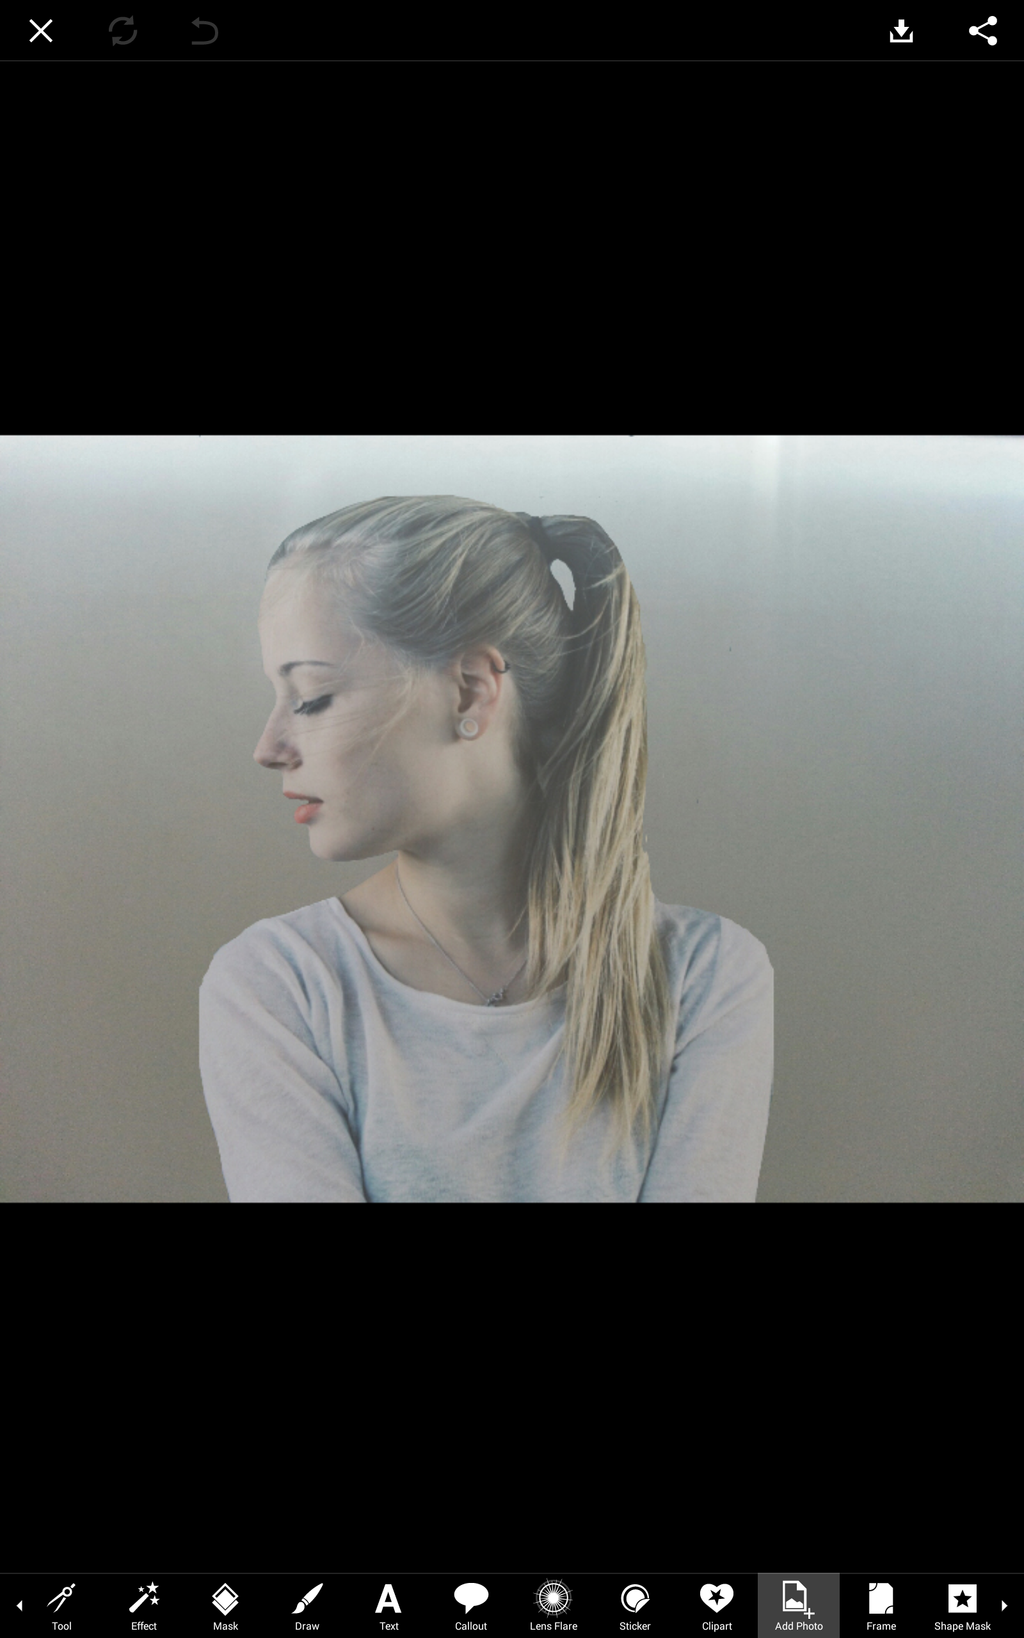
Step 1: Upload a Photo
Upload a photo, preferably a portrait of a person against a fairly uniform or neutral background.
Step 2: Add Photo
Select the Add Photo icon to add a second image. Choose an image of a busy street, preferably in black and white to avoid too many contrasting colors and confusion.
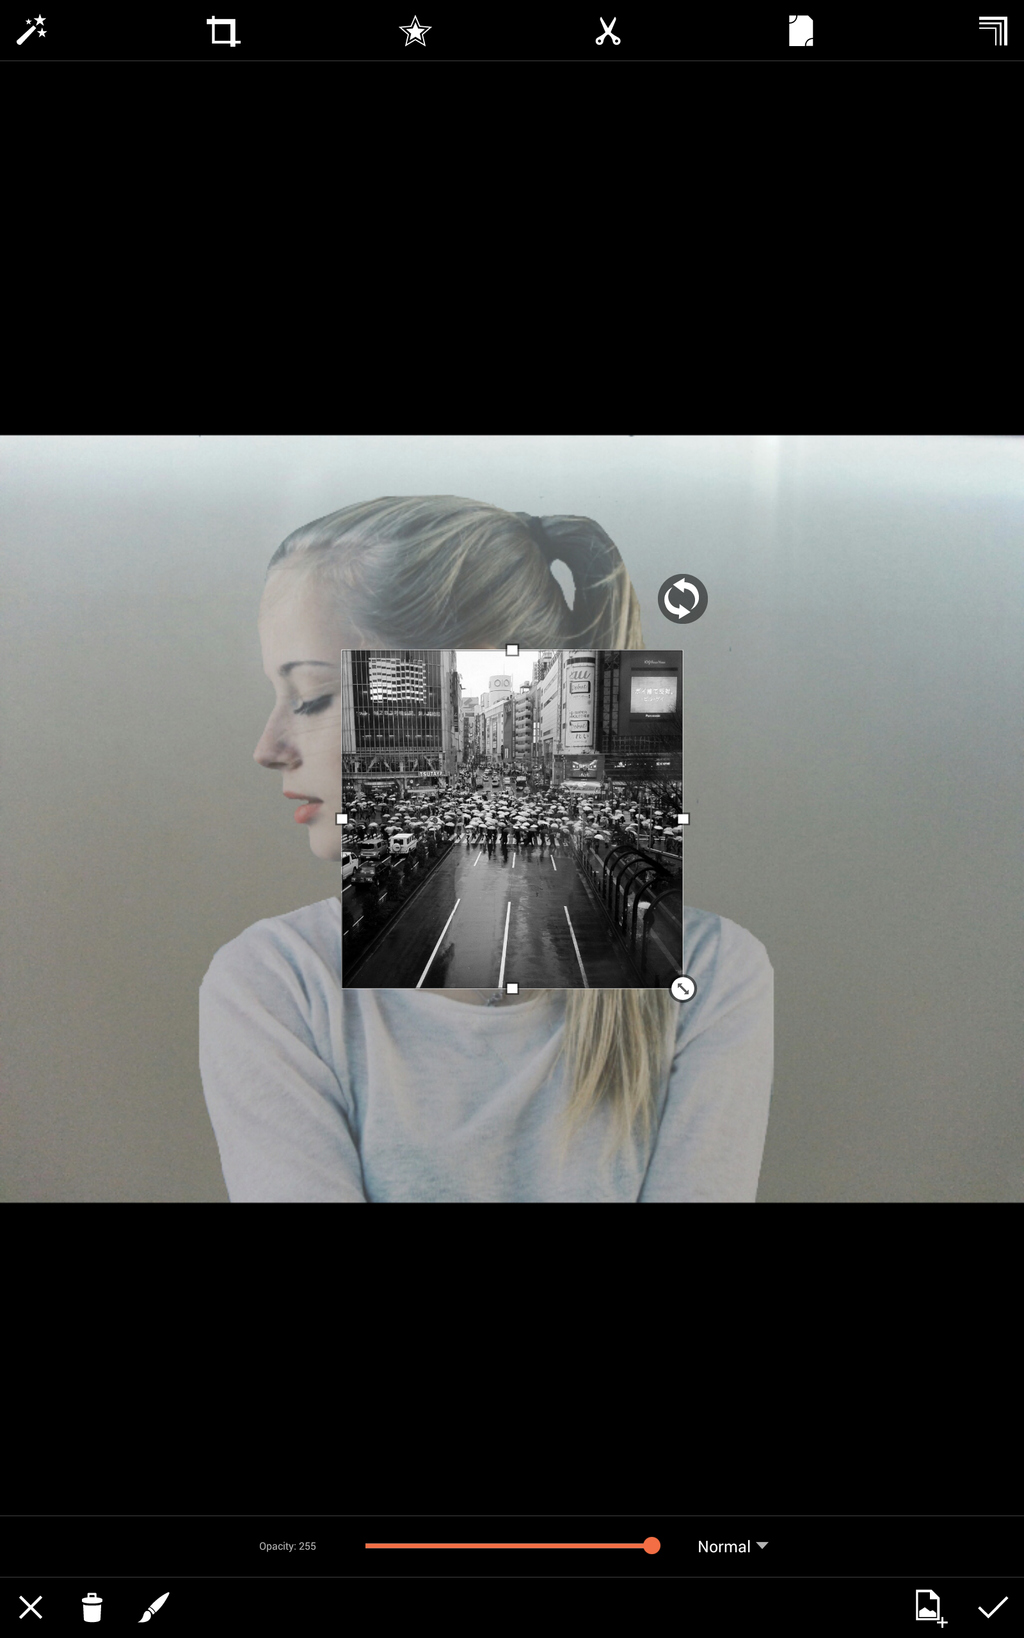
Step 3: Integrate Photo
Adjust the size of your image and fit it over your portrait. Reduce the opacity to make it semi-transparent.
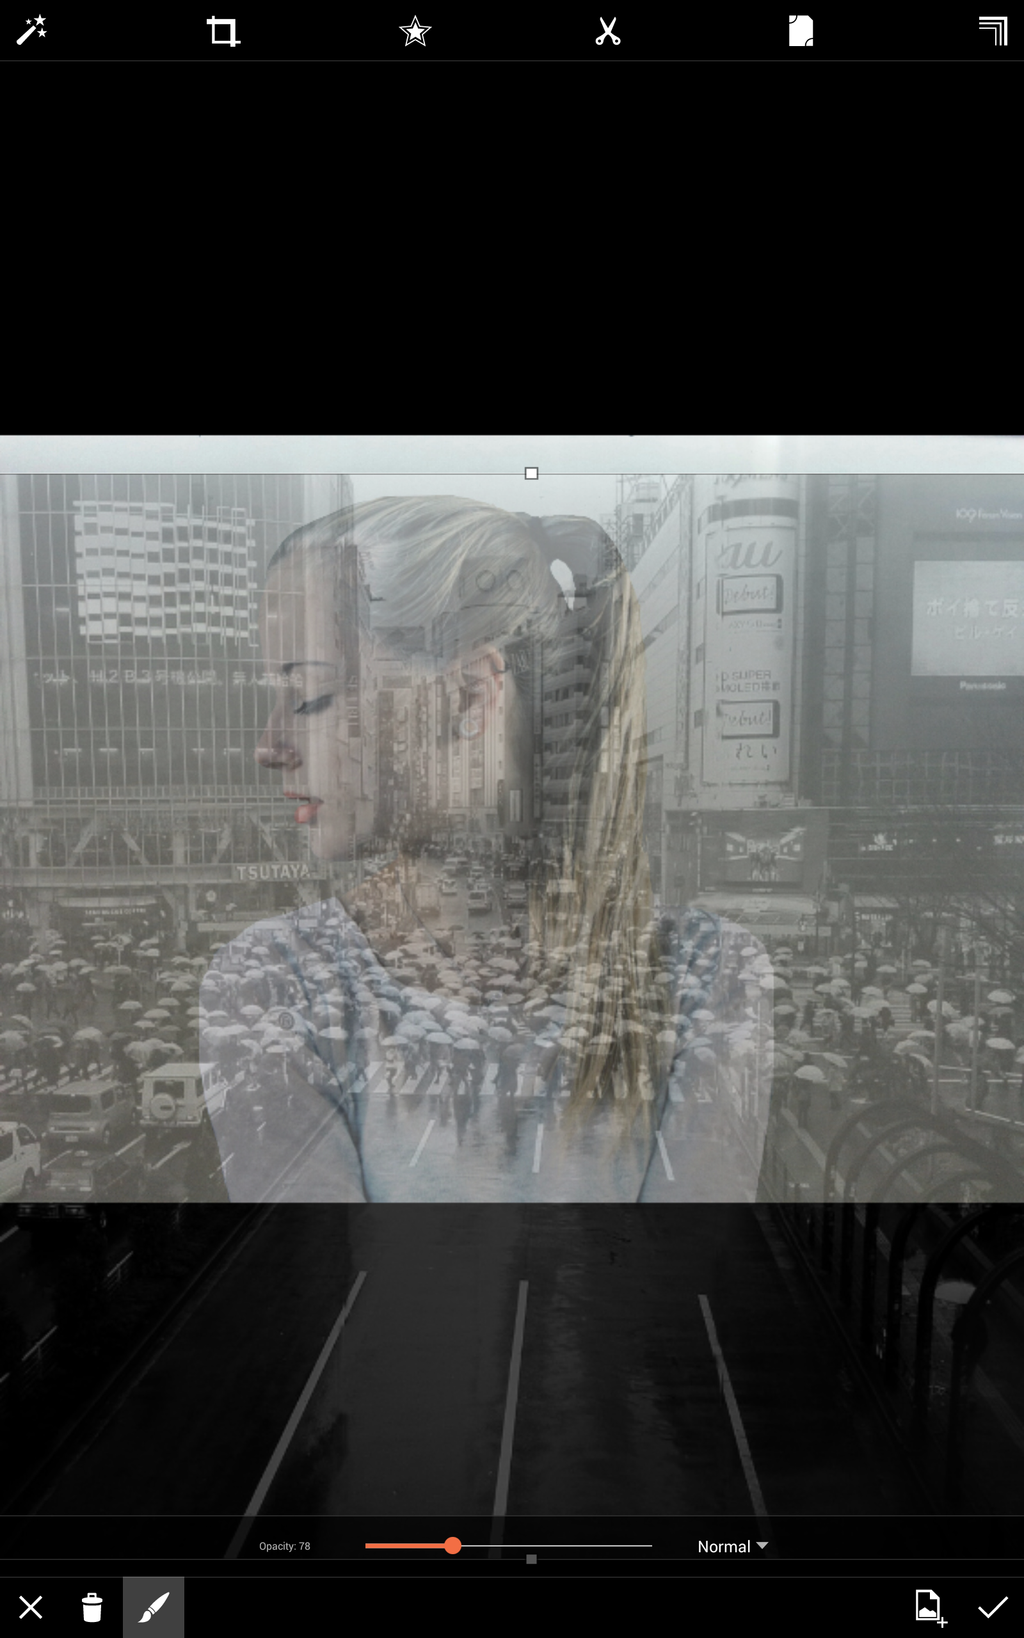
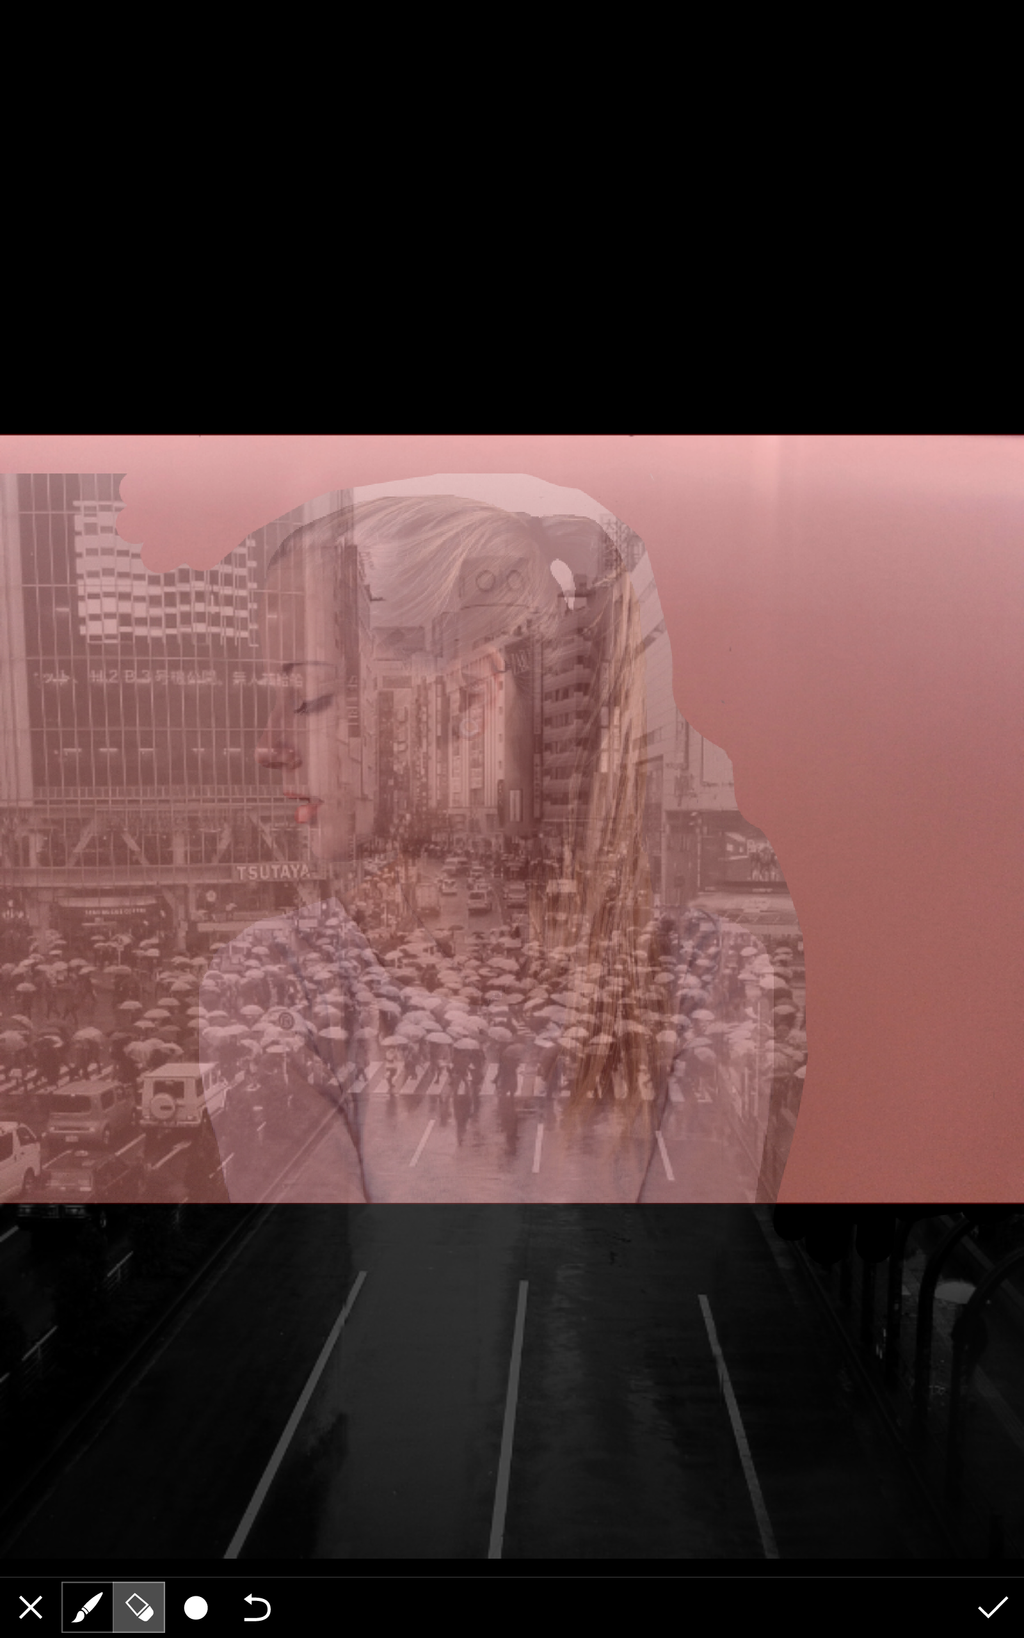
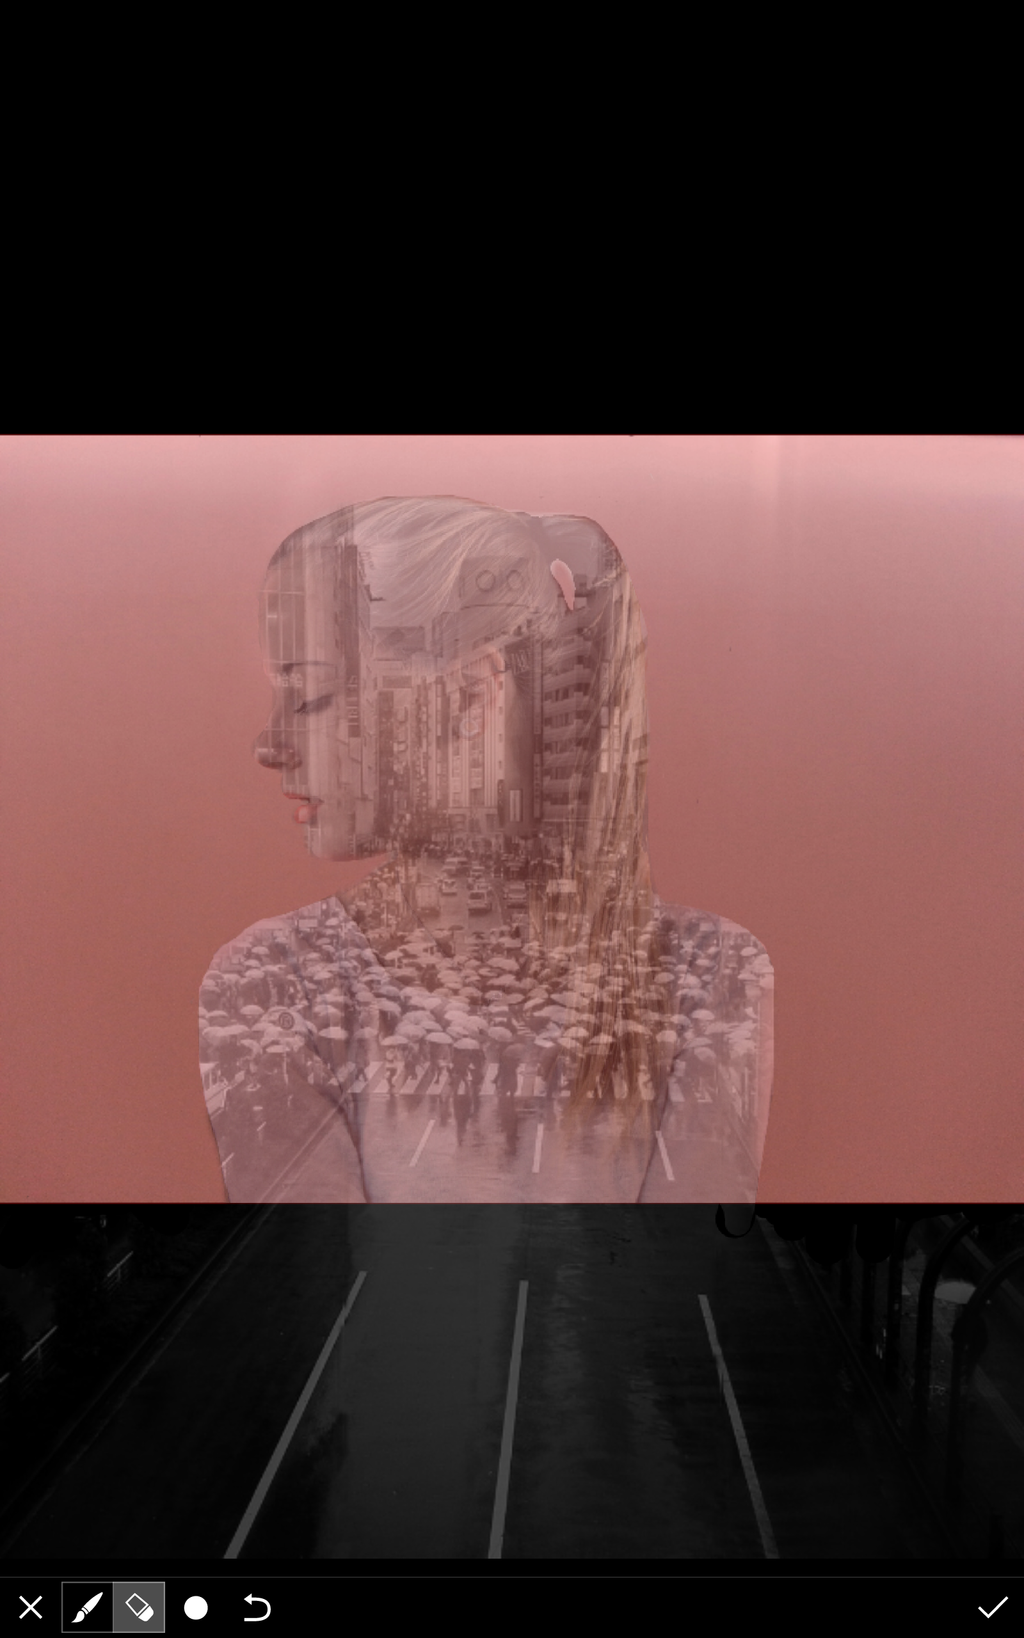
Step 4: Erase
Select the draw icon, then select the eraser. Erase all of the extra areas that go beyond your body in your portrait.
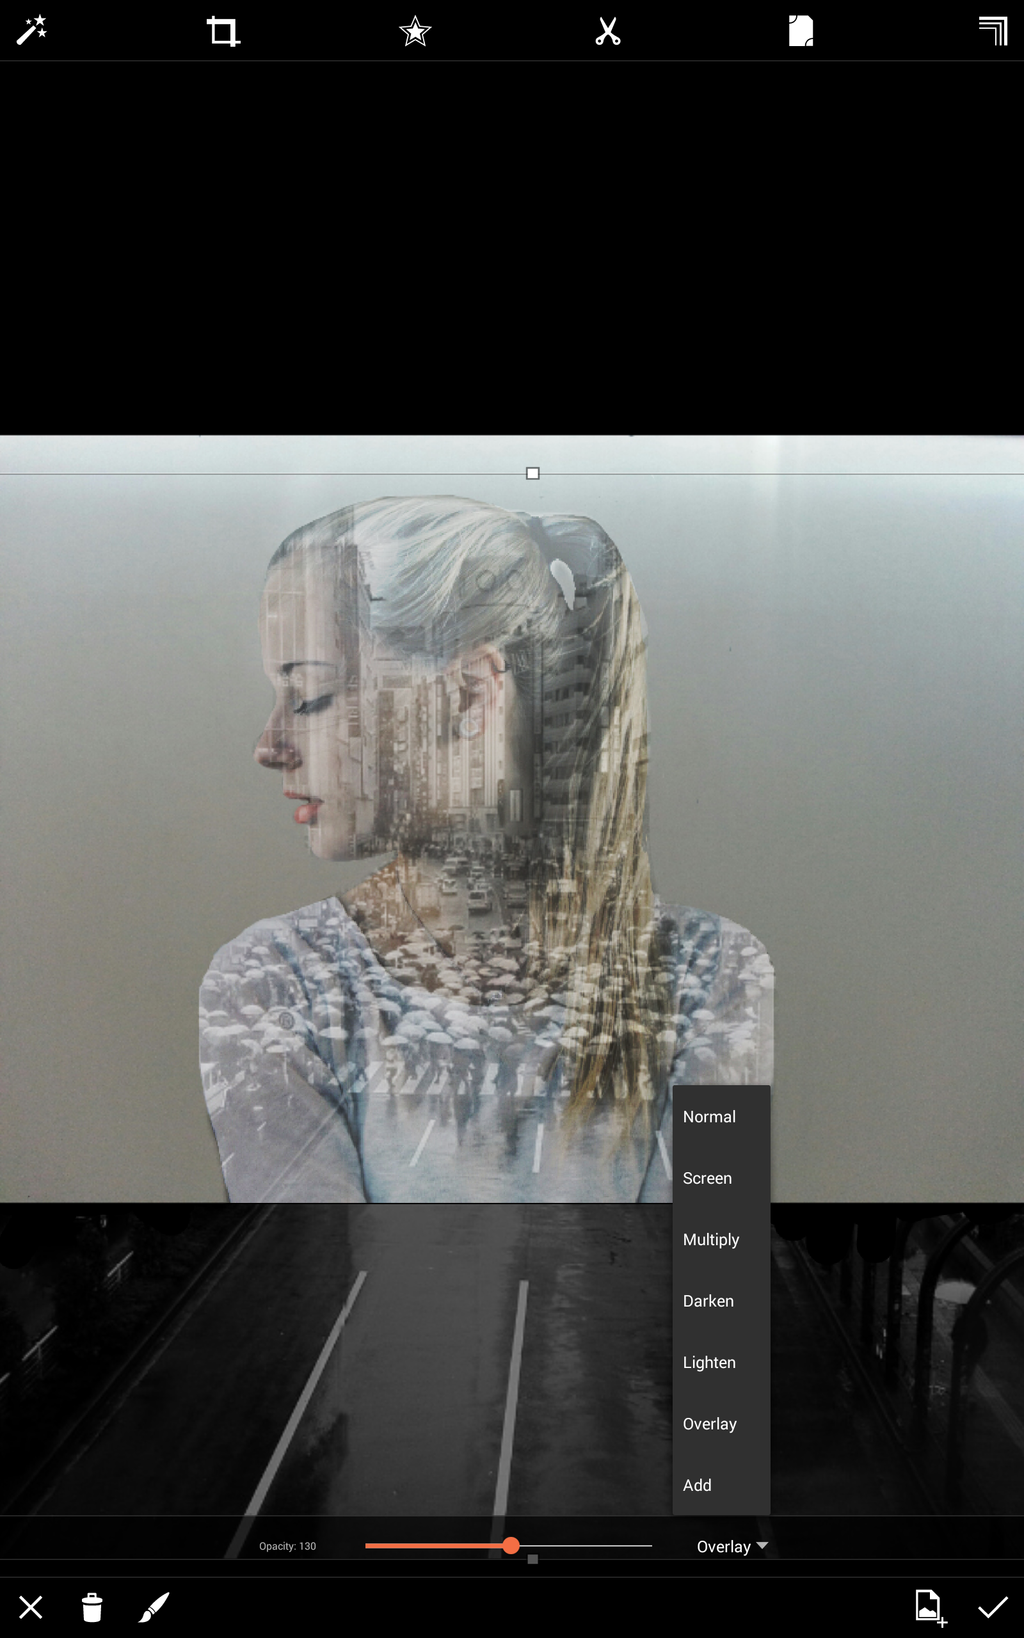
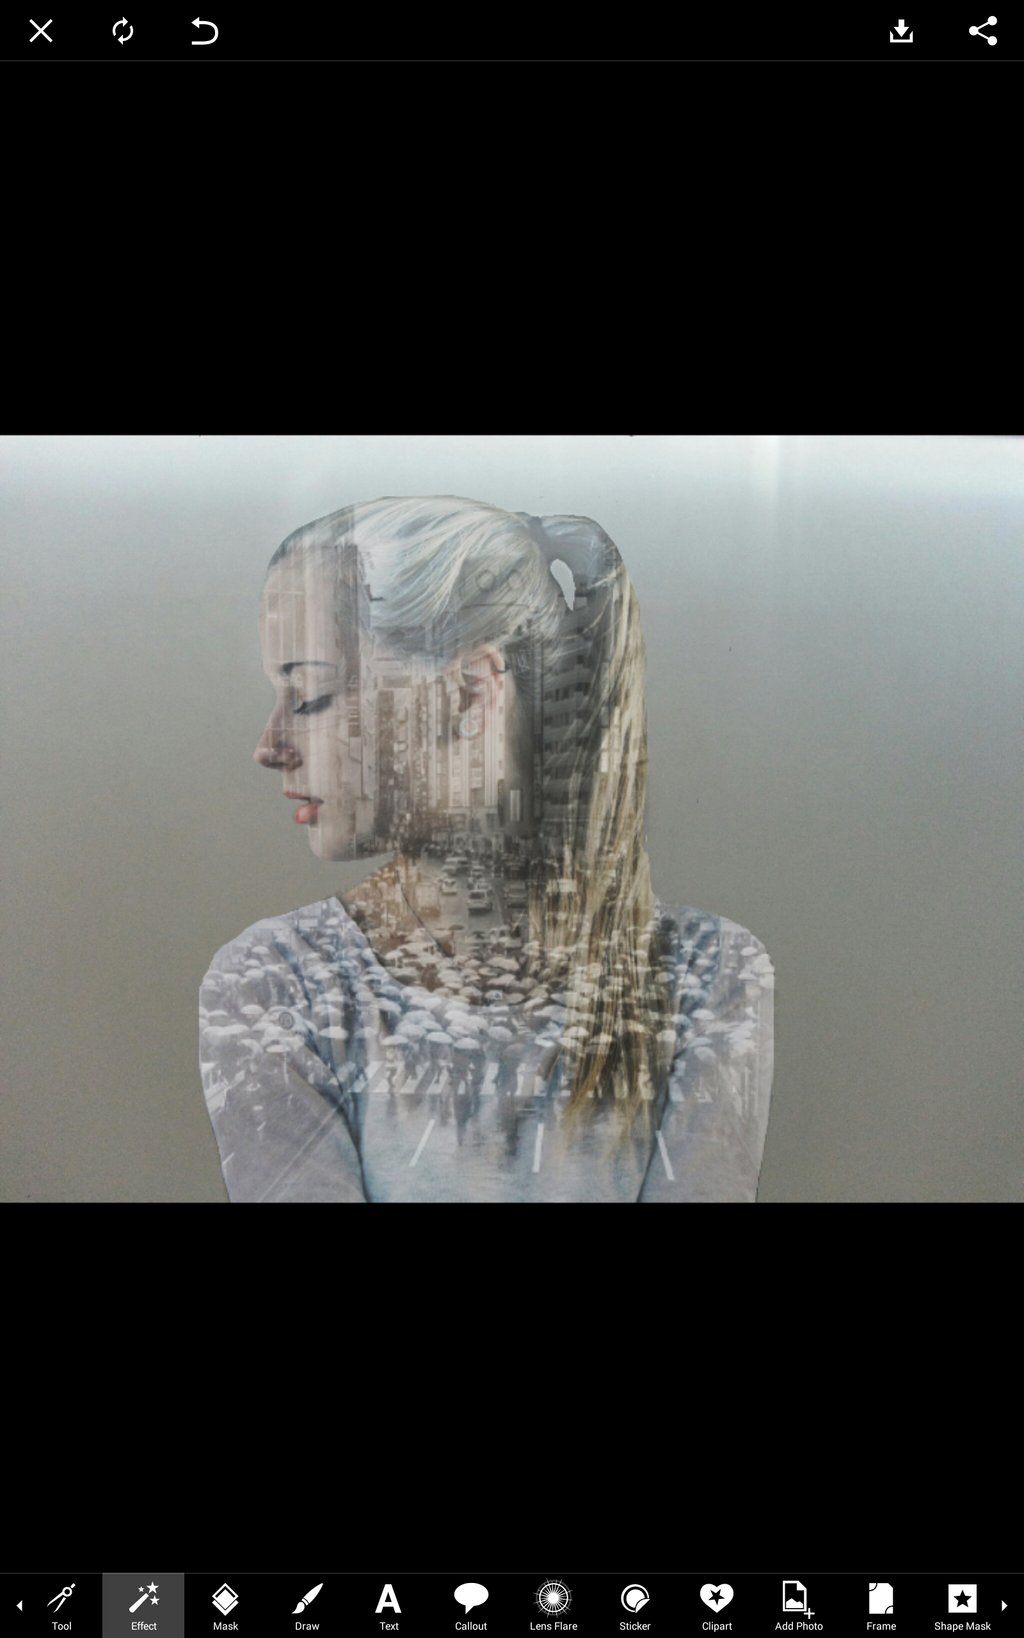
Step 5: Overlay
Experiment with different overlay modes to blend them in different ways.


0 comments: