
Tutorials
Step 1: Open Image


How To Create A Dreamscape With PicsArt
For this week’s Weekend Art Project, we’re asking you to design your own dream scapes. In this editing tutorial, we’ll show you how to give a simple image a touch of magic. Follow along to learn how to do it!

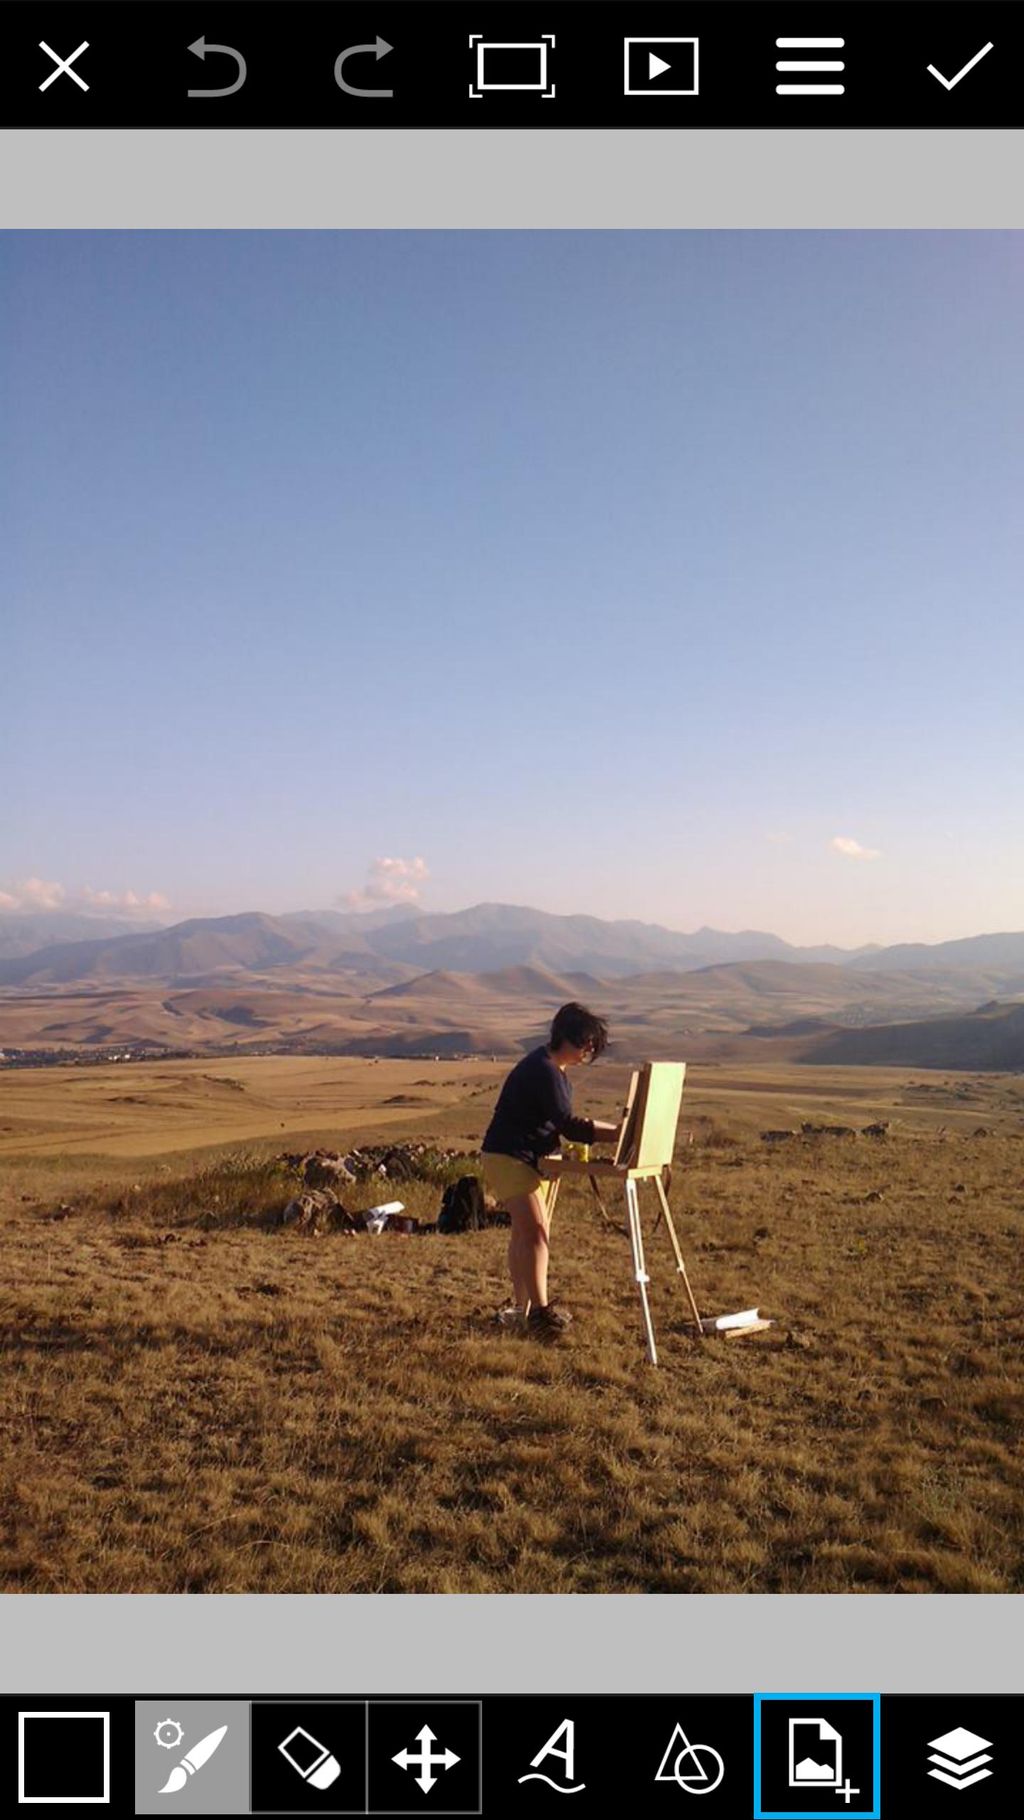
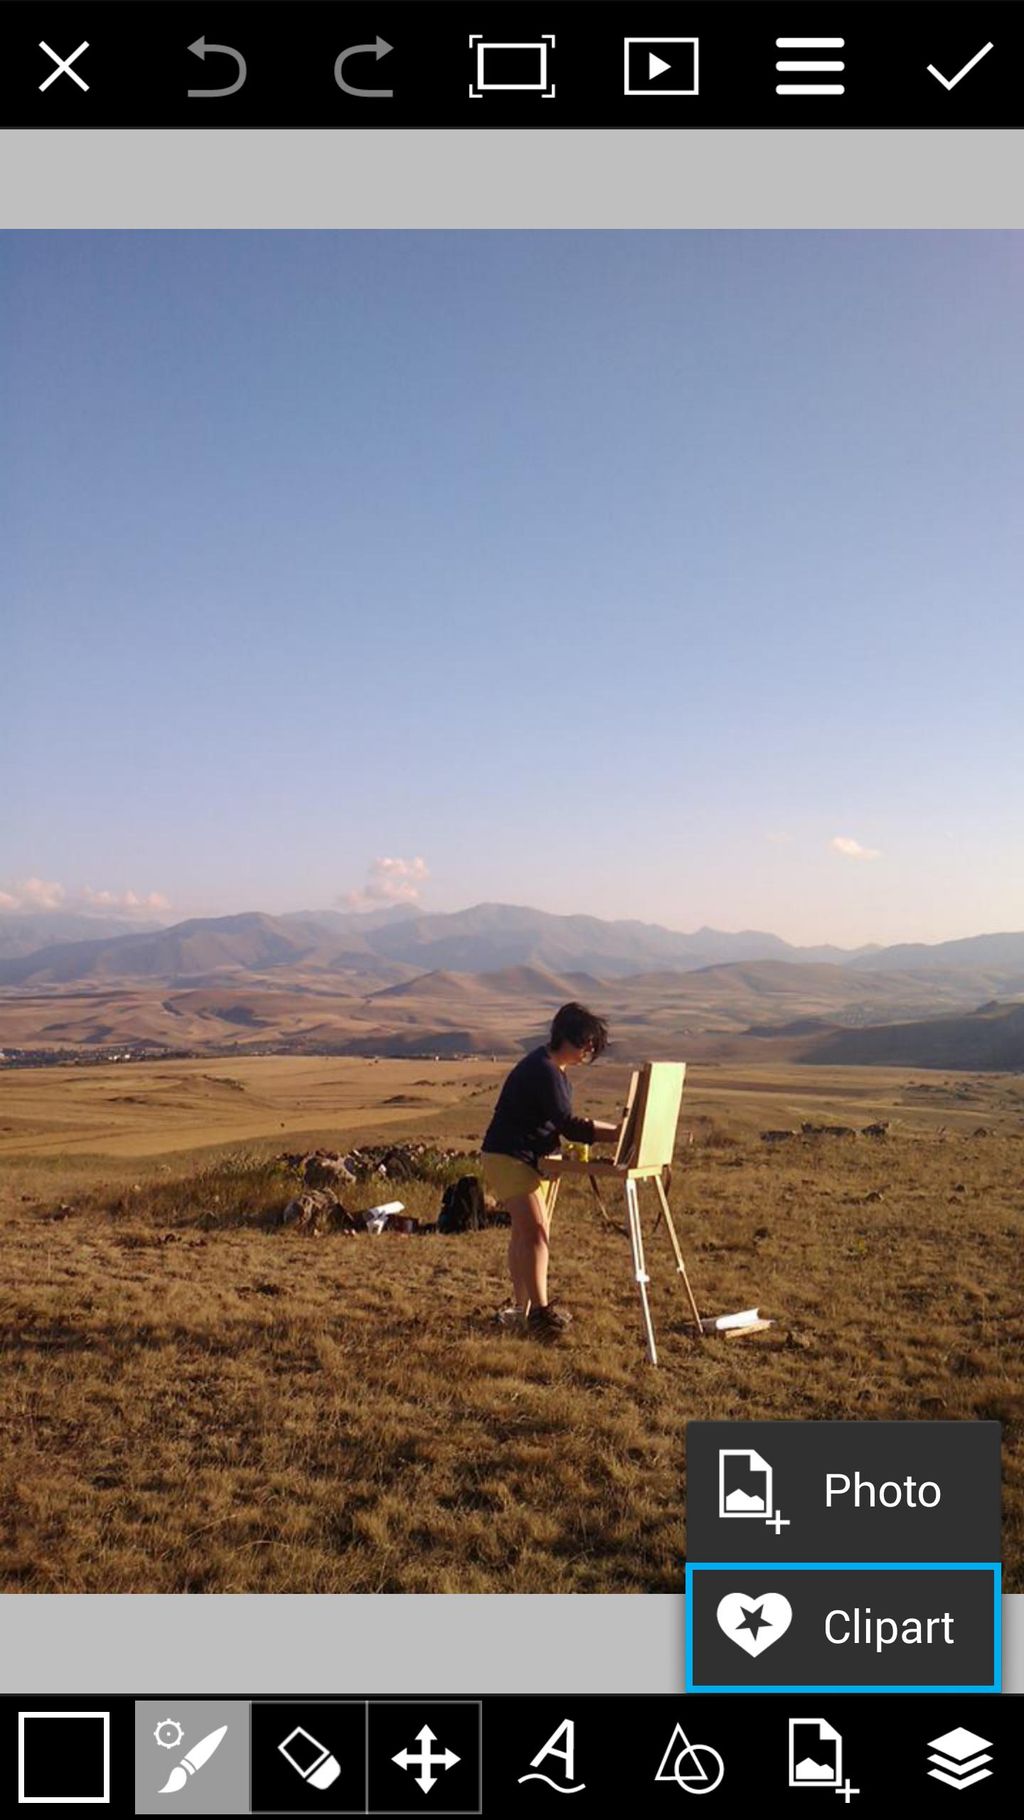
Open your image in Draw. Tap on the Add icon and select Clipart.
Step 2: Select Clipart
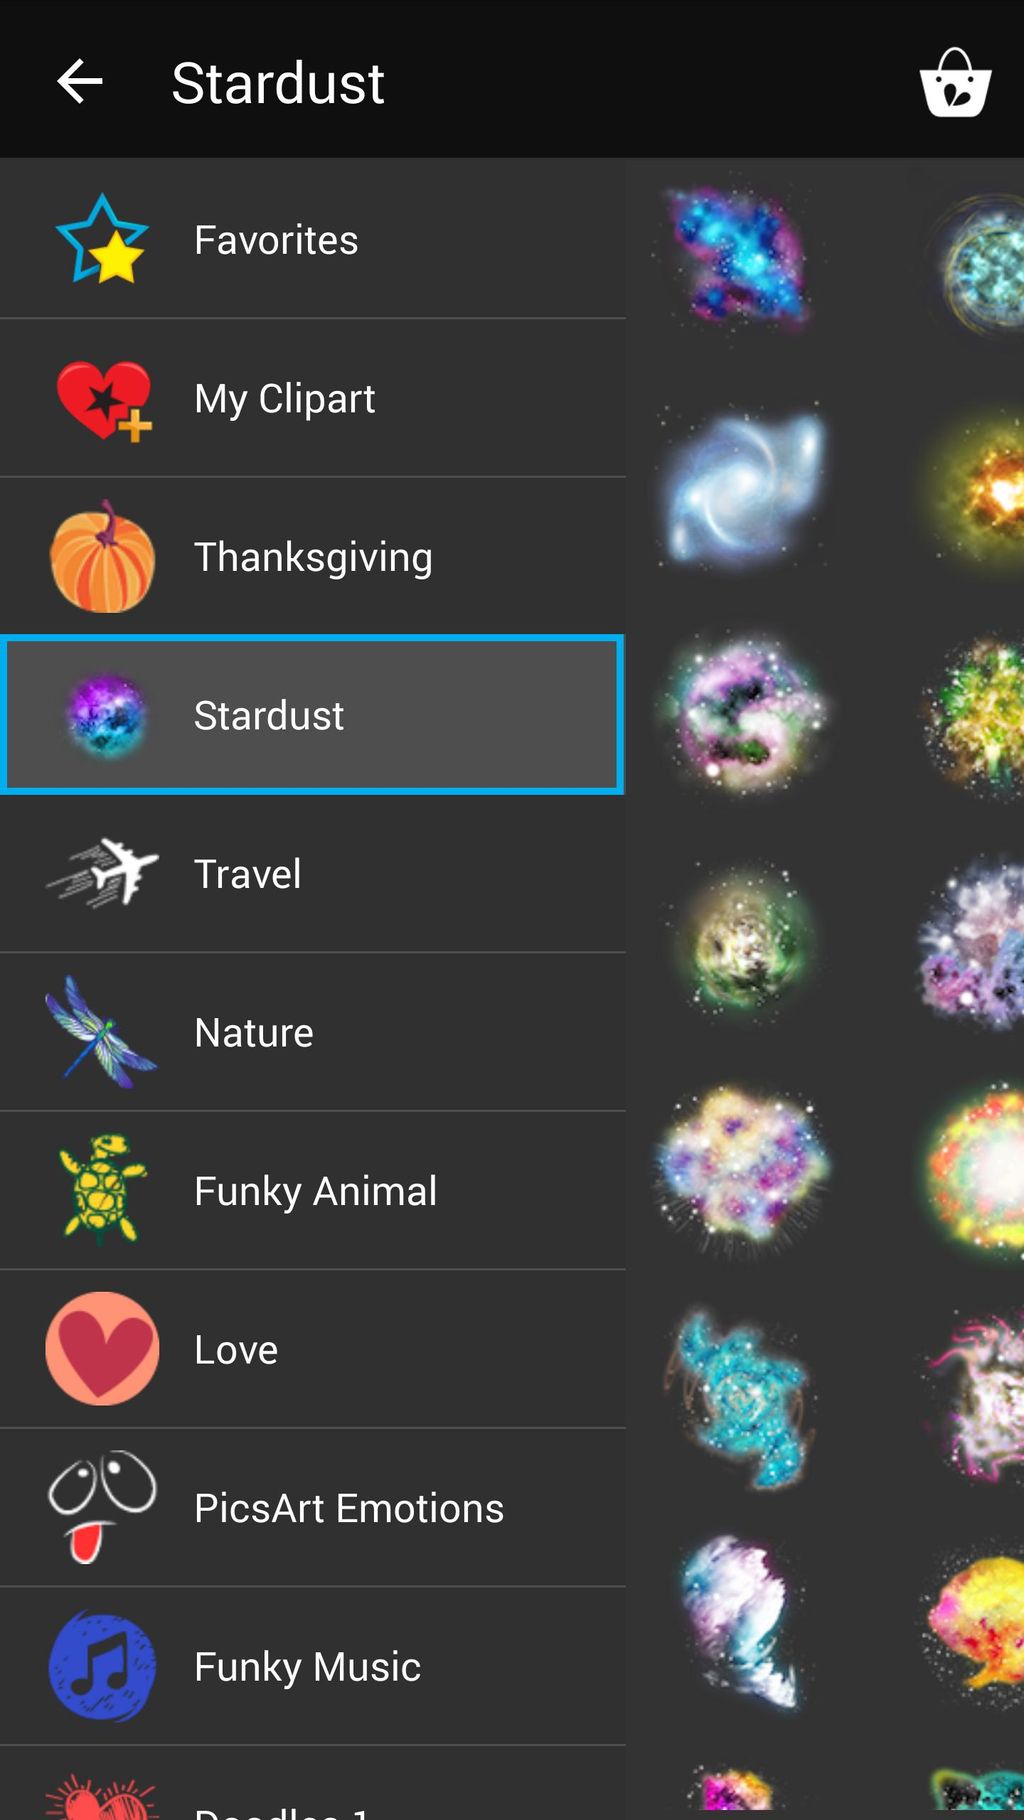
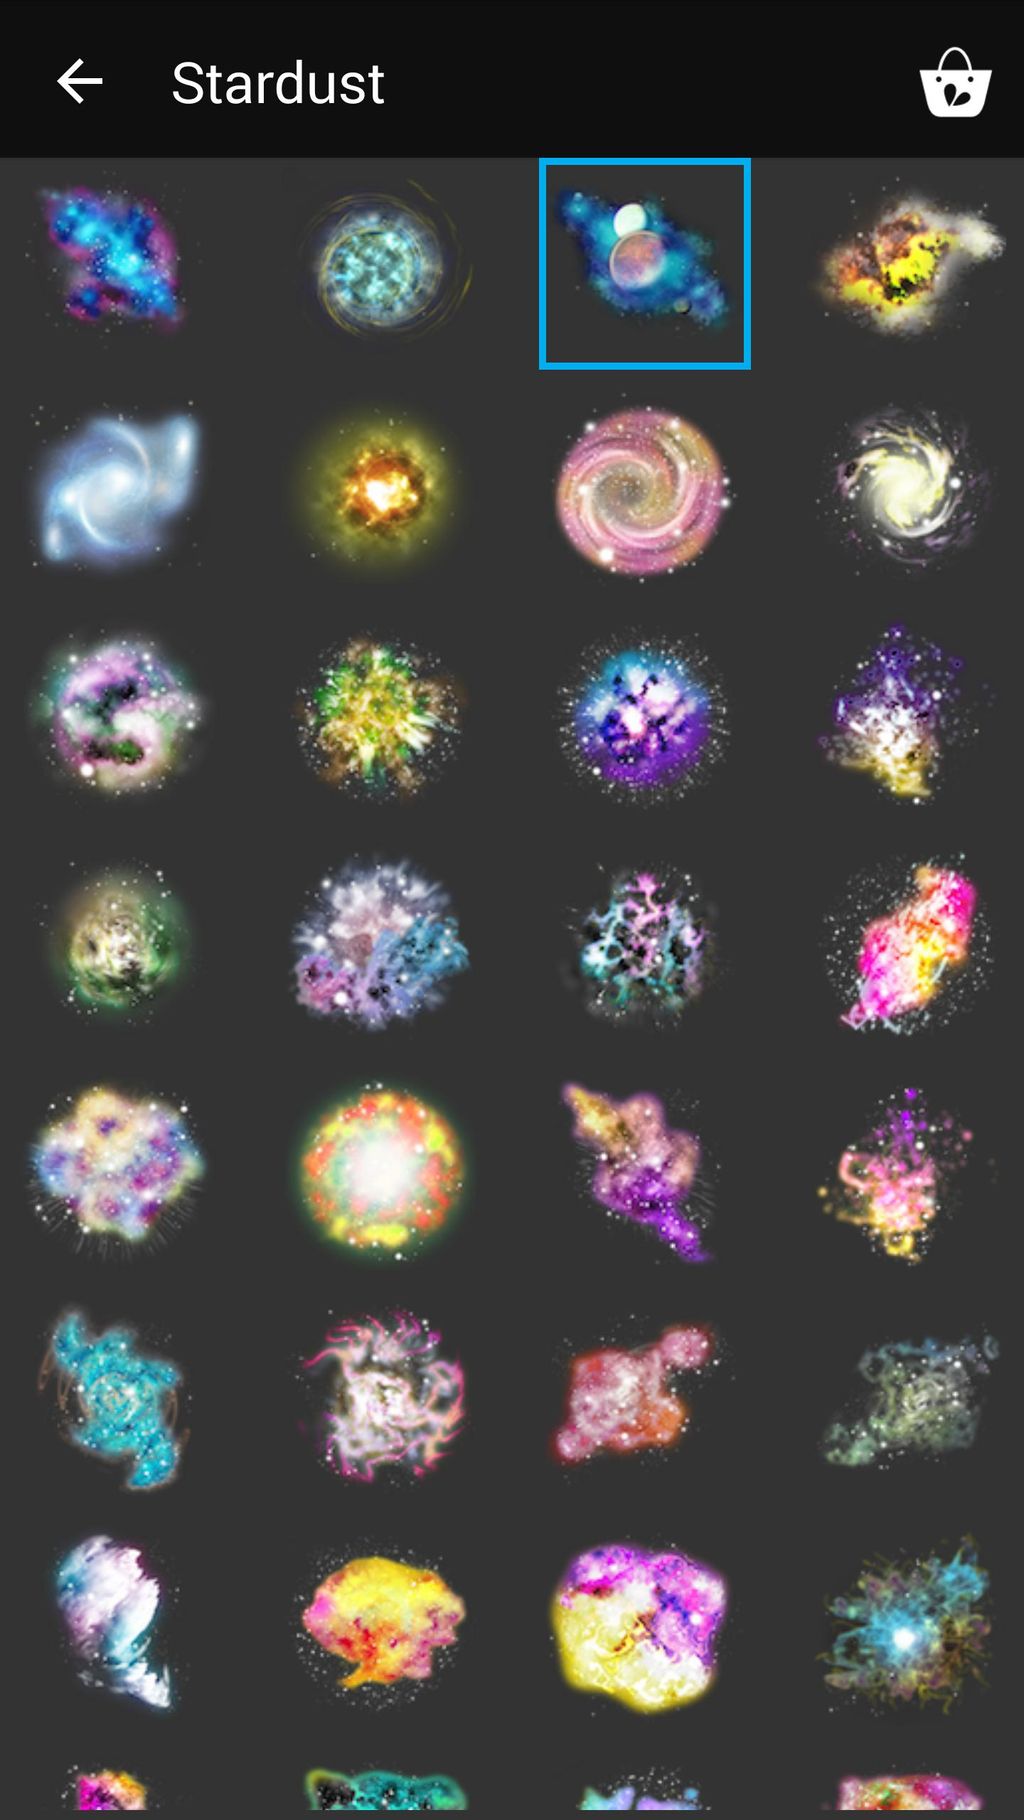
Select the Stardust package and tap on the clipart image that you would like to use.
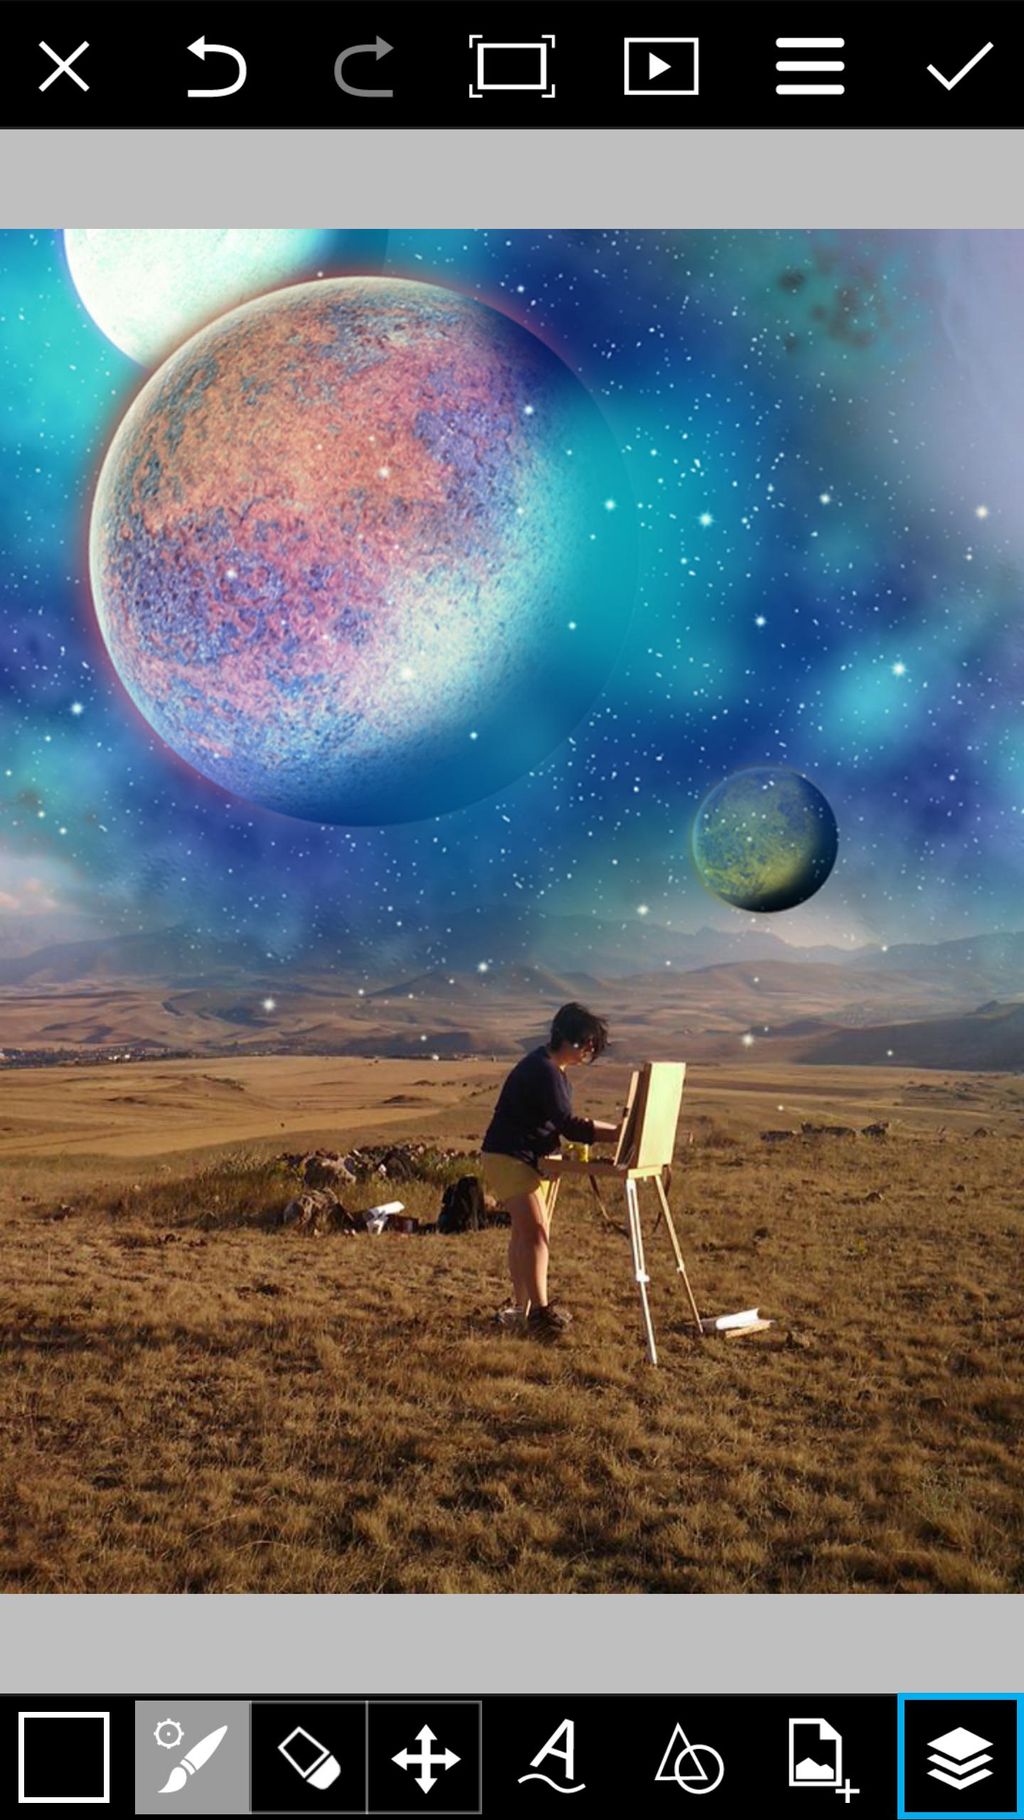
Step 3: Place Clipart
Enlarge the clipart image by dragging the corners and place it where you would like it to appear on your image. Tap anywhere outside of the clipart image to confirm the placement. When you’re done, tap on the layers icon to open the layers drawer.
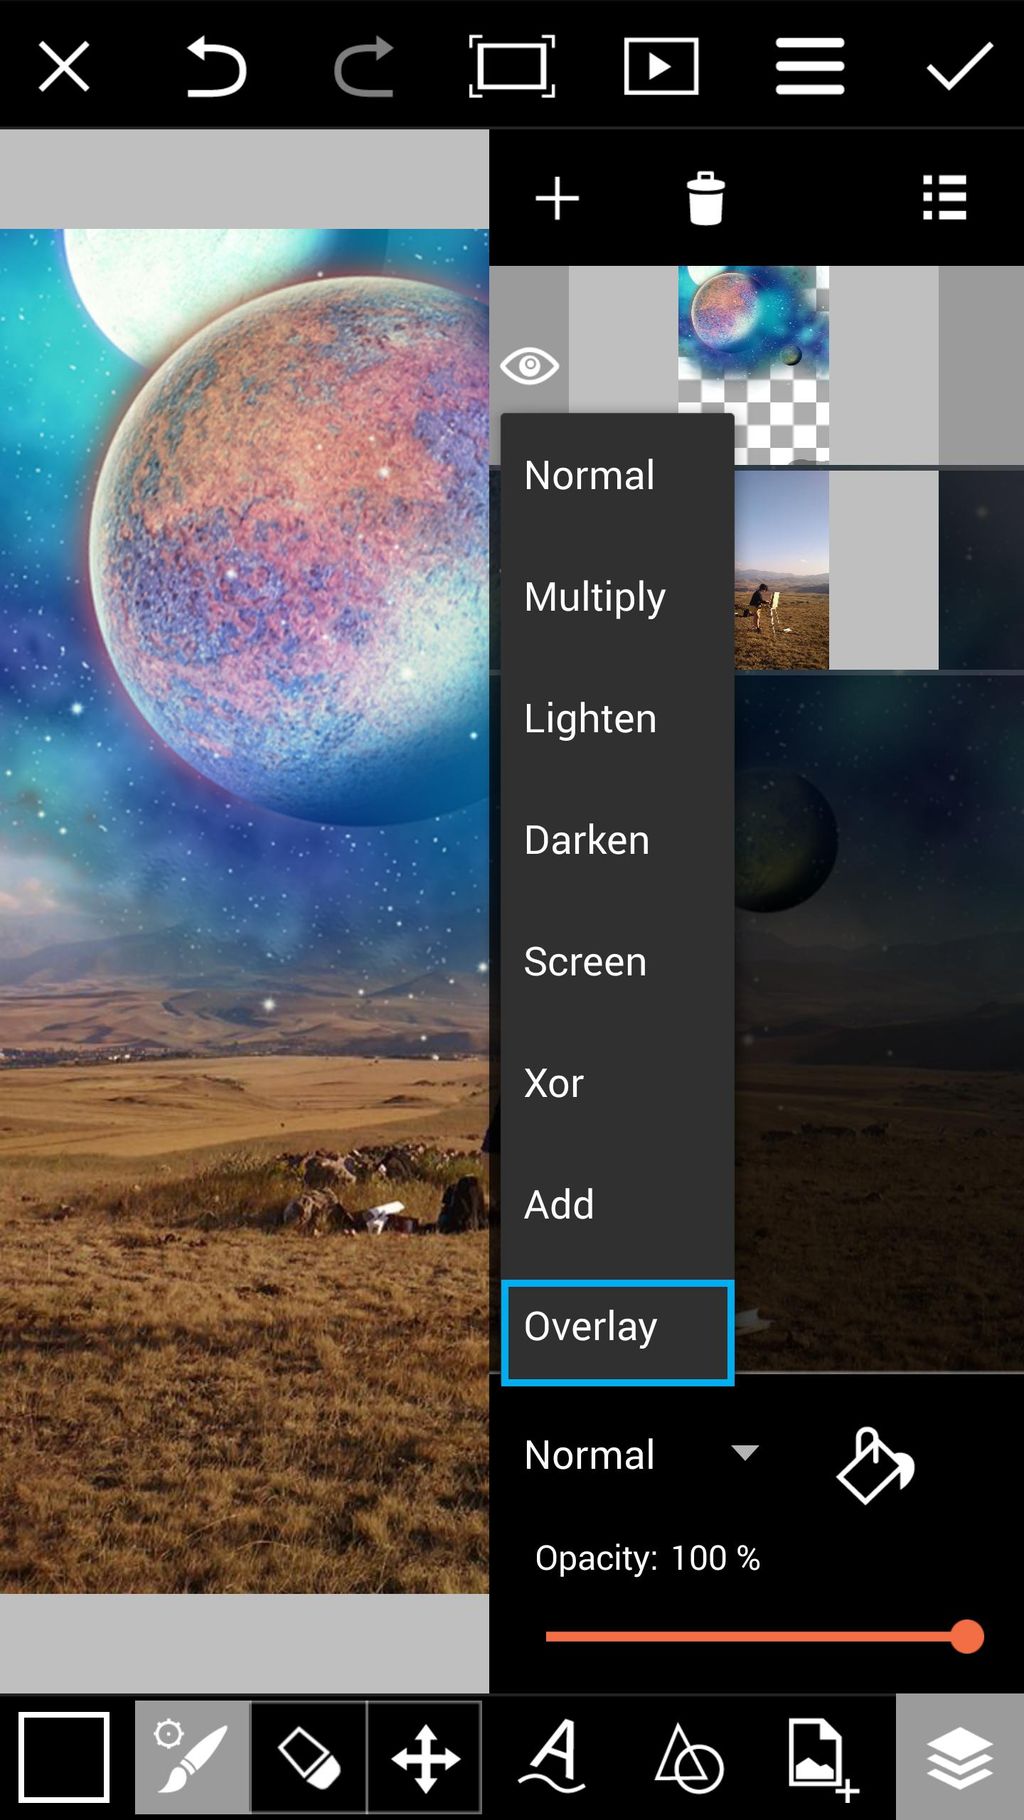
Step 4: Adjust Blending Mode
Tap on the Normal text and select the Overlay blending mode.
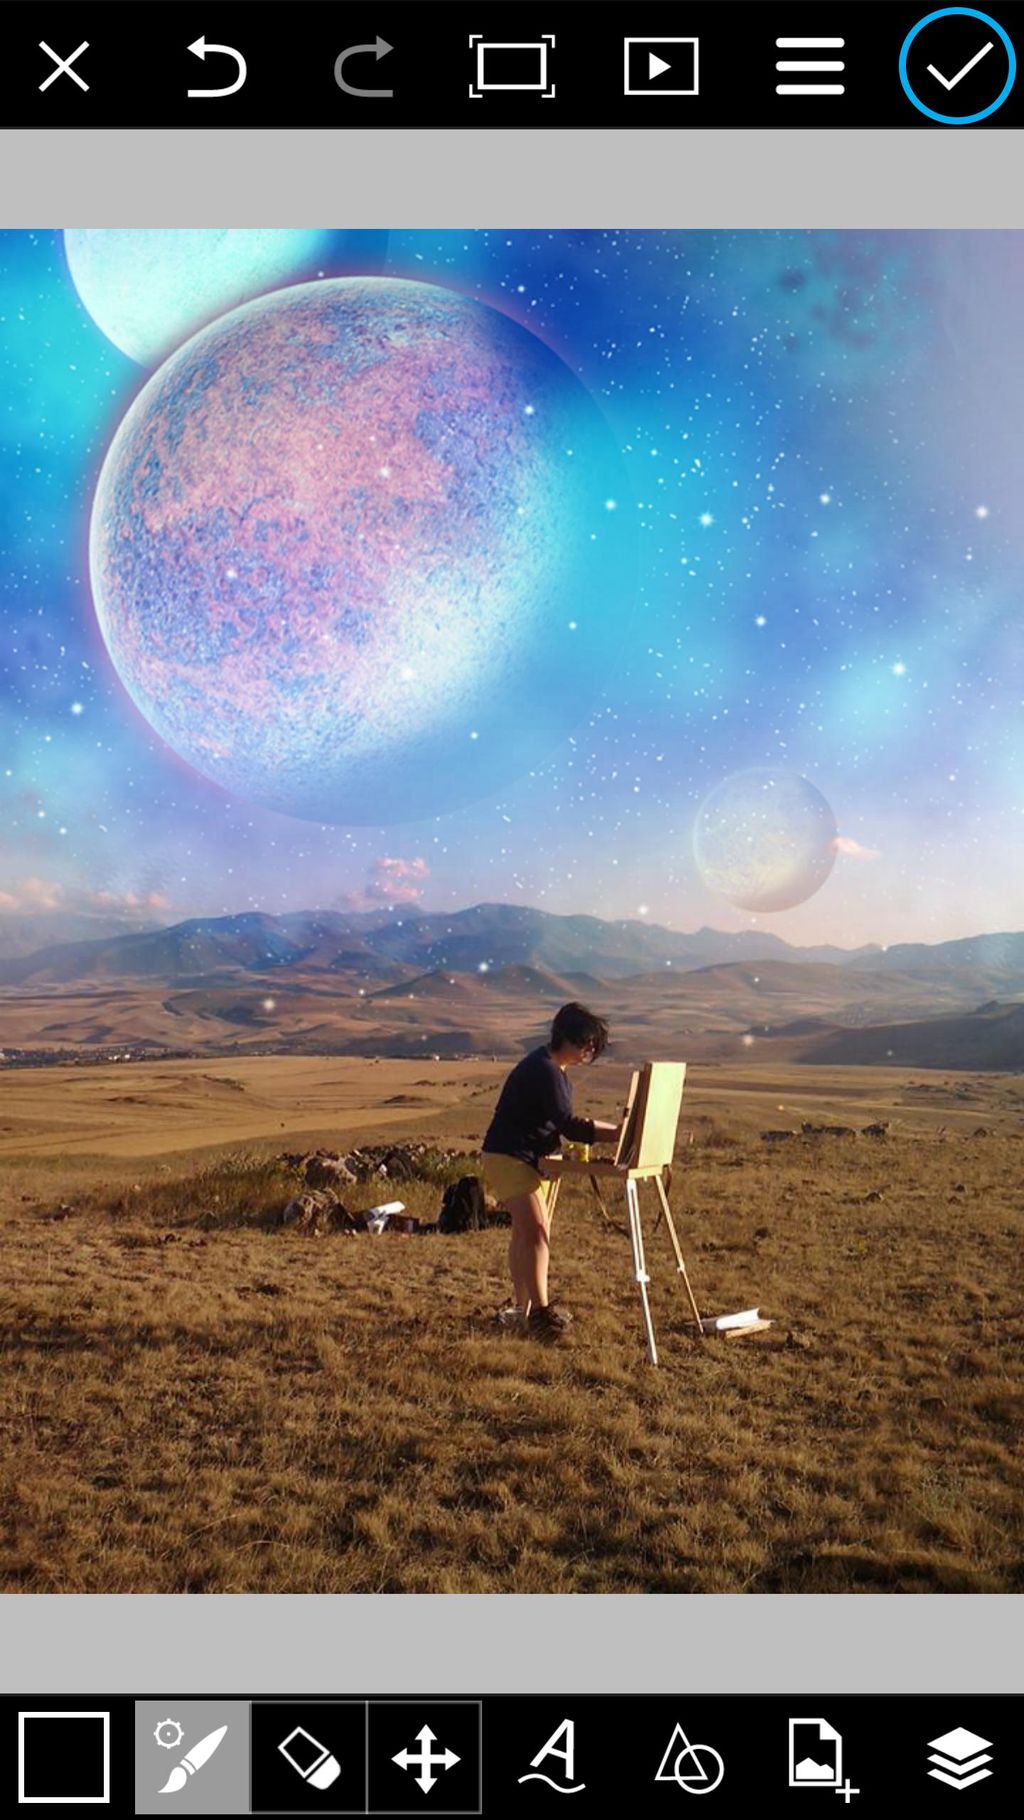
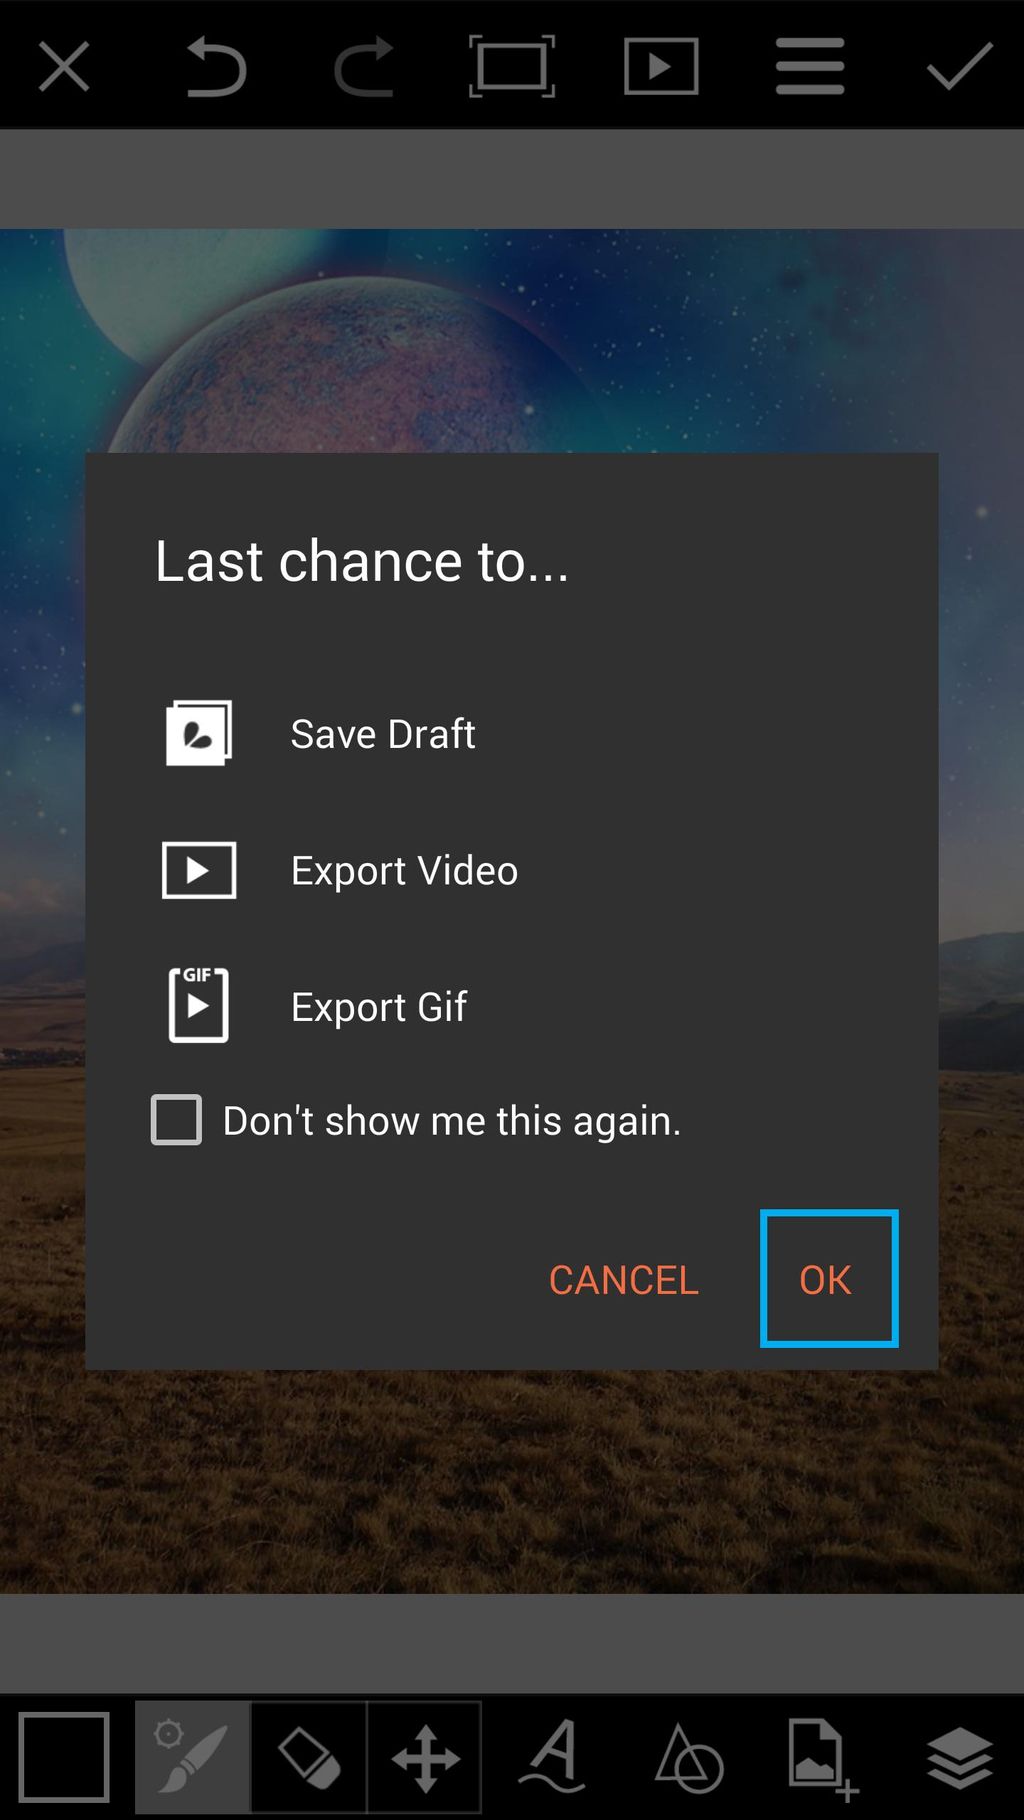
Step 5: Confirm
Tap on the check mark to confirm. Tap OK to close Draw. Your image will automatically be opened in the Editor.
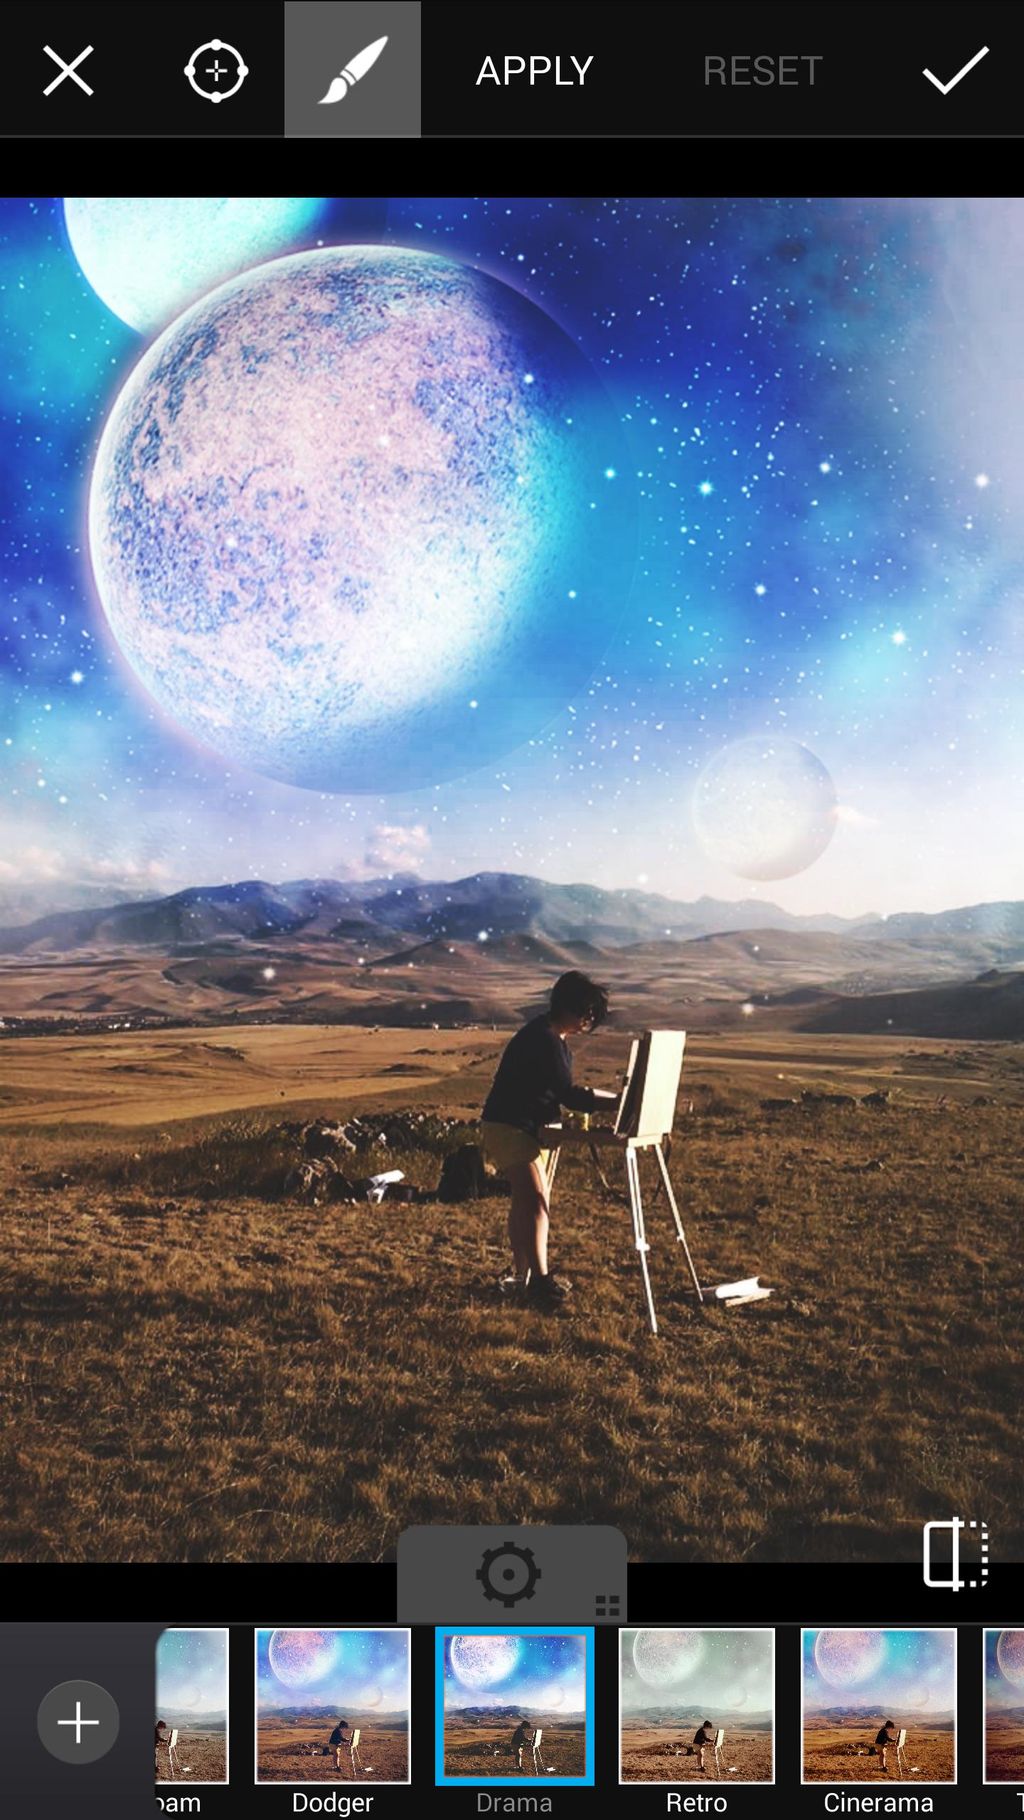
Step 6: Apply Effect
Tap on Effect and select the Drama Effect from the Fx section.
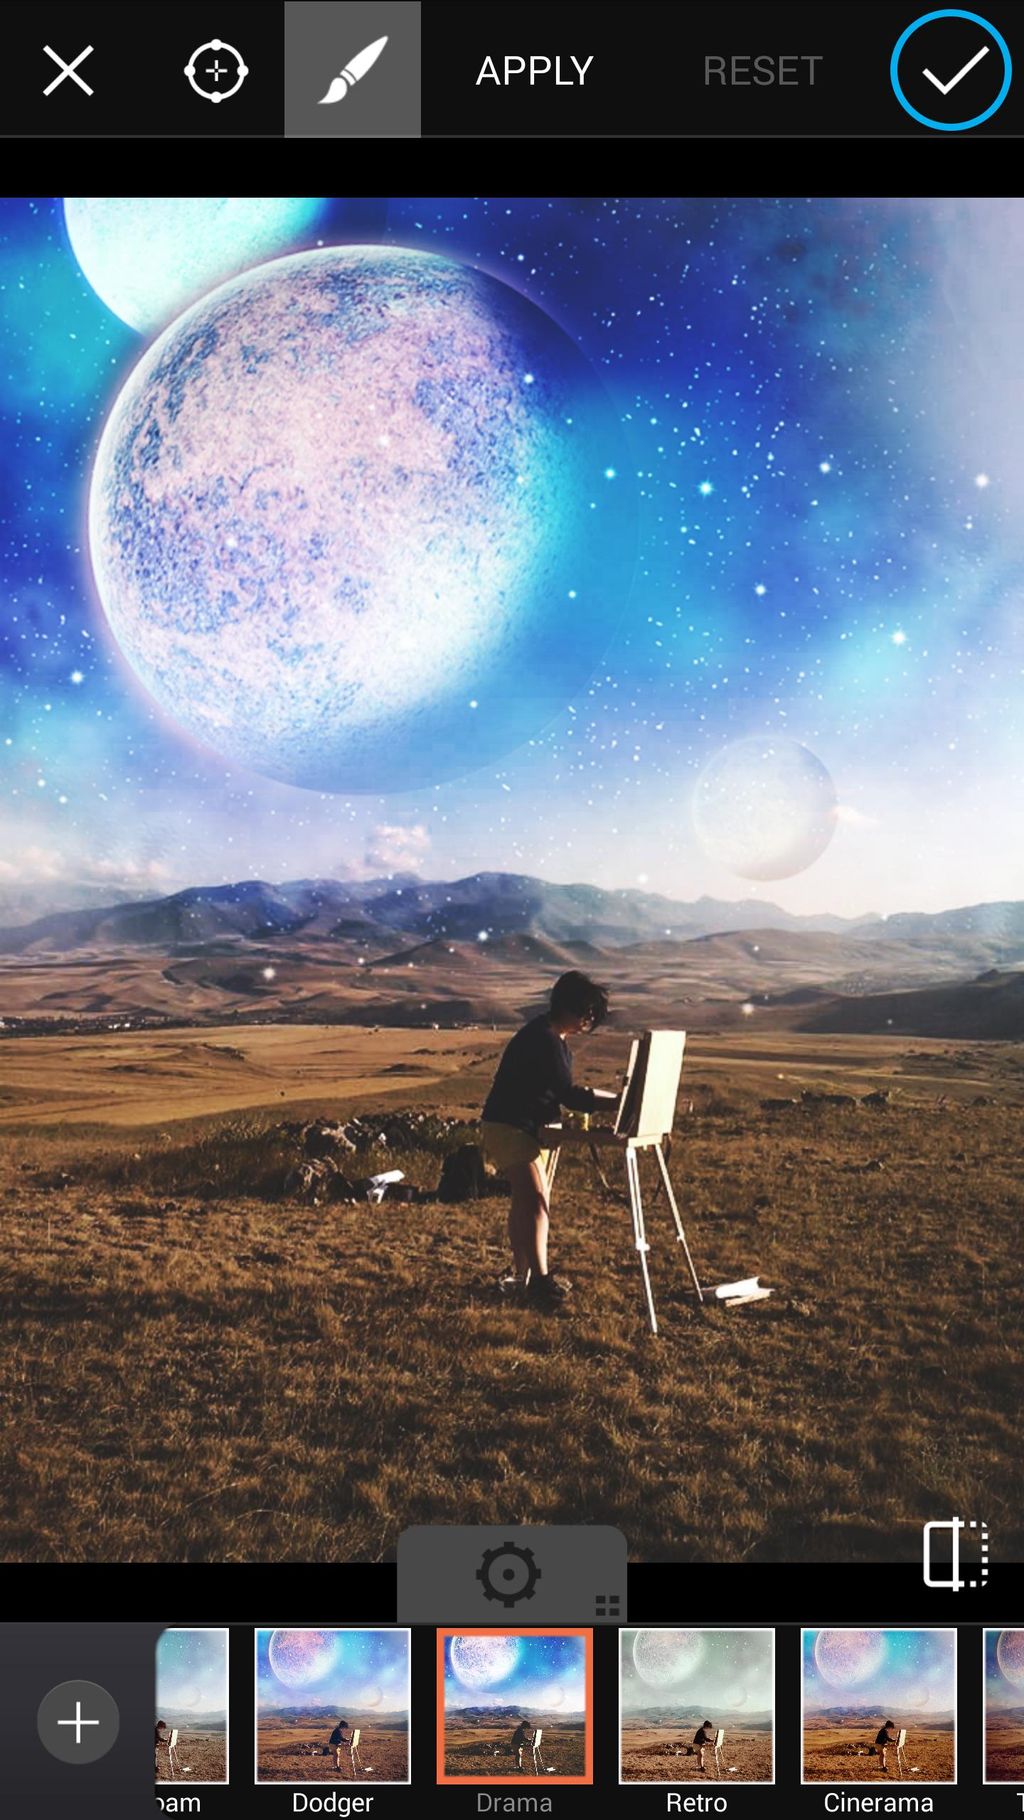
Step 7: Open Lens Flare Menu
Tap on the check mark to confirm. Tap on Lens Flare.
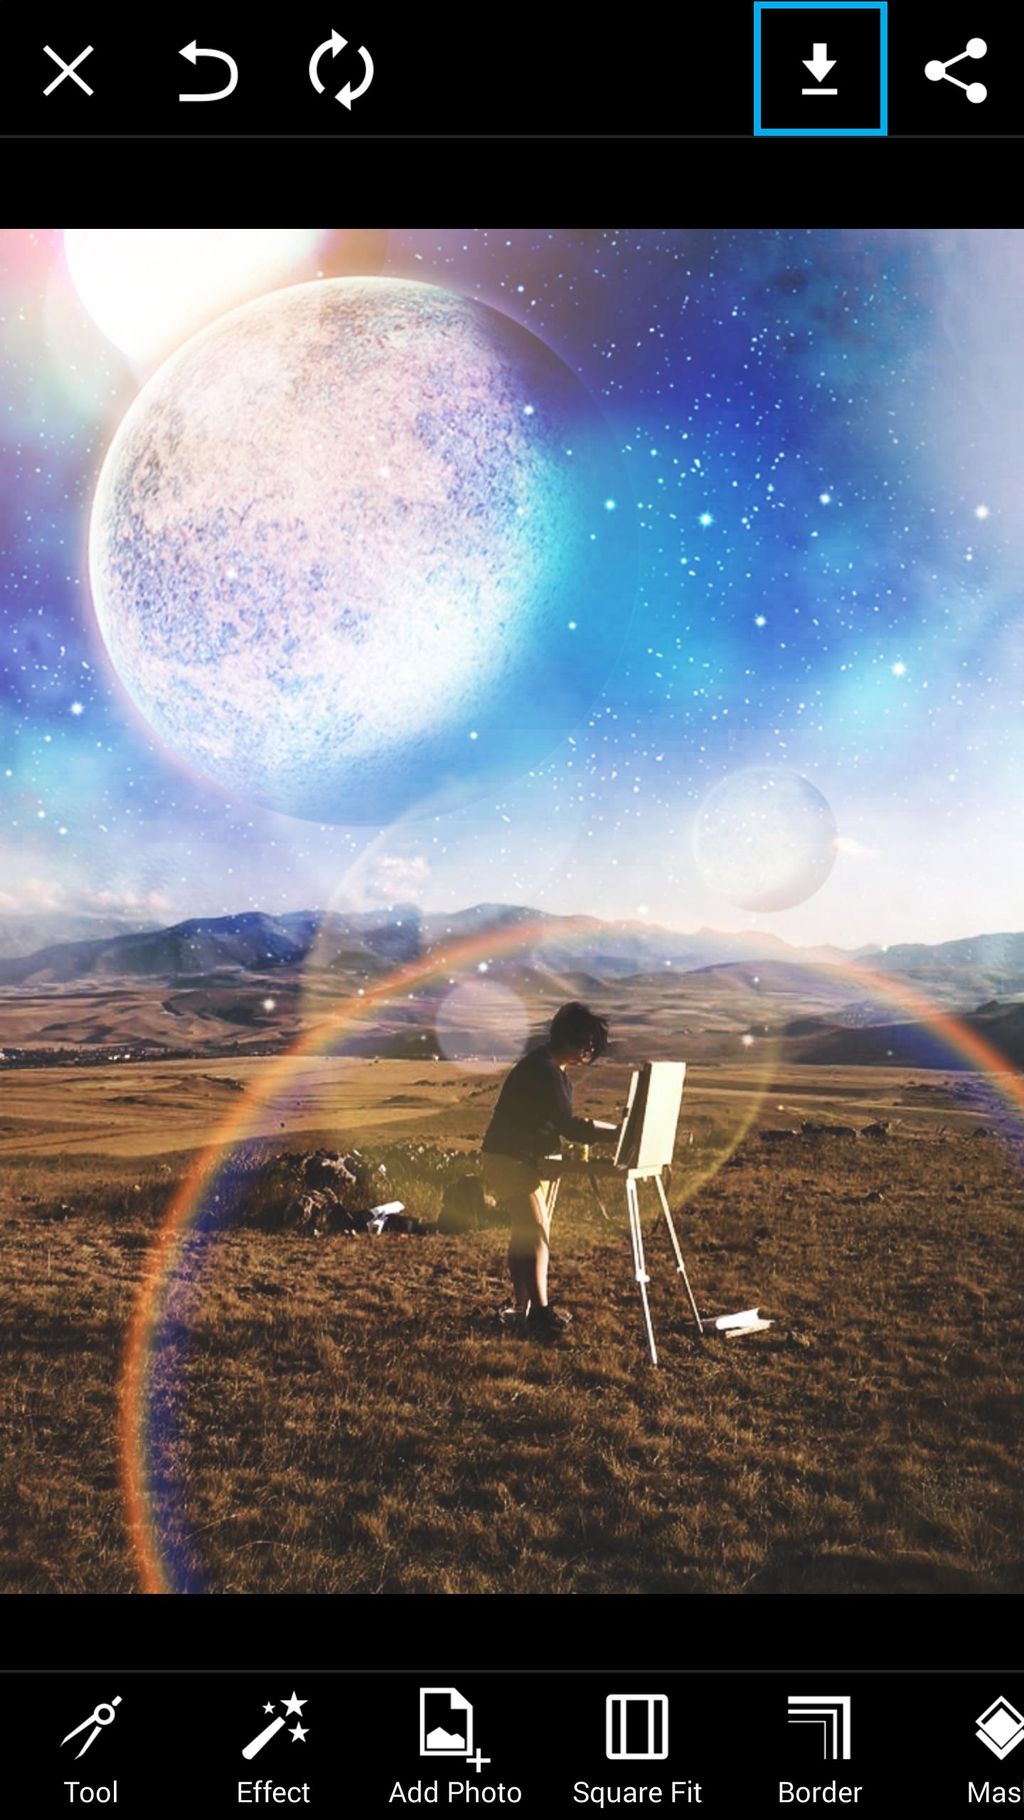
Step 8: Apply Lens Flare
Select the Lens Flare you would like to use. Drag it to place it on your image.
Step 9: Confirm & Save
Tap on the check mark to confirm. When you’re done, save your work and share it!


0 comments: