
TutorialsHow To Draw A Spooky Scene With PicsArt’s Drawing Tools


How To Draw A Spooky Scene With PicsArt’s Drawing Tools
22:35:00
royal pic.world
0 Comments
22:35:00 royal pic.world 0 Comments

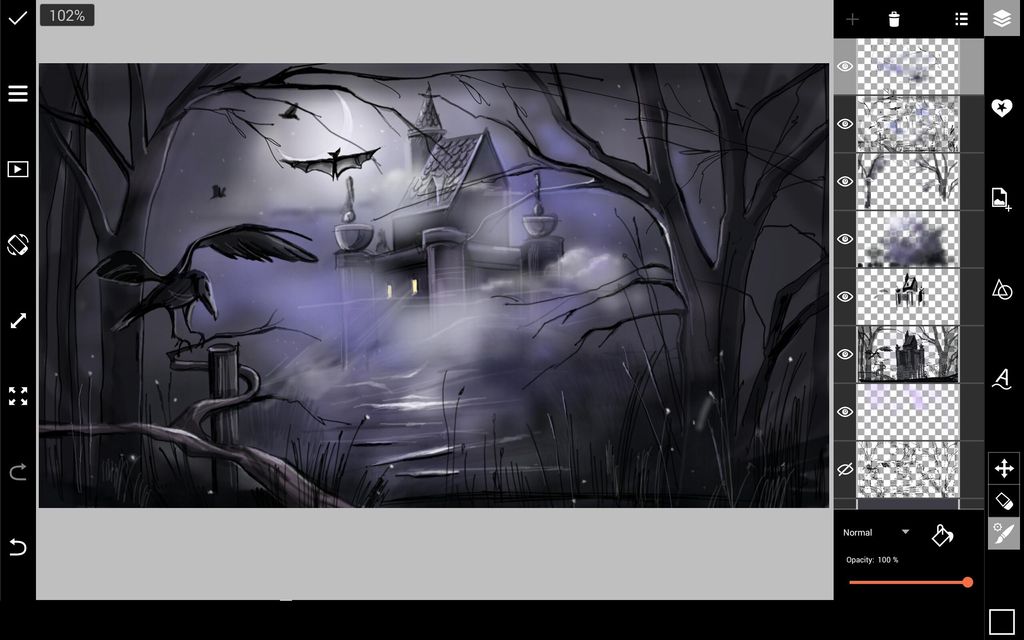
Halloween is just around the corner, and we hope you’re in a spooky mood! In this tutorial, we’ll show you how to use Pics Art’s drawing tools to draw a spooky scene. Read on to learn more!
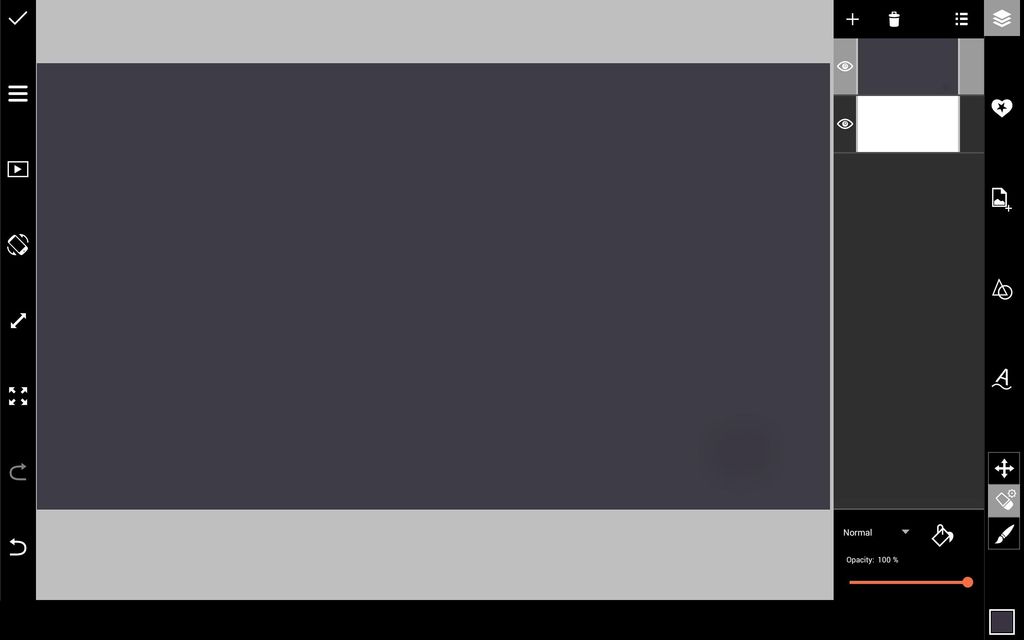
Step 1: Fill Background & Create Sketch
Start with a blank background layer and an empty layer. With the empty layer selected, tap on the paint bucket icon and select a dark grey color. In a new layer, sketch your scene.
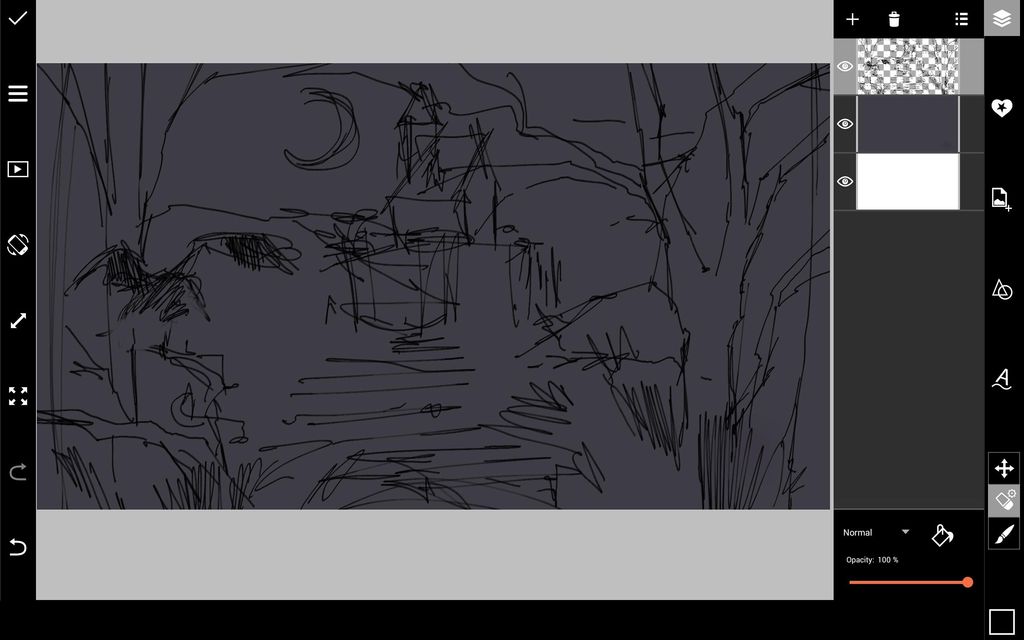
Step 2: Trace Refined Outline
Reduce the opacity of your sketch. Create a new layer and trace a refined outline of your drawing.
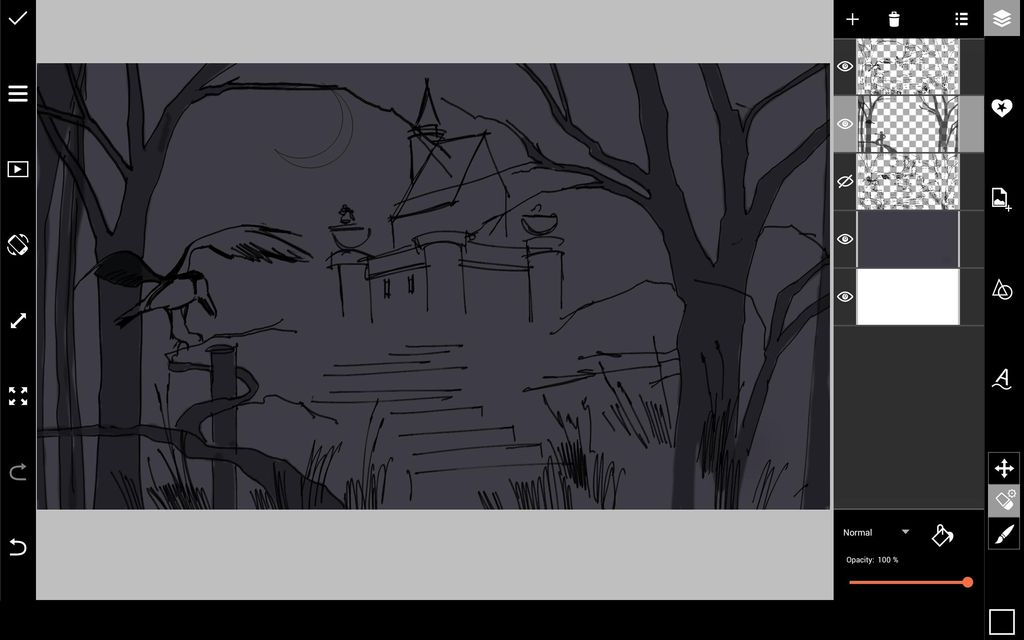
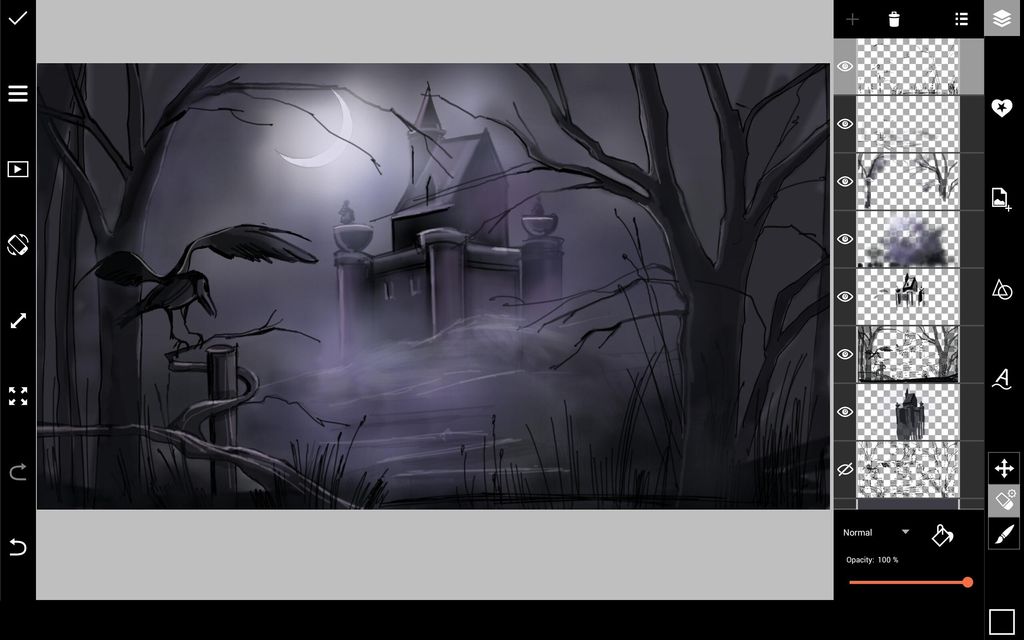
Step 3: Start Adding Shadows
Hide the layer with your original sketch and create a new layer. Using a brush with a slightly reduced opacity, start coloring in shadows in the foreground using different shades of dark grey. Create a new layer and start adding shadows to your castle.
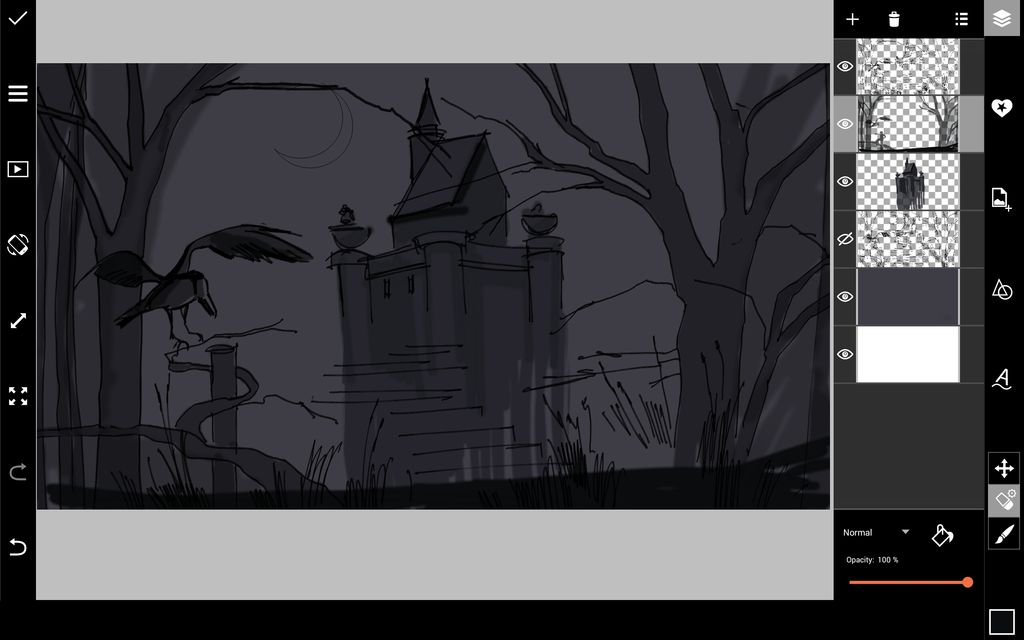
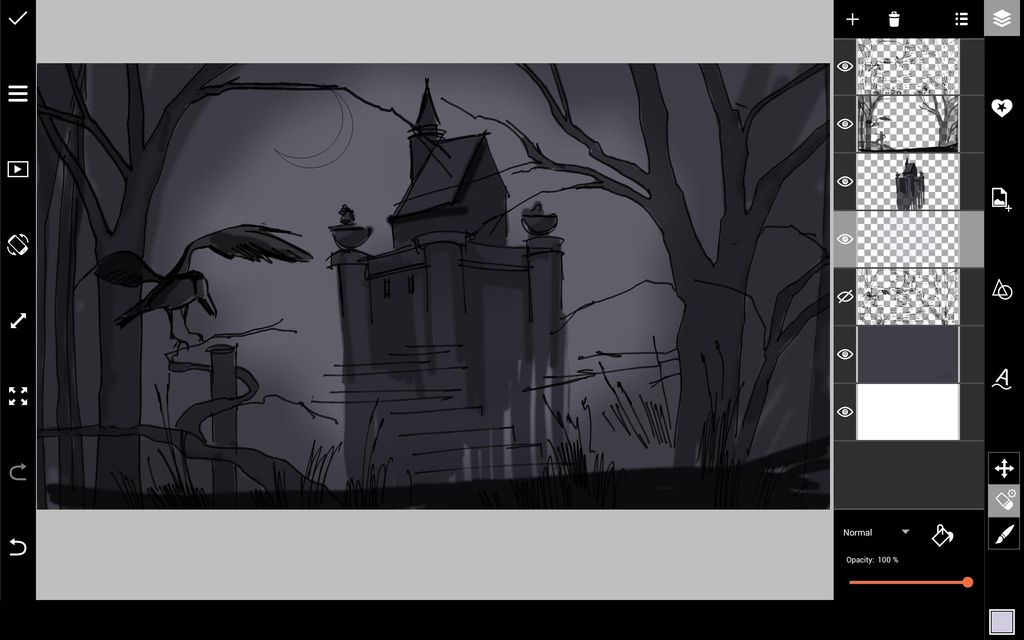
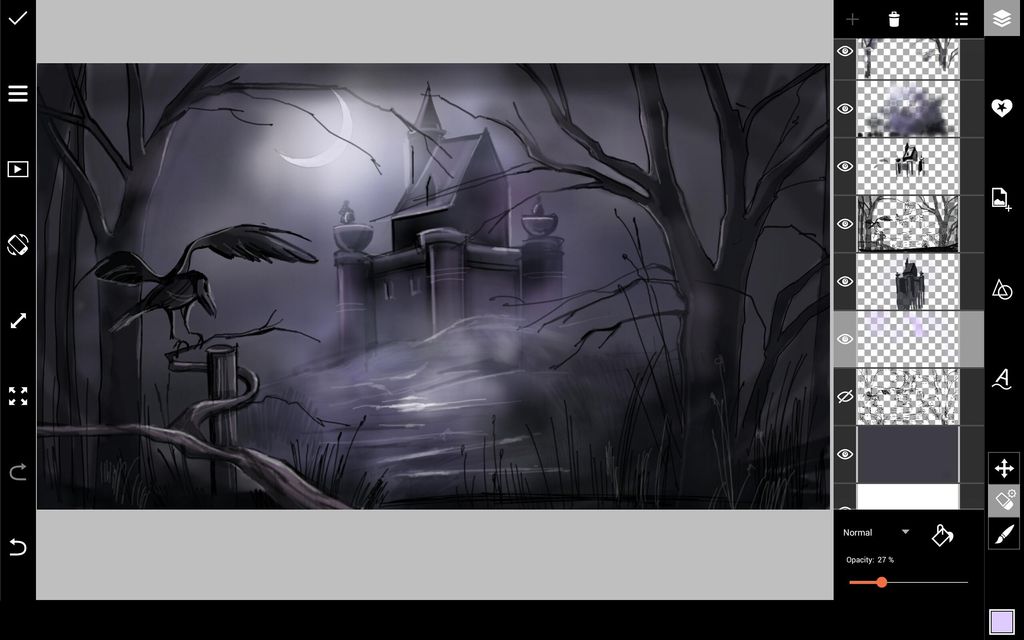
Step 4: Add Shading & Light
Using a soft, semi-transparent grey brush, continue adding shadows. Create a new layer and drag it below the layer containing the drawing of your castle. Use a soft, semi-transparent white brush to add light (this will make your castle stand out from the background).
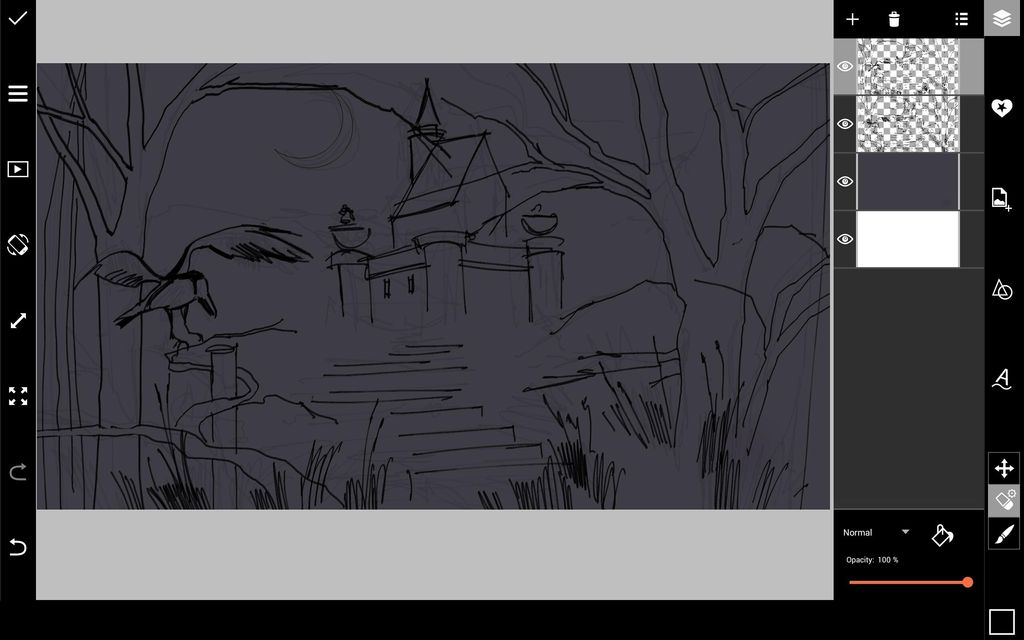
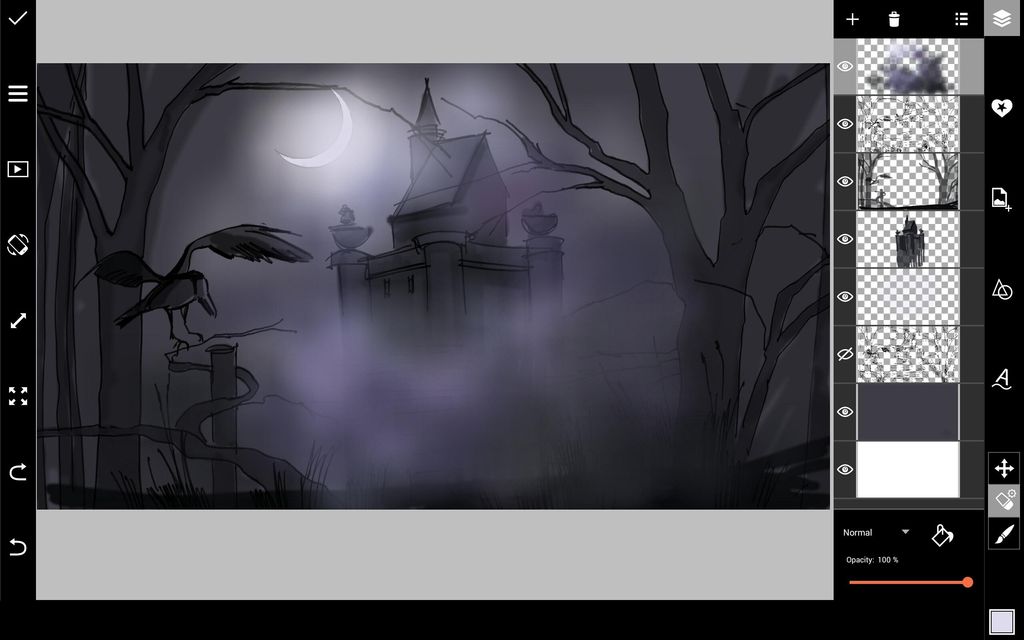
Step 5: Add Fog, Moon, & Architectural Details
Create a new layer. Using a soft, semi-transparent brush in shades of purple and grey, paint in fog. To draw the moon, use the Shape Tool to draw two circles that overlap in a crescent shape. Erase unwanted parts of the shapes, and color in the overlapping crescent with white. In a new layer, add architectural details, shading, and lighting to the building.
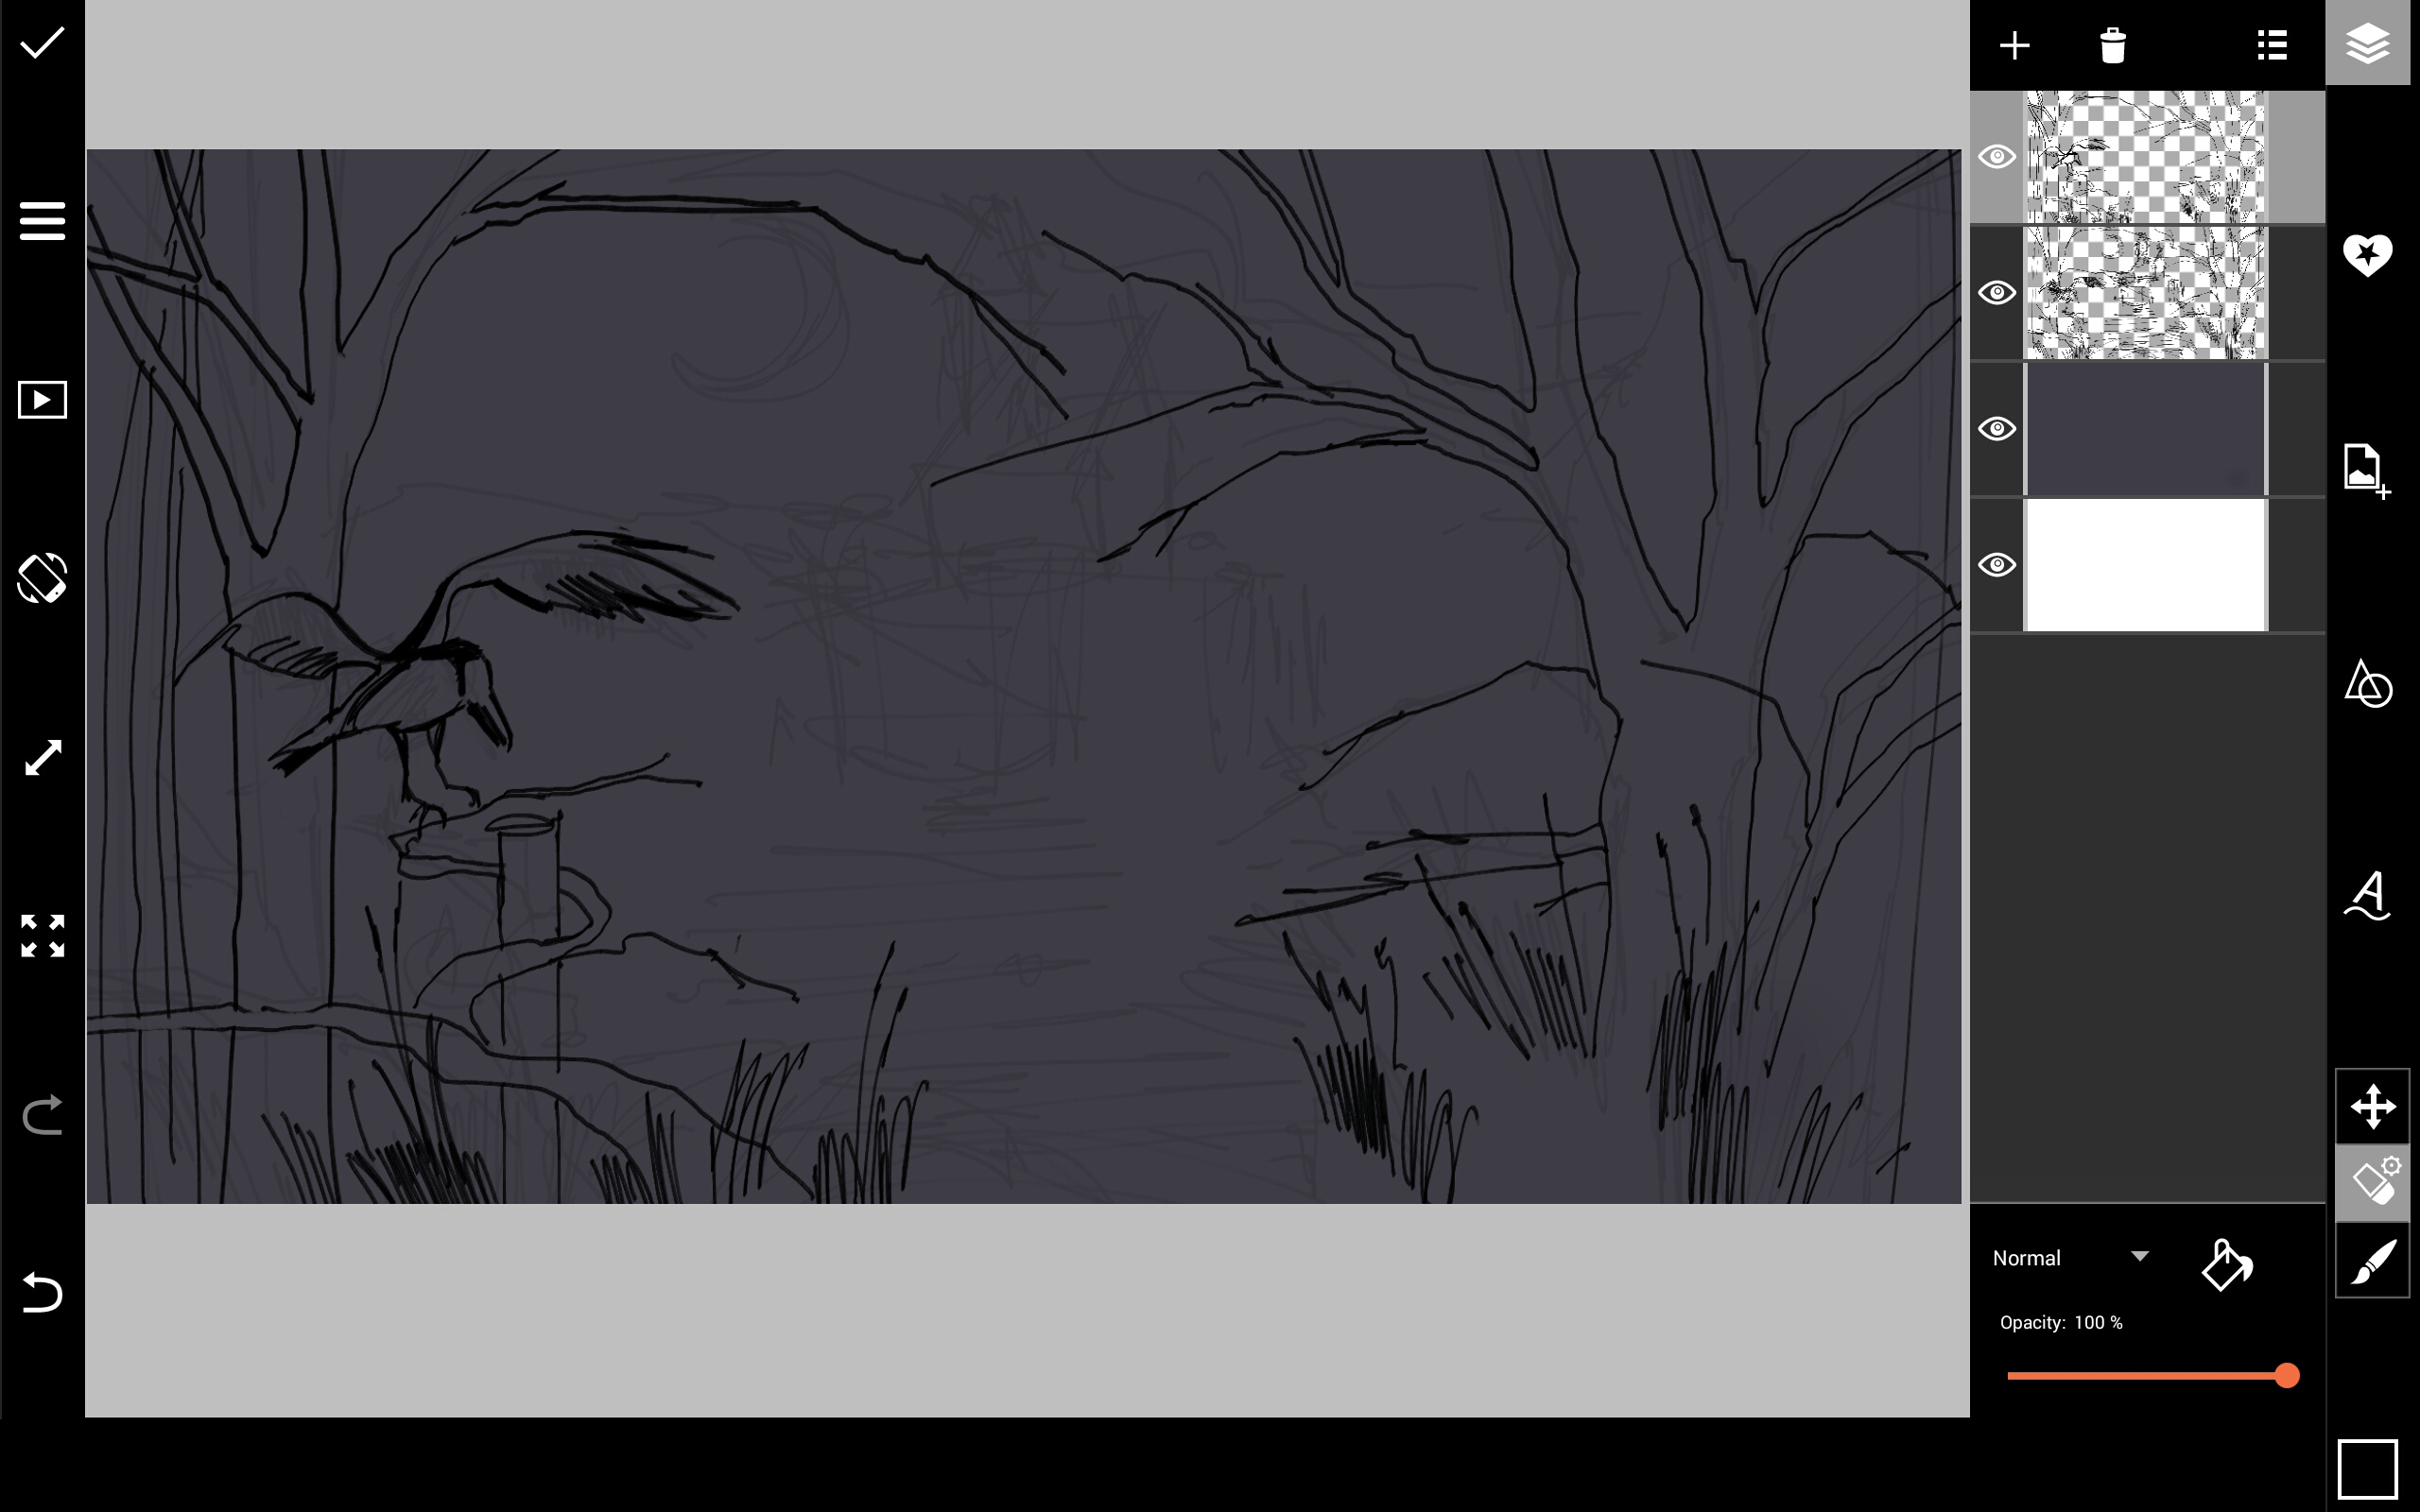
Step 6: Add Shadows & Lighting in Foreground
Draw a few tree branches in your foreground. Switch to a small white brush to draw in lighting accents.
Step 7: Add Landscape Details
Use a soft, semi-transparent brush to draw a hill leading up to the castle. Use a small black brush to draw in tree branches and blades of grass in the foreground.
Step 8: Add Light & Shadows
Add moonlight reflections using a white brush. Continue adding shadows and light to enhance the overall contrast of your drawing. Draw a few more tree branches and sketch a couple of bats and birds for an eerie touch.
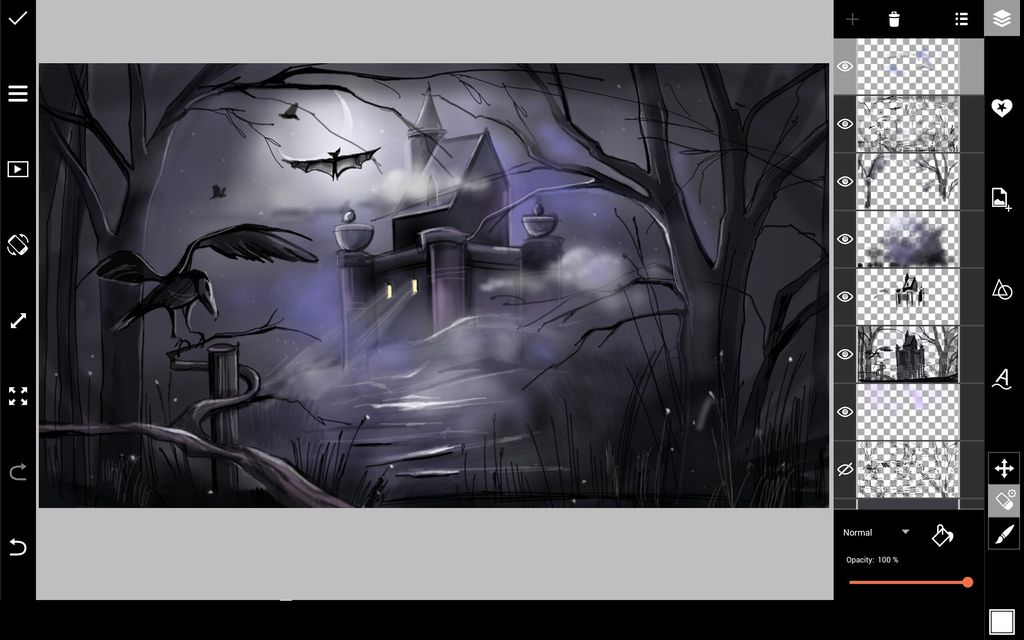
Step 9: Add Lighting Details & Finish Castle
Use a light yellow brush to add light to the windows. Switch to a soft, semi-transparent white brush to draw in clouds. Use a light purple brush to add a purple glow around the castle. Draw in a few flecks of white light to give depth to your foreground, as well as a few stars in the sky. Finish adding details to the castle.
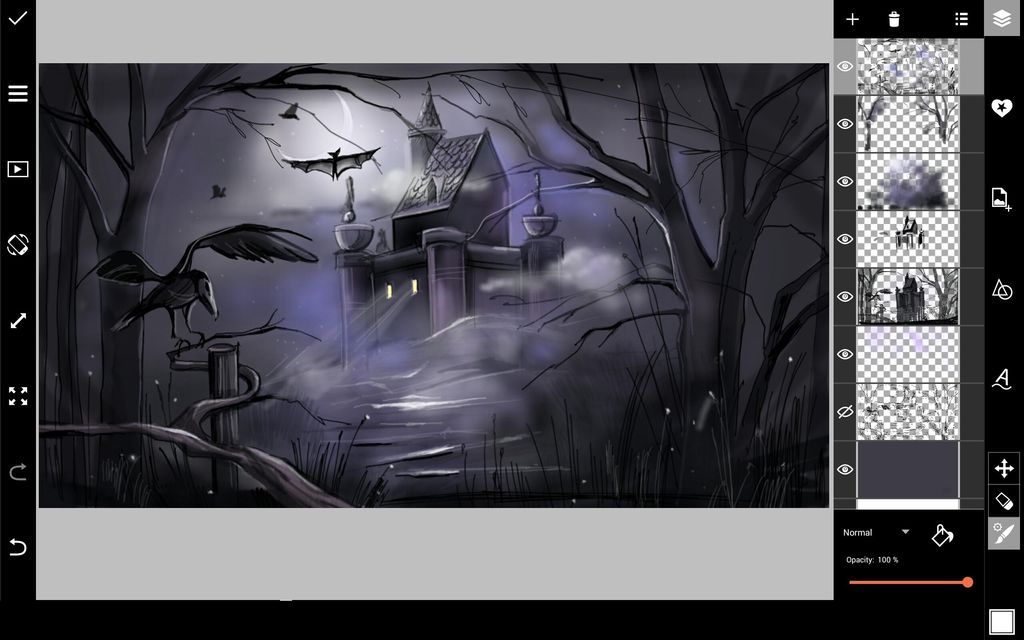
Step 10: Add Finishing Touches
Add another layer of fog around the building, and use a small white brush to draw in a few more flecks of light in the tree branches and blades of grass. When you’re done, open your drawing in the photo editor and apply one of our photo effects for a final touch!
- — Share It —
Tags: Tutorials
Shannon Holmes
Lorem ipsum dolor sit amet, cotur acing elit. Ut euis eget dolor sit amet congue. Ut vira codo matis. Sed lacia luctus magna ut sodales lorem.
0 comments: